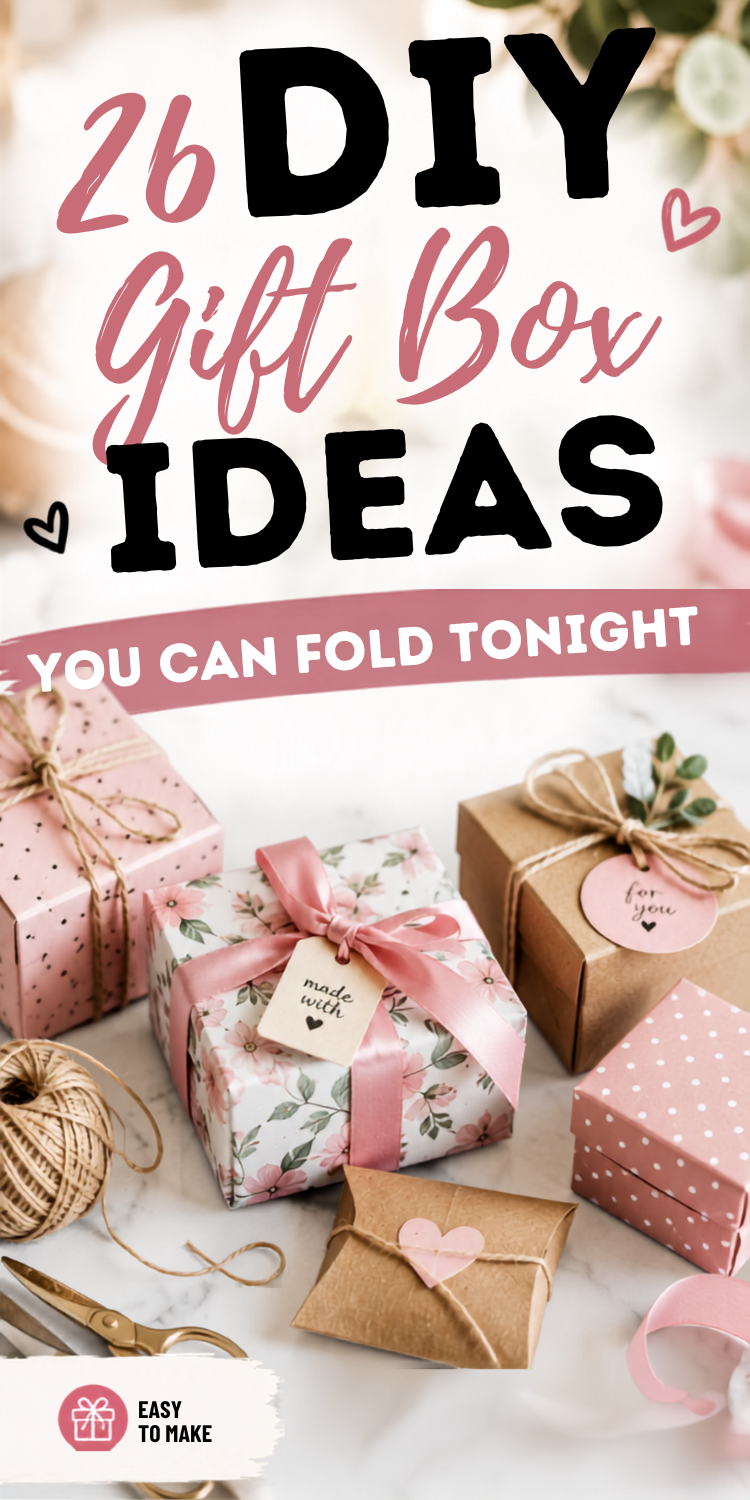
The trick with DIY is knowing what you’re getting into before you start cutting. Every idea below shows the finished box first, then the difficulty level and the exact materials, so you can match the project to your patience and your deadline. Some take about a minute. A few need a cutting machine. Most land somewhere in between.
This roundup is heavy on weddings. Bridesmaid proposals, welcome boxes for out-of-town guests, favor boxes you need fifty of by Saturday. If you’re deep in that kind of planning, our Real Weddings are worth a scroll for how couples style the small details. Then pick a box and start folding. And if folding isn’t your thing, or the deadline is tighter than your craft budget, you can skip straight to ready-made custom gift boxes and put the time toward what goes inside.
Our Favorite DIY Gift Boxes
We sorted these by how they open and how hard they are to build, from one-minute folds to die-cut showpieces. Start wherever your nerve and your calendar meet.
The Waterfall Pull-Tab Gift Card Trifold
Handing over a stack of gift cards can look like a grocery-store afterthought. Turn the packaging into the main event instead.
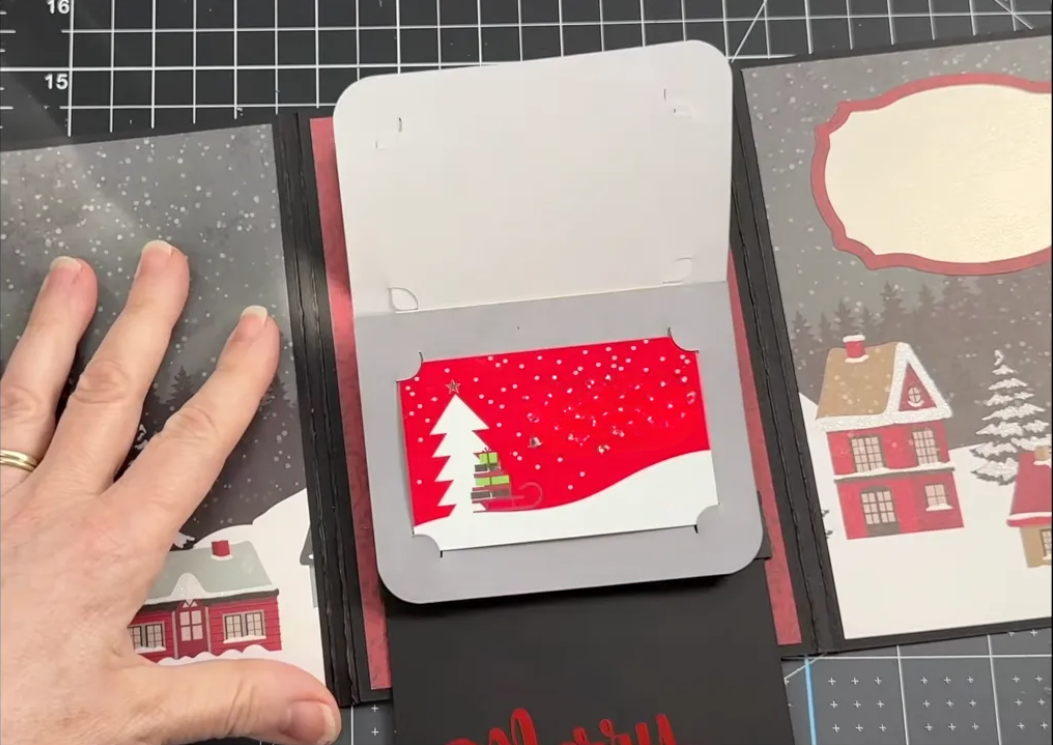
A pull-tab waterfall mechanism cascades several cards open with one smooth tug. It’s a strong pick for teacher appreciation, bridal party gifts, or flat holiday packages you plan to mail.
Difficulty: intermediate. Alignment is everything here, so score your folds precisely before you commit any glue.
Materials:
- Heavy cardstock (110 lb is best)
- Strong paper glue
- Scoring tool, or a ruler and blunt edge
- Gift cards and ribbon
L&L Tip: dry-fit every piece before the adhesive comes out. Too much glue and you’ll seal the moving mechanism shut.
The Rigid Ribbon-Tied Keepsake Box
Store-bought luxury boxes cost a small fortune for what amounts to cardboard and pretty paper. Build your own and skip the checkout line.
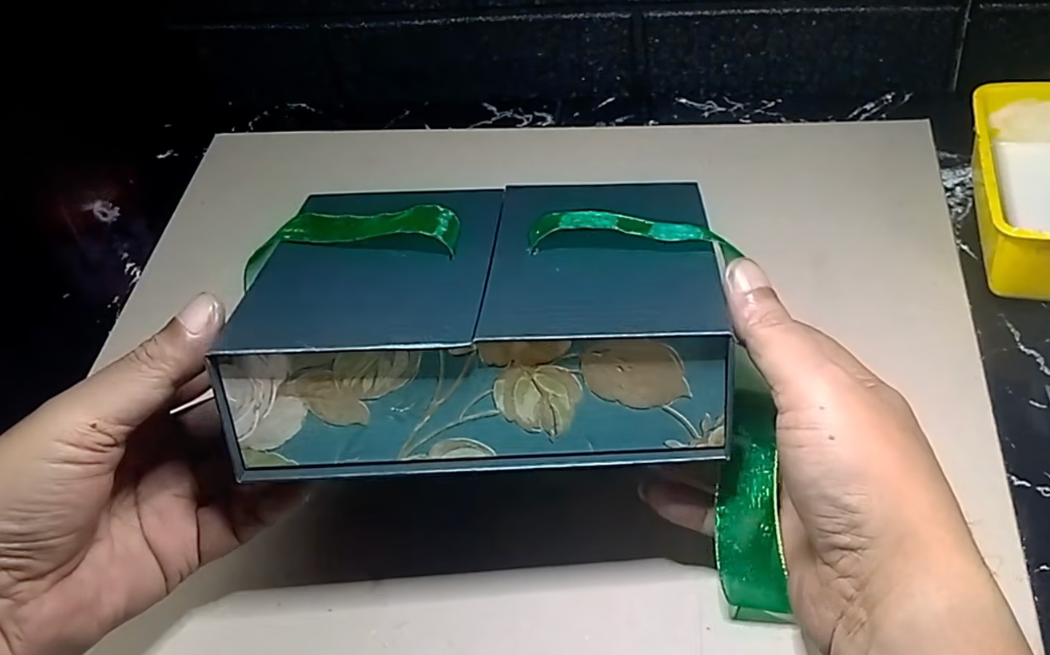
This heirloom style wraps thick greyboard in gorgeous paper and finishes with a ribbon tie. It works for a wedding keepsake, jewelry, or a bridesmaid proposal.
Difficulty: advanced beginner. The steps are simple. Precise measuring and neat wrapping are the real skill.
Materials:
- 2mm greyboard or chipboard
- Decorative paper
- Ruler and utility knife
- Scissors
- White PVA glue and tape
- Ribbon
L&L Tip: corners make or break this look. Sloppy, bulky edges read as amateur craft night, so pull the paper tight over the greyboard corners for a crisp, store-bought finish.
The Heavy-Duty Upcycled Shipping Box
Nothing tests a gift box like a heavy candle bowing out the bottom halfway through the party. This one solves that for good.
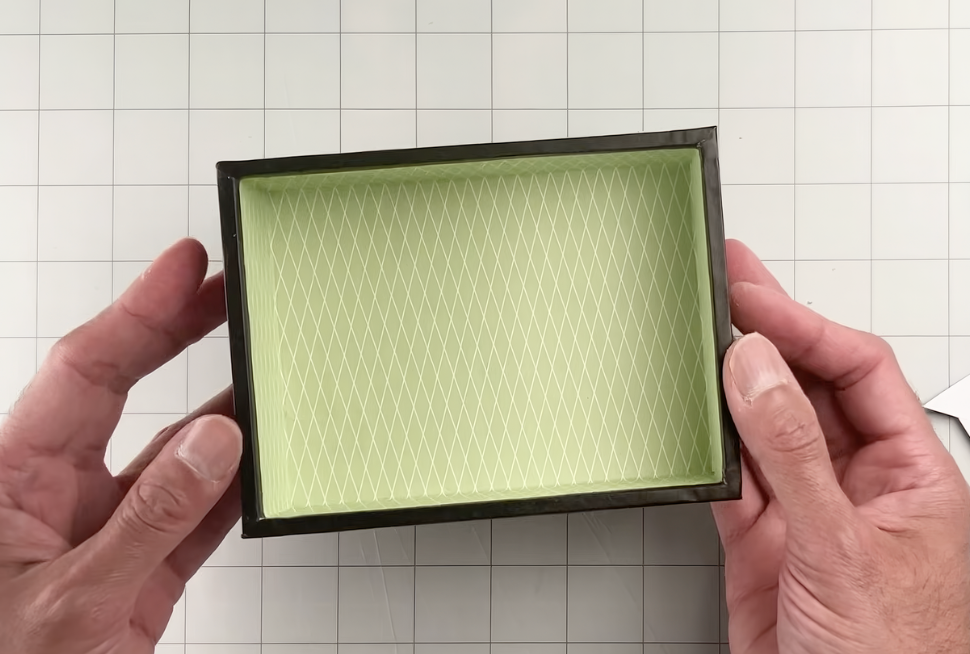
Rough corrugated shipping cardboard turns into a rigid, boutique-worthy package once you smooth the ridges with thin cereal-box chipboard and wrap it in decorative paper. You get real strength for almost nothing, which makes it a solid budget option for mugs or mini wine bottles.
Difficulty: intermediate. Several steps, each one straightforward. It takes patience, not fancy tools.
Materials:
- Scrap corrugated cardboard
- Thin chipboard (like a cereal box)
- PVA or strong craft glue
- Ruler and utility knife
- Decorative wrapping paper
- Clamps or paperclips to hold corners while drying
L&L Tip: never size the box skin-tight. Leave a half-inch of clearance around the gift, and double up the bottom cardboard if your item is especially heavy.
The Exploding Nested Reveal Box
A small, budget-friendly gift can still land like a moment. That’s the whole point of the exploding nested box, a favorite for wedding party proposals and milestone birthdays.
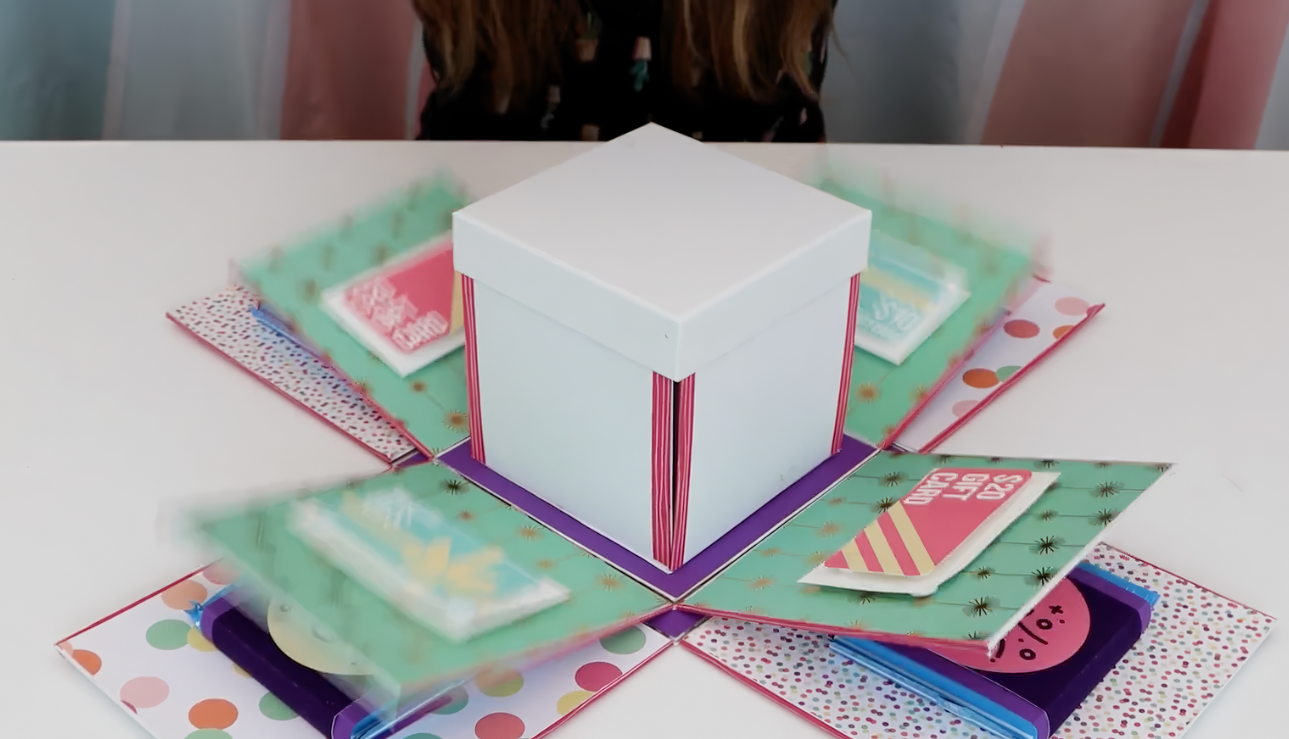
From the outside it looks like a standard package. The second the lid lifts, the sides cascade open to reveal layer after layer of custom surprises.
Difficulty: intermediate. It’s a multi-step, slightly fiddly build, but it delivers a genuine gasp for a fairly small gift.
Materials:
- 3 nesting boxes with lids (different sizes)
- Craft knife or precision saw
- Ruler and washi tape
- Glue dots or foam dots
- Thin gifts (gift cards, polaroids, chocolate bars)
- Exterior decorations
L&L Tip: this is more work than it looks. Do a test close before you glue down the final decorations, so the nested layers slide together the way they should.
The Pop-and-Jump Surprise Box
Some gifts deserve a reaction, not just an unwrapping. Load this one with candy, confetti, or sweet notes, and they fly out the moment the lid comes off.
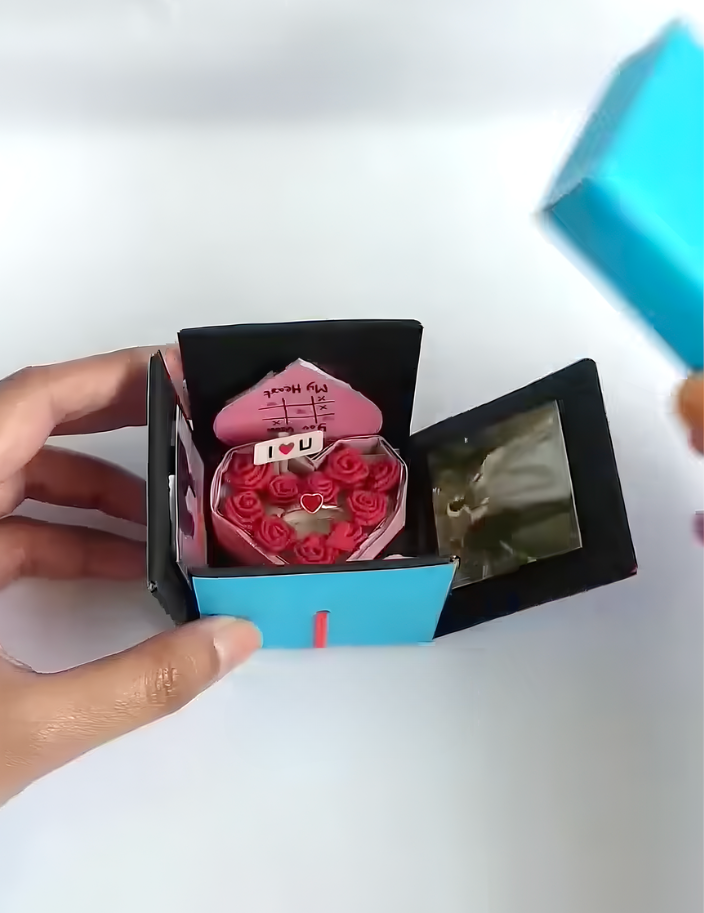
It’s a fun pick for last-minute Valentine’s Day gifts, anniversaries, or bridal showers, and the drama is way out of proportion to the effort.
Difficulty: beginner to intermediate. The concept is simple, but the springy folds need sharp, clean creases to pop cleanly.
Materials:
- Cardstock or heavy craft paper
- Scissors or a craft knife
- Strong glue or double-sided tape
- Stickers or paper hearts
L&L Tip: short-form videos make this look like a five-second trick, so don’t rush it. Flat folds and a snug lid keep the surprise from popping early.
The Minimalist Origami Gift Box
Sometimes the smallest project gets the biggest reaction. This tiny paper box takes only minutes to fold and still gets an audible “aww.”
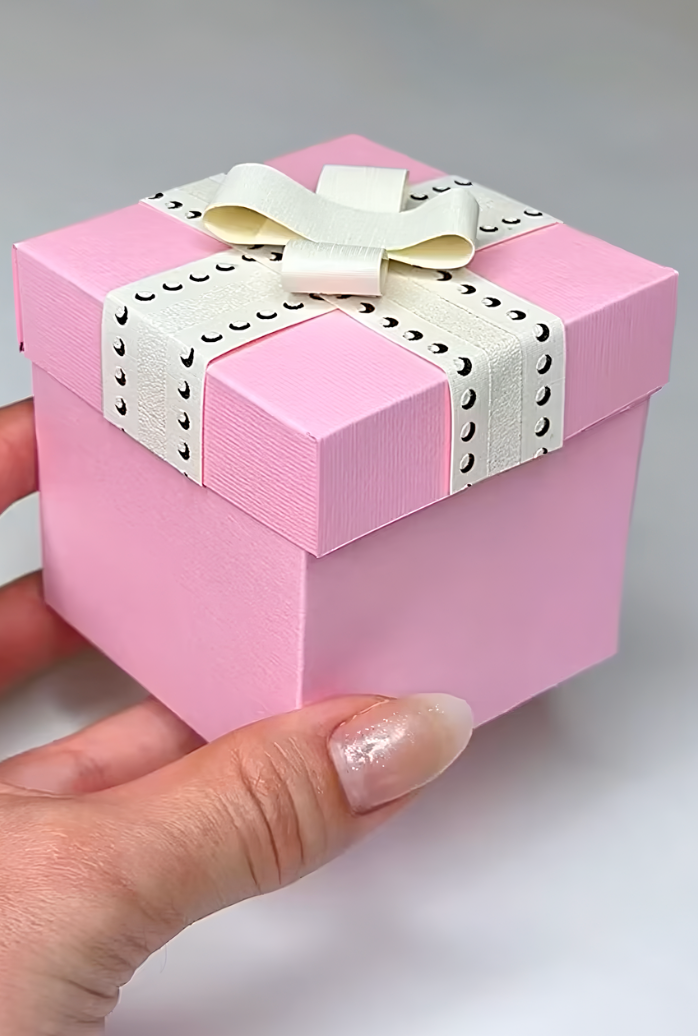
Difficulty: easy. Mostly folding with a small dab of glue, which makes it a solid pick if crafts aren’t your thing.
Best for:
- Delicate jewelry or gift cards
- A folded love note
- Gourmet candies
- Wedding favors in bulk
Materials:
- Colored paper
- Scissors
- Glue or double-sided tape
- Ribbon (optional)
L&L Tip: these turn out small. Fold a quick prototype with scrap paper first to check your gift fits before you commit to fifty of them.
The Multi-Layered Photo Explosion Box
An explosion box is part packaging, part keepsake. The panels fold open flat and double as a display, so the box becomes part of the gift.
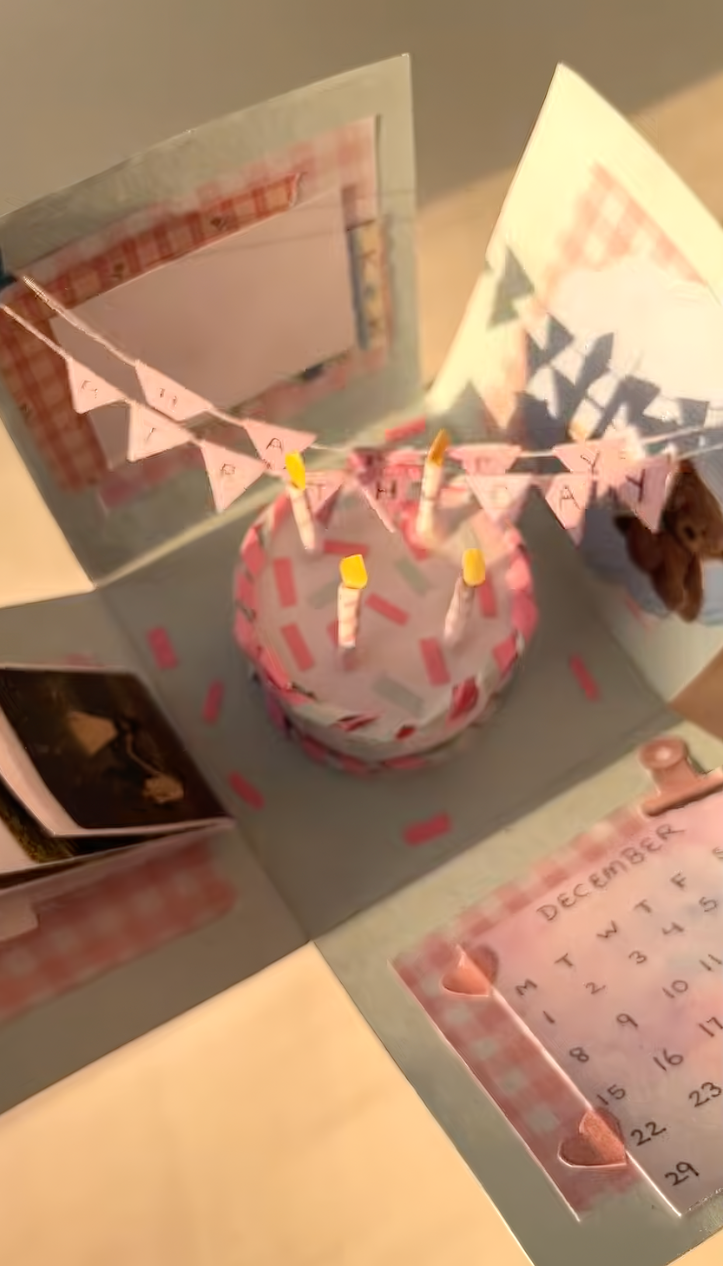
Difficulty: beginner-friendly but time-consuming. The folding is easy. Printing your photos and decorating the panels is where the afternoon goes. It works for milestone birthdays, anniversaries, or bridesmaid proposals with a small gift tucked in the center.
Materials:
- Heavy cardstock
- Craft glue or double-sided tape
- Ruler and scissors
- Embellishments (photos, stickers, mini envelopes)
L&L Tip: stick to a tight three-color palette. Without that limit, the finished box starts to look like a craft-store shelf tipped over on your table.
The Sixty-Second Aesthetic Paper Gift Box
This minimalist fold gets you a clean, put-together box in about sixty seconds, no aesthetic compromise required.
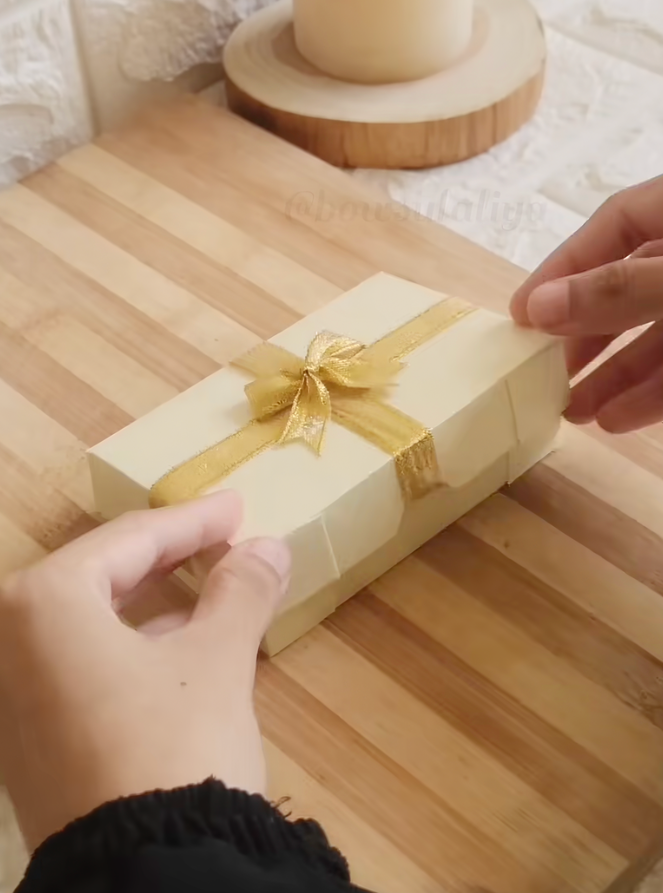
It’s a staple in short-form crafting videos for a reason. Great format for tiny, delicate add-on gifts, like a bridesmaid note paired with earrings, or last-minute party favors.
Difficulty: easy, as long as you’re comfortable making crisp, precise folds.
Materials:
- Square cardstock or heavy paper
- Glue or a tuck-in closure
- Elegant ribbon (optional)
L&L Tip: fast video shorts can be hard to follow in real time. Pause to screenshot the key folds, or find a longer tutorial if you need exact measurements.
The Birthday Slice Favor Box
This one skips the plain paper bag entirely. Shaped like a slice of cake, it fits wrapped candies, gift cards, or small trinkets, and it instantly reads as a party.
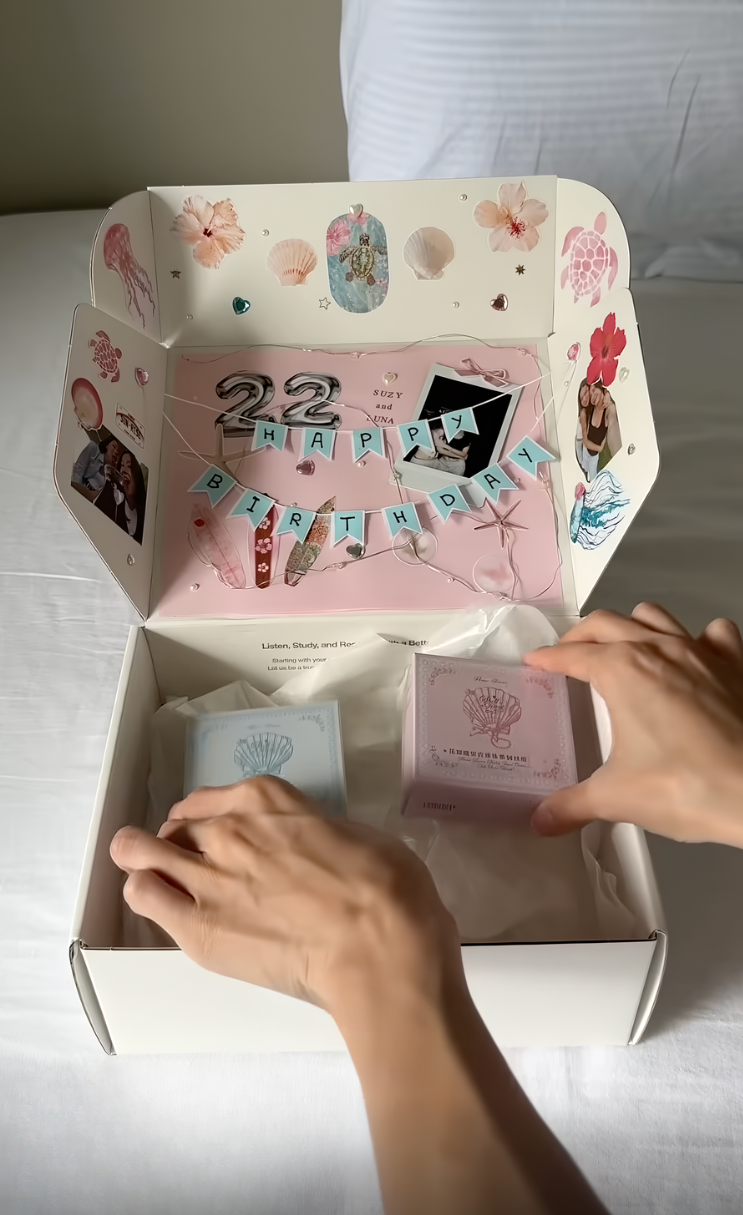
Difficulty: easy to moderate, depending on how far you take the decorating. It’s a budget-friendly favorite for kid parties, friend birthdays, or bridal shower prizes.
Materials:
- Colored paper or cardstock
- Scissors and glue
- Optional embellishments
L&L Tip: skip the glitter if you want this to read less like a classroom craft project. A solid-color belly band around the middle with a single minimalist monogram tag does the job instead.
The Teeny-Tiny Pocket Gift Box
A tiny present deserves packaging that matches it. This small pocket box is the fix for when a full-size box feels like overkill.
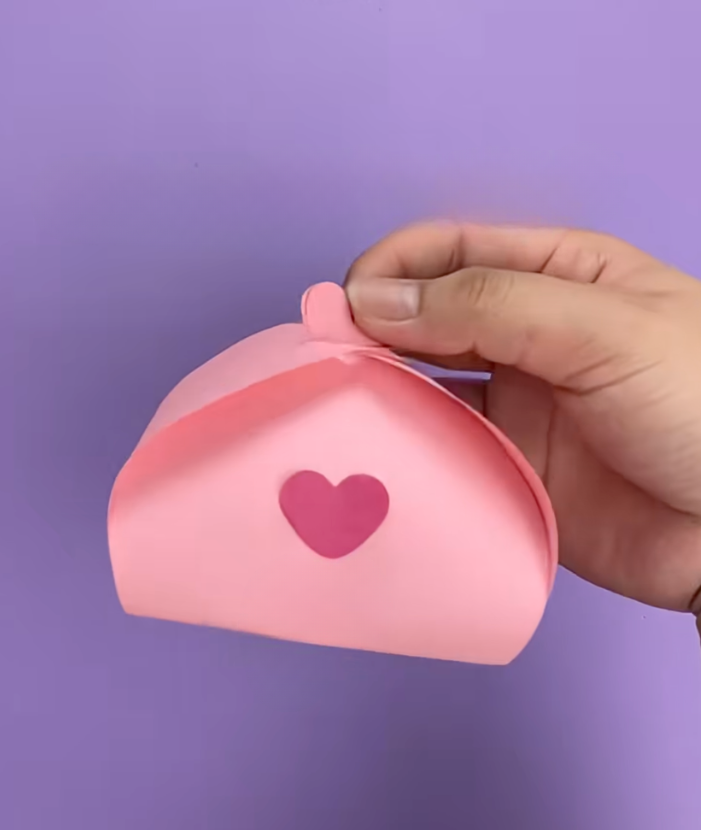
Difficulty: easy. Because it’s so compact, the build is simple. Precision is the only real challenge.
Materials:
- Heavy paper or cardstock
- Sharp scissors
- Craft glue or double-sided tape
It’s a good fit for tiny jewelry, candies, a love note, or bridesmaid extras. Your smallest gifts end up looking intentional instead of lost.
L&L Tip: miniature builds leave zero room for messy lines. Keep creases sharp by running a ruler edge or bone folder along each fold before gluing.
The Scalloped Dome Favor Box
If the pocket box appealed but you want more volume, this scalloped dome version gives the same cute factor with a bit more dimension.
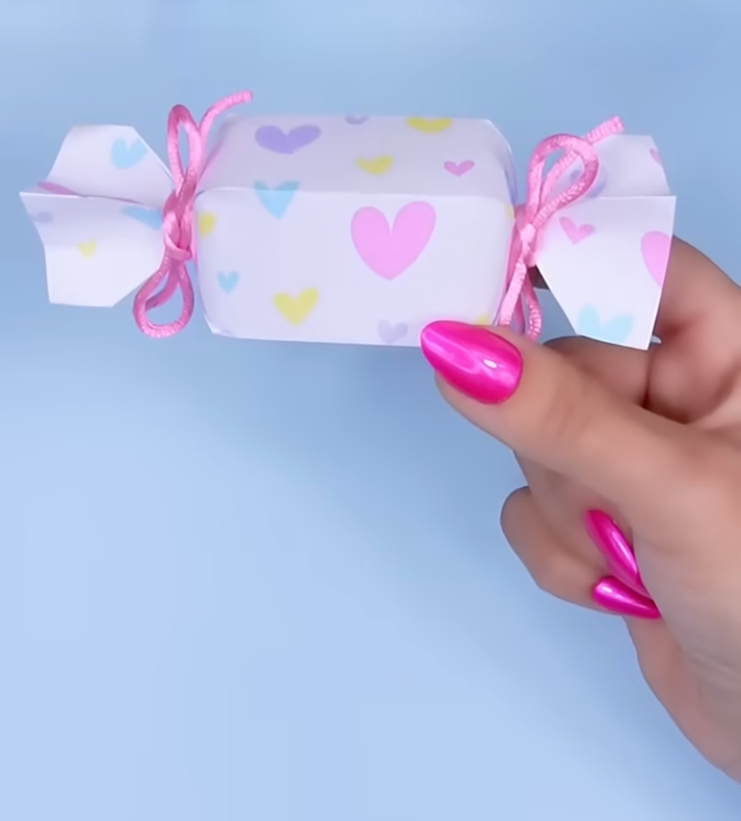
Where the pocket box is flat and angular with a basic fold-in tab, this one has a rounded dome shape, a delicate scalloped lid, and a ribbon closure.
Difficulty: easy. A solid pick for quick gifting, party favors, or assembling dozens of packages for a wedding shower.
Materials:
- Colored paper
- Scissors
- Glue or double-sided tape
L&L Tip: making fifty of these for a wedding? Stack your paper and cut several templates at once. Your hands will thank you later.
The Vintage Scrapbook Explosion Box
A basic paper fold can feel too plain for a big day. This vintage-style explosion box goes the other direction: layered, detailed, and built for maximum sentiment.
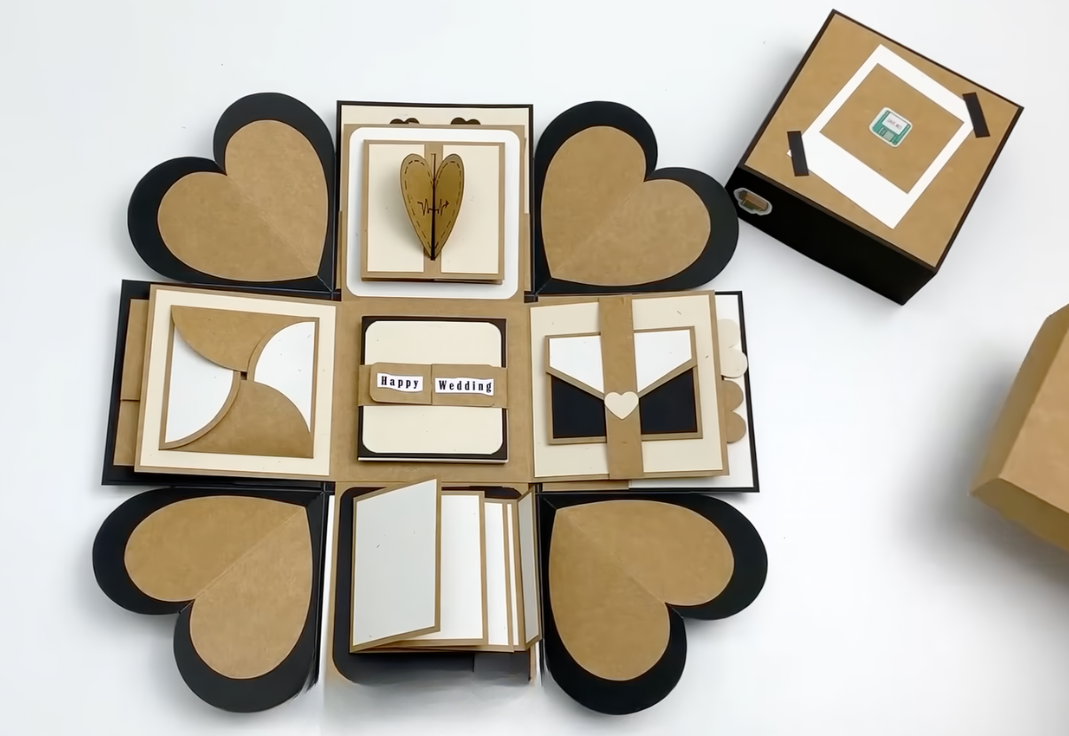
The layers and ephemera pockets work for wedding-day letters, milestone anniversaries, or a bridesmaid proposal. Even a tiny center gift ends up feeling grand once it’s wrapped in this much detail.
Difficulty: intermediate. The nested layers and decorative bits need precise measuring to stay aligned.
Materials:
- Patterned cardstock
- Craft glue or double-sided tape
- Ruler and cutting tool
- Ephemera, ribbon, and printed photos
L&L Tip: build and test the entire nested base before you glue down a single photo. Decorate as you go and you’ll fight bulky layers that won’t fold flat when it’s time to close the lid.
The Gateway Origami Gift Box
If you can fold paper in half, you can finish this one in under three minutes. It’s the easiest possible entry point into box-folding.
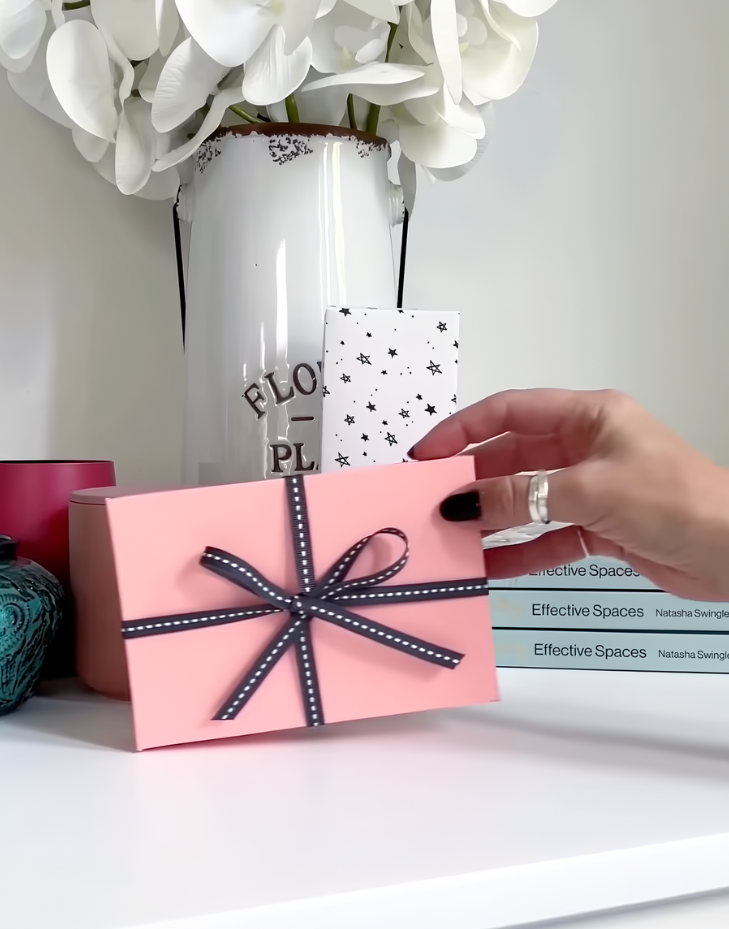
This classic fold turns a flat sheet of paper into a structural container with almost no setup.
Difficulty: easy.
Best for:
- Candies and gourmet mints
- Delicate jewelry or rings
- Tiny handwritten wedding notes
Materials:
- Paper or light cardstock
- Craft glue (optional, if your fold isn’t self-locking)
L&L Tip: thicker paper looks cleaner and holds its shape better. Thin paper folds more easily but goes floppy fast.
The Statement Hamper Box
A single pair of earrings doesn’t need much packaging. A bundle of items does. This sturdy hamper-style build holds an assortment of larger items without collapsing under them.
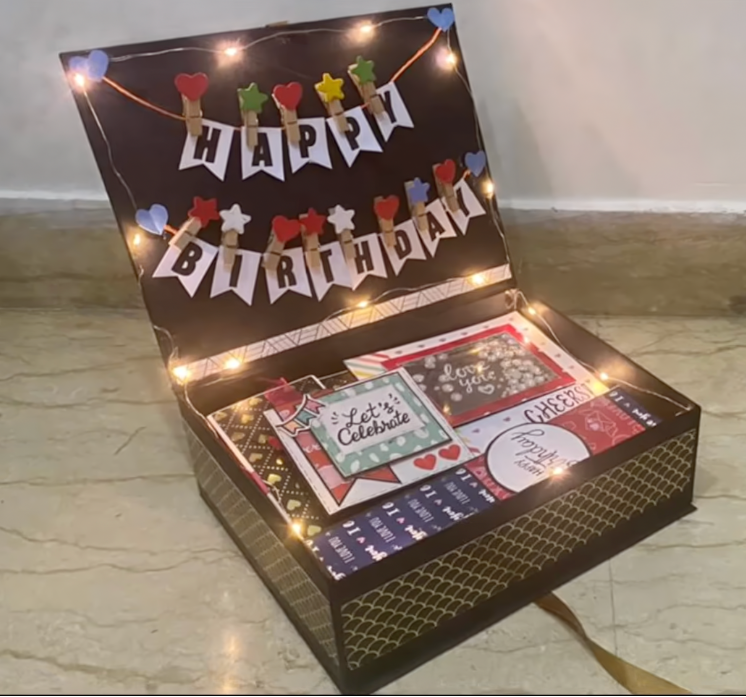
Difficulty: intermediate. A larger frame needs extra structural support and more decorating patience than the smaller builds here. It works for wedding welcome boxes, bridal shower host gifts, or a bridal emergency kit.
Materials:
- Sturdy cardstock or chipboard
- Decorative papers
- Strong craft glue
- Cutting and scoring tools
- Fairy lights or shred filler (optional)
L&L Tip: plan your contents first. Your tallest item sets the height, and your heaviest item sets how much base reinforcement you’ll need.
The Cheat-Code Origami Surprise Box
You can get the look of elaborate paper folding without the geometry lesson. Skip the complex cuts and land on something compact and giftable in minutes.
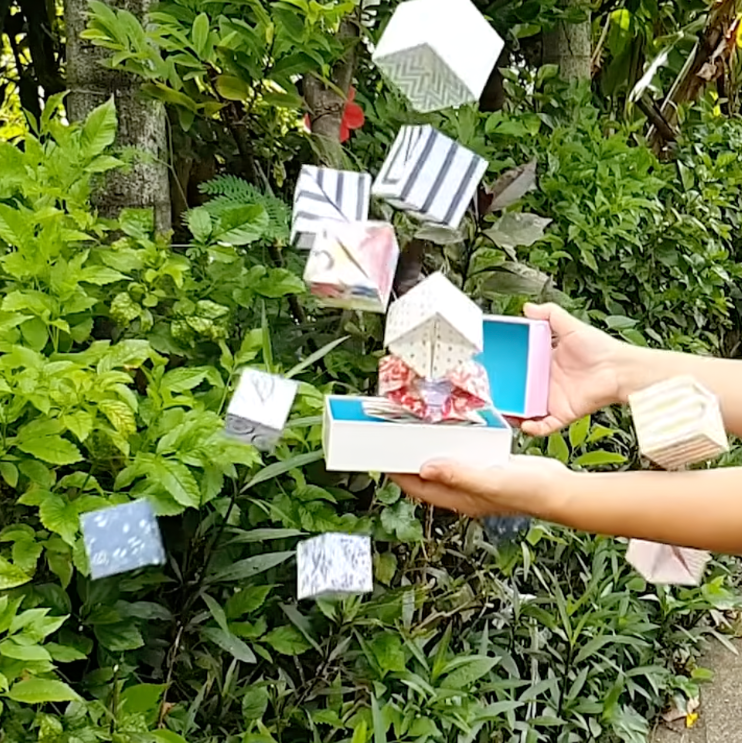
Difficulty: easy to intermediate. Crisp folding matters far more than fancy tools.
Best for:
- Small jewelry
- Cash or gift cards with an envelope insert
- Party favors
Materials:
- Square paper or cardstock
- Glue (optional, for reinforcement)
- Ribbon (optional)
L&L Tip: origami lives and dies by clean lines. No bone folder on hand? Slide the flat edge of a plastic ruler along each fold for sharp, boutique-style creases.
The Chocolate-Lover’s Surprise Reveal Box
Chocolate deserves better than a plain candy box. This nested reveal box packages sweets so the panels cascade open the moment the lid lifts.
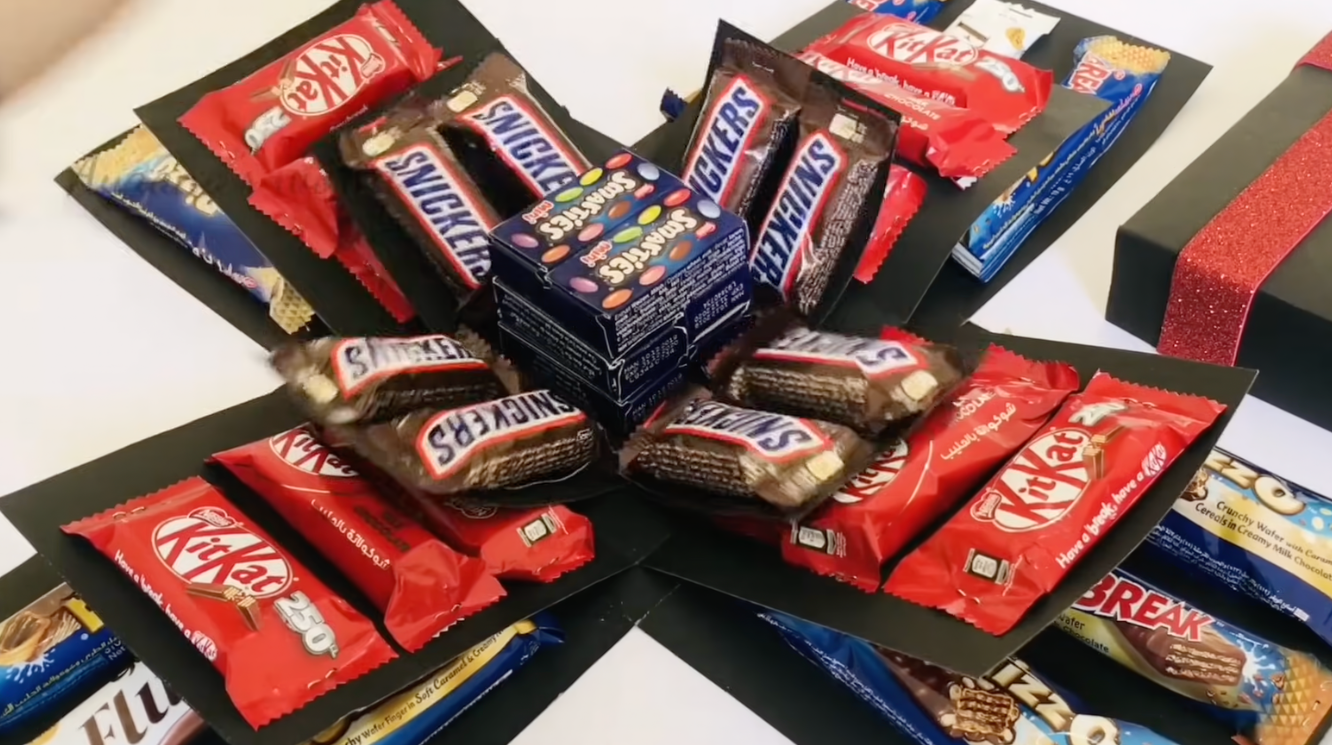
Difficulty: intermediate. The basic assembly is manageable, but decorating the panels and fitting bulky chocolates neatly inside takes patience.
Best for: anniversaries, scaled-down bridal shower favors, or bachelorette weekend surprises.
Materials:
- Heavy cardstock
- Strong craft glue
- Ruler and scissors or craft knife
- Chocolates or sweets
- Optional photos or notes
L&L Tip: heavy chocolates can collapse flimsy paper. Reinforce the bottom panel with extra cardstock, and keep sweets well away from wet glue.
The Origami Love Heart Gift Box
A small token of affection still needs packaging that says you tried. This heart-shaped box is built for exactly that.
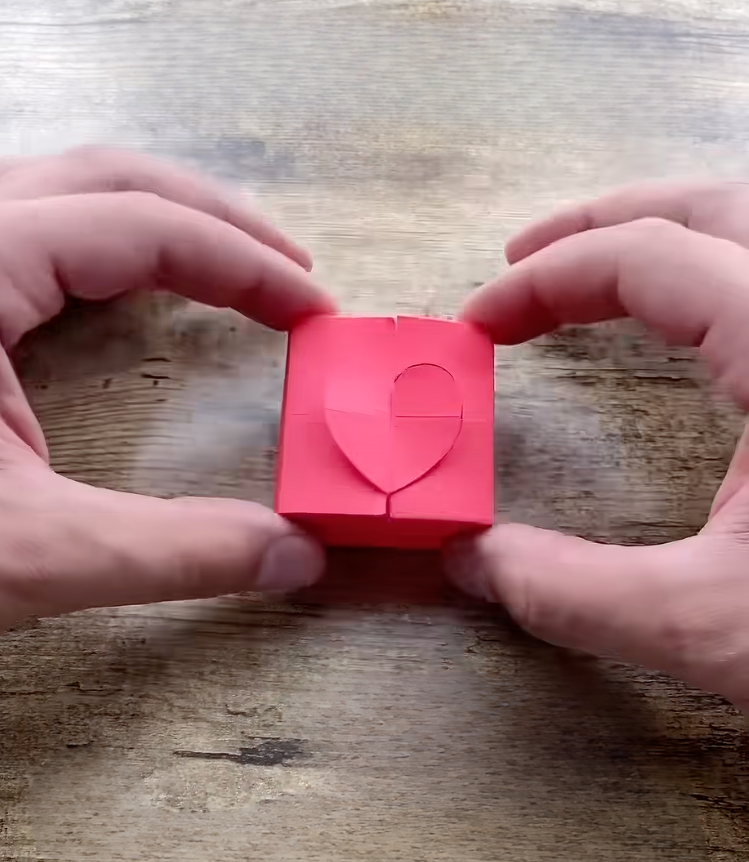
Difficulty: easy to moderate. Curved heart folds take more patience and precision than a standard square box, but the payoff is worth it.
Best for:
- Valentine’s Day treats
- Hidden engagement surprises
- “Open when” love letters
Materials:
- Square paper
- Craft glue (optional)
- Ribbon (optional)
L&L Tip: skip ultra-flimsy printer paper. Medium-weight craft paper holds the shape without cracking when you fold it.
The No-Glue Origami Heart Box
Not every box needs adhesive. This origami heart comes with a matching lid, both made entirely by folding. No cutting, no tape, no sticky fingers.
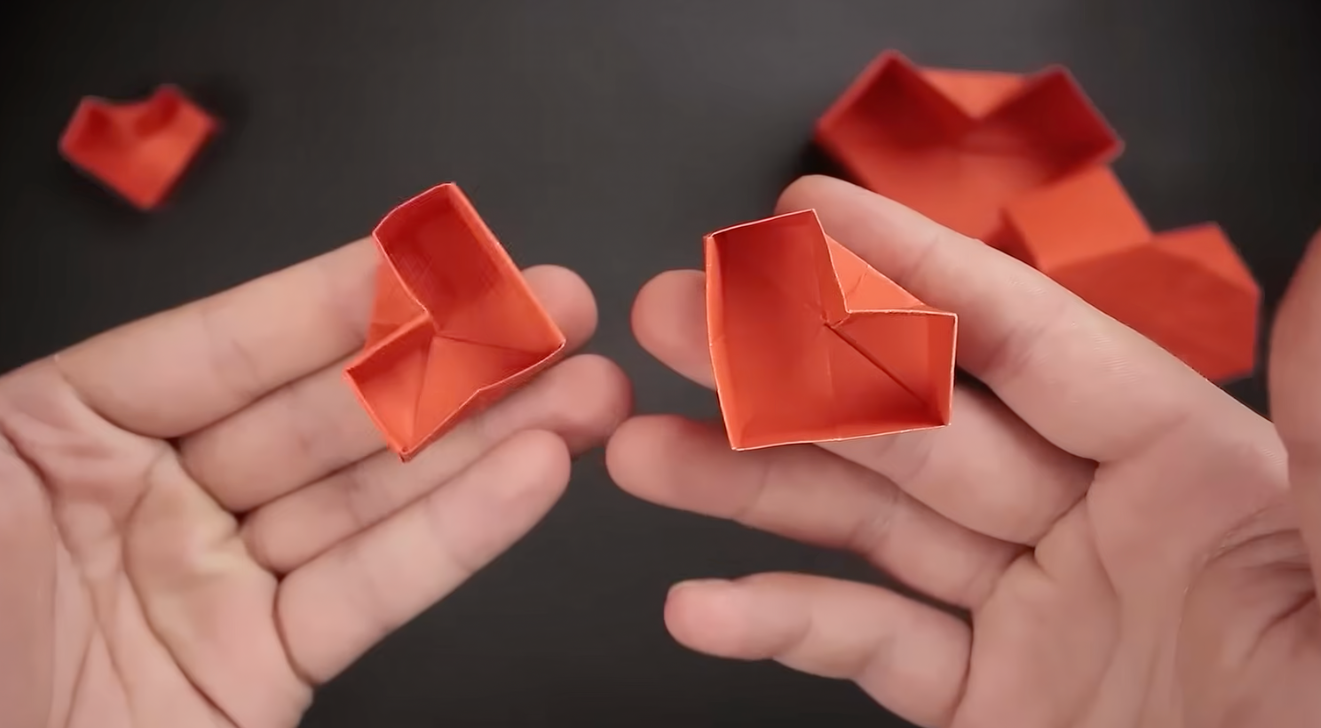
Difficulty: advanced beginner. It’s not complicated, but the folds need care to keep the geometric edges sharp. The result is a polished, reusable design suited to delicate bridal jewelry, tiny keepsakes, or a secret wedding-day note.
Materials:
- 2 square sheets of paper (medium weight is best)
- A flat, hard surface for crisp creasing
L&L Tip: sizing matters most here. Use a slightly larger square for the lid so it slides on cleanly without crushing the heart underneath.
The Classic Cardstock Pillow Box
Fifty favors, finished by tonight, no crisis required. This pillow box is built for exactly that kind of deadline.
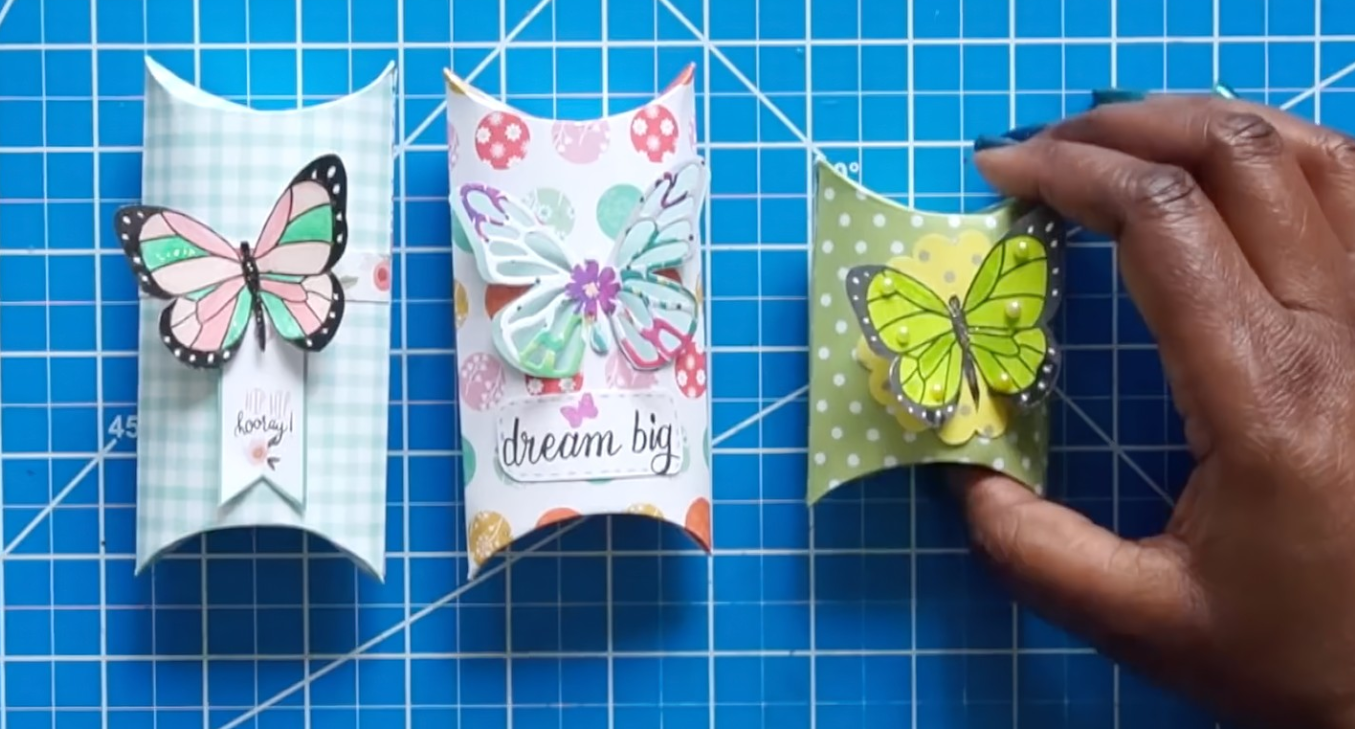
Made from a single 6×6 sheet of cardstock, it scores and curves at the ends to snap into a puffed shape.
Difficulty: easy, since it only takes basic scoring and a couple of quick cuts.
Materials:
- 6×6 cardstock
- Scoring tool (or ruler and butter knife)
- Scissors
- Glue or double-sided tape
- Ribbon or custom tags
Good for wedding favors, bridal shower treats, small candies, dainty earrings, or custom tea bags.
L&L Tip: pillow boxes look high-end for very little effort. Choose a heavy, textured paper and add one focal detail, like a velvet bow or sticker seal, and they read as professionally made.
The Oversized Statement Pillow Box
The classic pillow box works for a gift bigger than a couple of mints too. You just need a bigger sheet of paper, no calculator required.
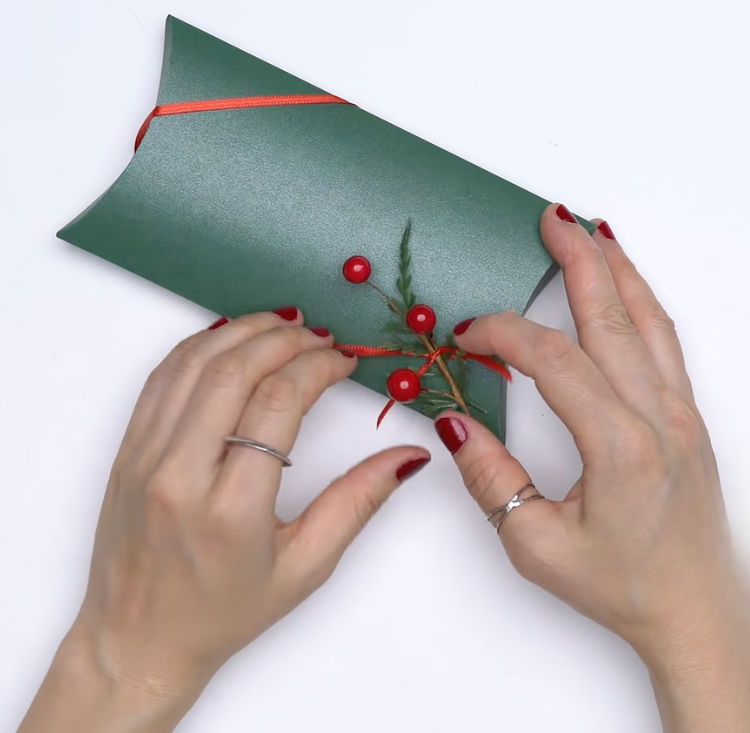
Difficulty: easy. Scale up the paper and you scale up the box.
Materials:
- Square cardstock (12×12 inches works well)
- Scissors
- Double-sided tape or strong craft glue
- Ribbon (optional)
Best for small-to-medium lightweight gifts, like a rolled silk scarf, or as a pretty outer box protecting an inner velvet pouch.
L&L Tip: the only trick here is scale. Start with a bigger square of paper and the rest of the fold stays exactly the same.
The Cardboard Brainteaser Puzzle Box
Cash or gift cards can feel a little flat on their own. Make your recipient work for it. A sliding lock forces them to solve a small puzzle before the hidden compartment opens.
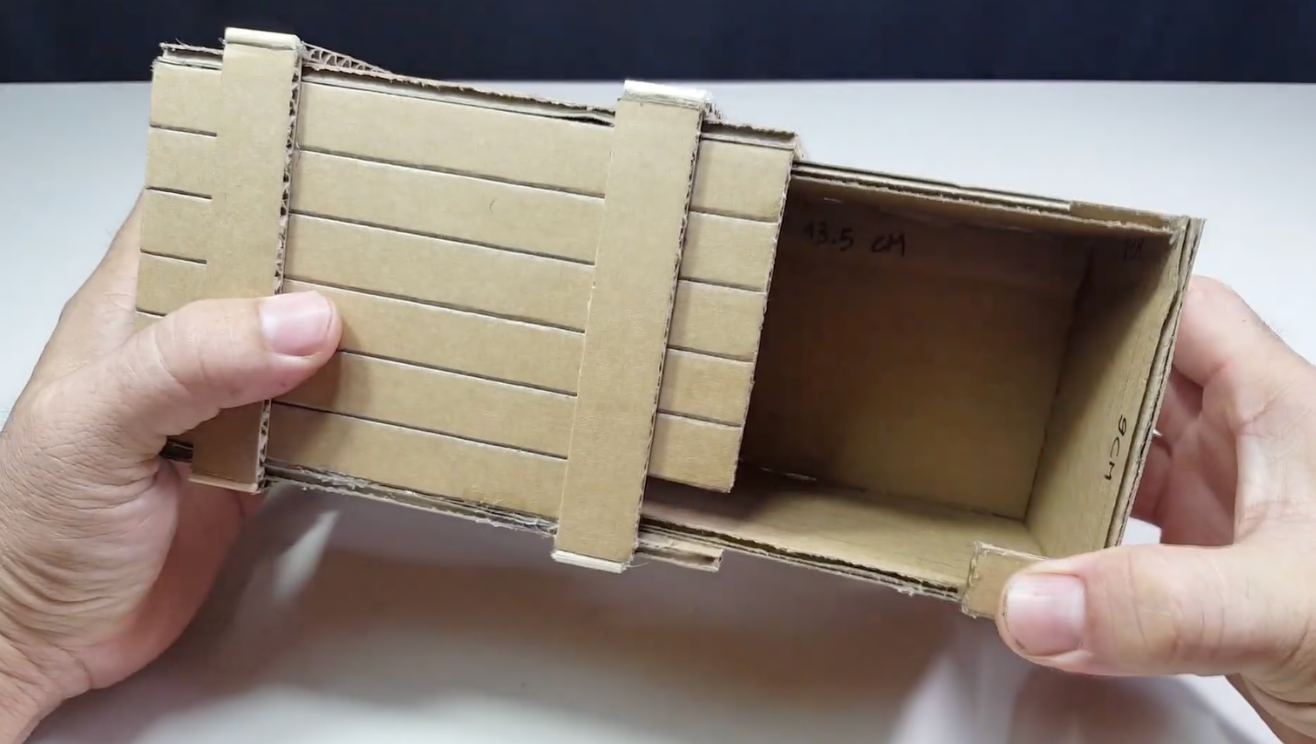
Difficulty: intermediate. Your cutting accuracy has to be spot-on for the lock to glide smoothly.
Materials:
- Sturdy cardboard
- Precision utility knife
- Ruler and pencil
- Strong craft glue
- Decorative wrap (to hide seams)
Best for teens, groomsmen, cash-gift recipients, or anyone who’ll appreciate a cheeky “open me if you can” moment.
L&L Tip: most video tutorials skim past the actual mechanism. Treat any tutorial as inspiration and run a practice build with scrap paper before you commit to the final box.
The Gable Box with Shaker Window Detail
A recessed shaker panel built into a gable box brings genuine boutique energy to a table of party favors.
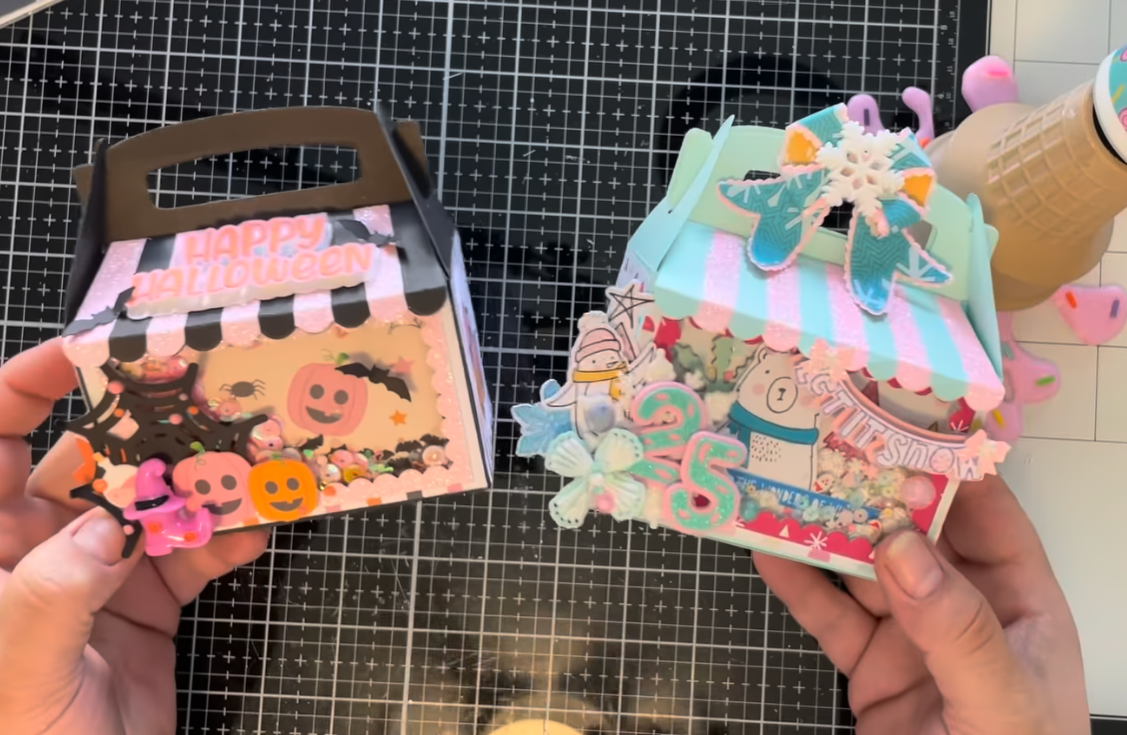
Fair warning: this one is not a grab-your-scissors-and-hope project. You’ll need a digital cutting machine to handle the multi-layer assembly.
Difficulty: advanced.
Materials:
- Die-cut machine
- Cardstock and acetate
- Double-sided foam tape and strong adhesive
- Shaker mix, like sequins or beads
Best for wedding favors, upscale bridal showers, or luxury holiday party favors.
L&L Tip: static cling ruins a good shaker window fast. Wipe the acetate with a dryer sheet before sealing it so the sequins move freely instead of sticking to the plastic.
The Delicate Paper-Flower Presentation Box
A paper bouquet takes hours to make and seconds to crush inside a standard square box. These custom oval and butterfly-shaped boxes exist to prevent exactly that.
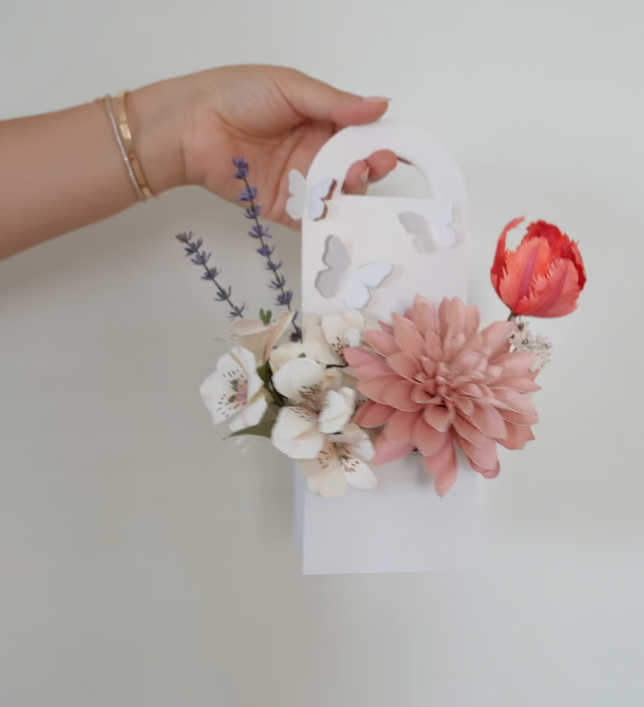
Difficulty: intermediate. Neat scoring, precise alignment, and a steady hand are what make these templates look professional.
Materials:
- Heavy cardstock
- Scoring board or bone folder
- Craft glue or hot glue
- Printed templates or a cutting machine
Good for bridal shower favors, wedding table gifts, or delivering a paper bouquet without flattening it.
L&L Tip: paper flowers weigh next to nothing. For heavier gifts, use extra-thick cardstock or double the base layers so the bottom doesn’t sag on your table.
The Bundled Luxe Hamper Box
A gorgeous candle and a bottle of bubbly look ridiculous stuffed into a flimsy paper bag. This hamper box bundles several premium items into one high-end presentation instead.

Difficulty: intermediate. A sturdy frame with neat corners takes patience, but it’s a strong option for wedding welcome gifts, bridesmaid boxes, or engagement-party thank-yous.
Materials:
- Sturdy paperboard or chipboard
- Decorative wrap or textured paper
- Strong craft glue
- Ruler, cutting, and scoring tools
- Silk ribbon or trim (optional)
L&L Tip: don’t build the box first and hope your items fit. List what’s going inside, lay it out to measure the footprint, and size the box to match.
DIY Gift Box Questions Worth Answering
Paper weight, sizing, and keeping your fingers glue-free trip up most people at some point. Here’s what helps.
Picking the right box style for your gift
Match the box to the gift’s shape. Flat items like gift cards belong in a pull-tab trifold. Tiny jewelry does well in mini origami or cardstock pillow boxes. A larger collection calls for a hamper box, and sentimental milestones suit a photo explosion box. Making dozens of wedding favors? Stick to a simple, repeatable template and save the complex cuts for one-off gifts.
Sizing a box so your gift fits
Measure the full length, width, and height of your gift, then add a quarter-inch of clearance on every side so the item slides out cleanly. Adding tissue paper, shred, or fairy lights? Bump that clearance to a half-inch. Fold one prototype from scrap paper before you cut into the good cardstock.
Choosing the right paper weight
Standard printer paper works for practice runs only. For small favor boxes, look for 65 lb to 80 lb cardstock. For medium boxes or structural lids, go up to 100 lb to 110 lb. Thicker cardstock cracks if you fold it without scoring first, so always score your lines with a bone folder or ruler edge before you fold.
Reinforcing a box for something heavy like a candle or mug
Cut a second piece of heavy cardboard to fit snugly inside the base. It works as a support tray and stops the paper from sagging. For candles or mugs, glue extra cardstock strips inside the corners, or nest a slightly smaller box directly inside the main one for a double-walled, rigid structure.
Building a box without glue or tape
You can. Classic origami folds and tab-and-slot templates lock together through the folding geometry alone. Use a sturdy, medium-weight paper and score every crease sharp. Floppy folds make locking tabs slip, so precise scoring matters more than the paper you choose.
Don’t forget to pin this to your Birthday Gifts Board for later!