We’re making the messy, magical, slightly lopsided ones that you – or people you gift this to – will cherish for years.
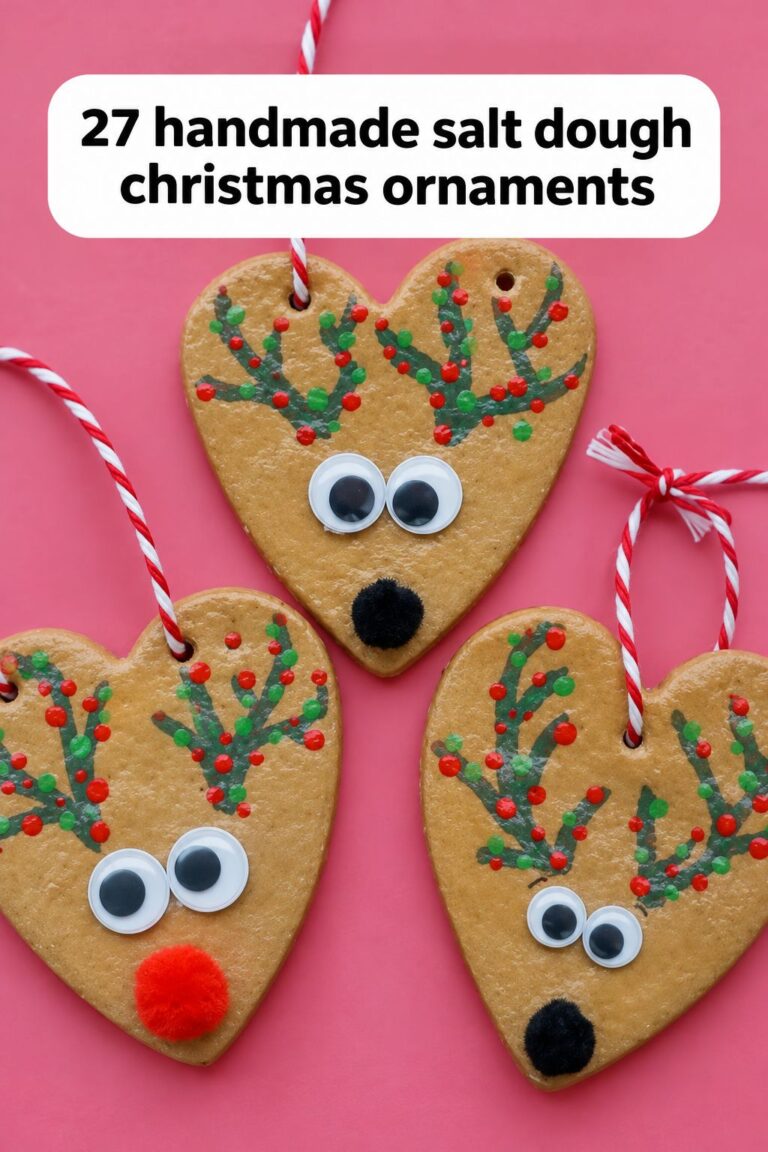
Salt Dough Christmas Ornaments are the ultimate holiday trifecta: stupid-easy, dirt-cheap, and ridiculously cute. You take 3 ingredients you already have in your pantry – salt, flour, and water – and turn them into the most charming keepsakes and gifts.
Ready to make that Christmas tree a whole lot more personal – and way more adorable? Let’s dough this!
Handprint and Footprint Keepsakes
My pick is the Santa handprint if there is a little hand in the house: it only needs one small handprint and some red and white paint, and it makes an easy gift for grandparents. I would skip the pet paw print if your dog will be nosing around while dough dries on the counter, since salt dough is risky for dogs and you don’t need an extra worry during craft time.
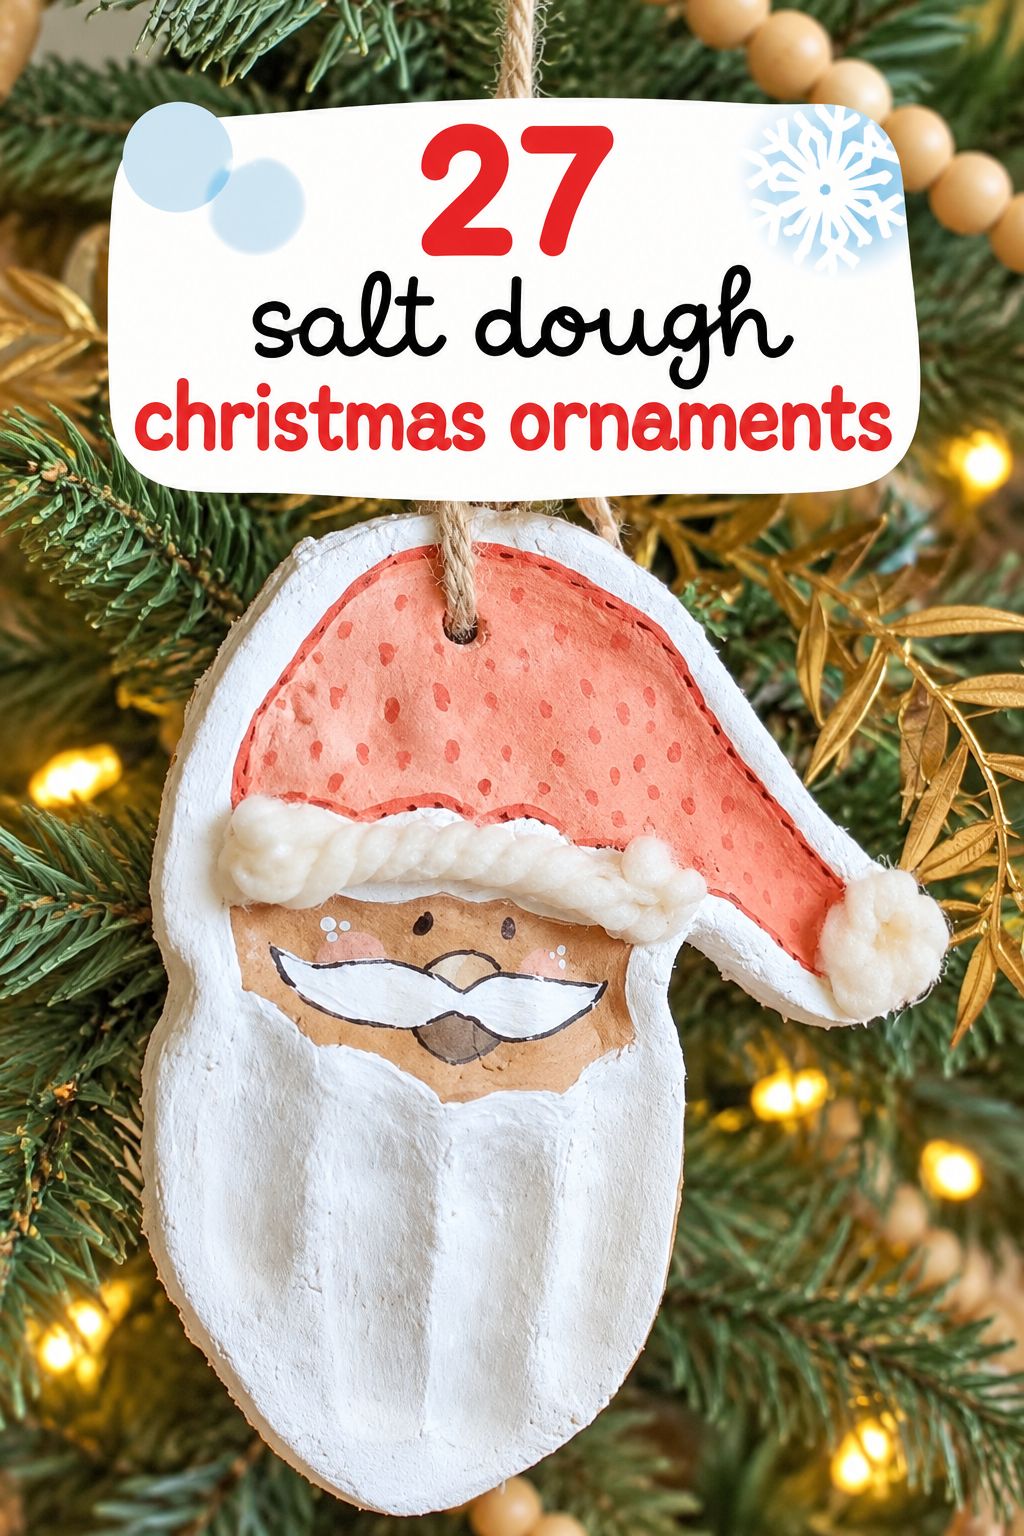
Santa Handprint Ornament
A classic keepsake where a child’s handprint is painted as Santa after baking. You need a round of dough big enough for the hand (a 4 to 5 inch round cutter works), red and white acrylic paint, and a straw for the hanging hole. I think this one suits parents and grandparents who want a first-Christmas style gift without fuss.
Baby’s First Christmas Footprint
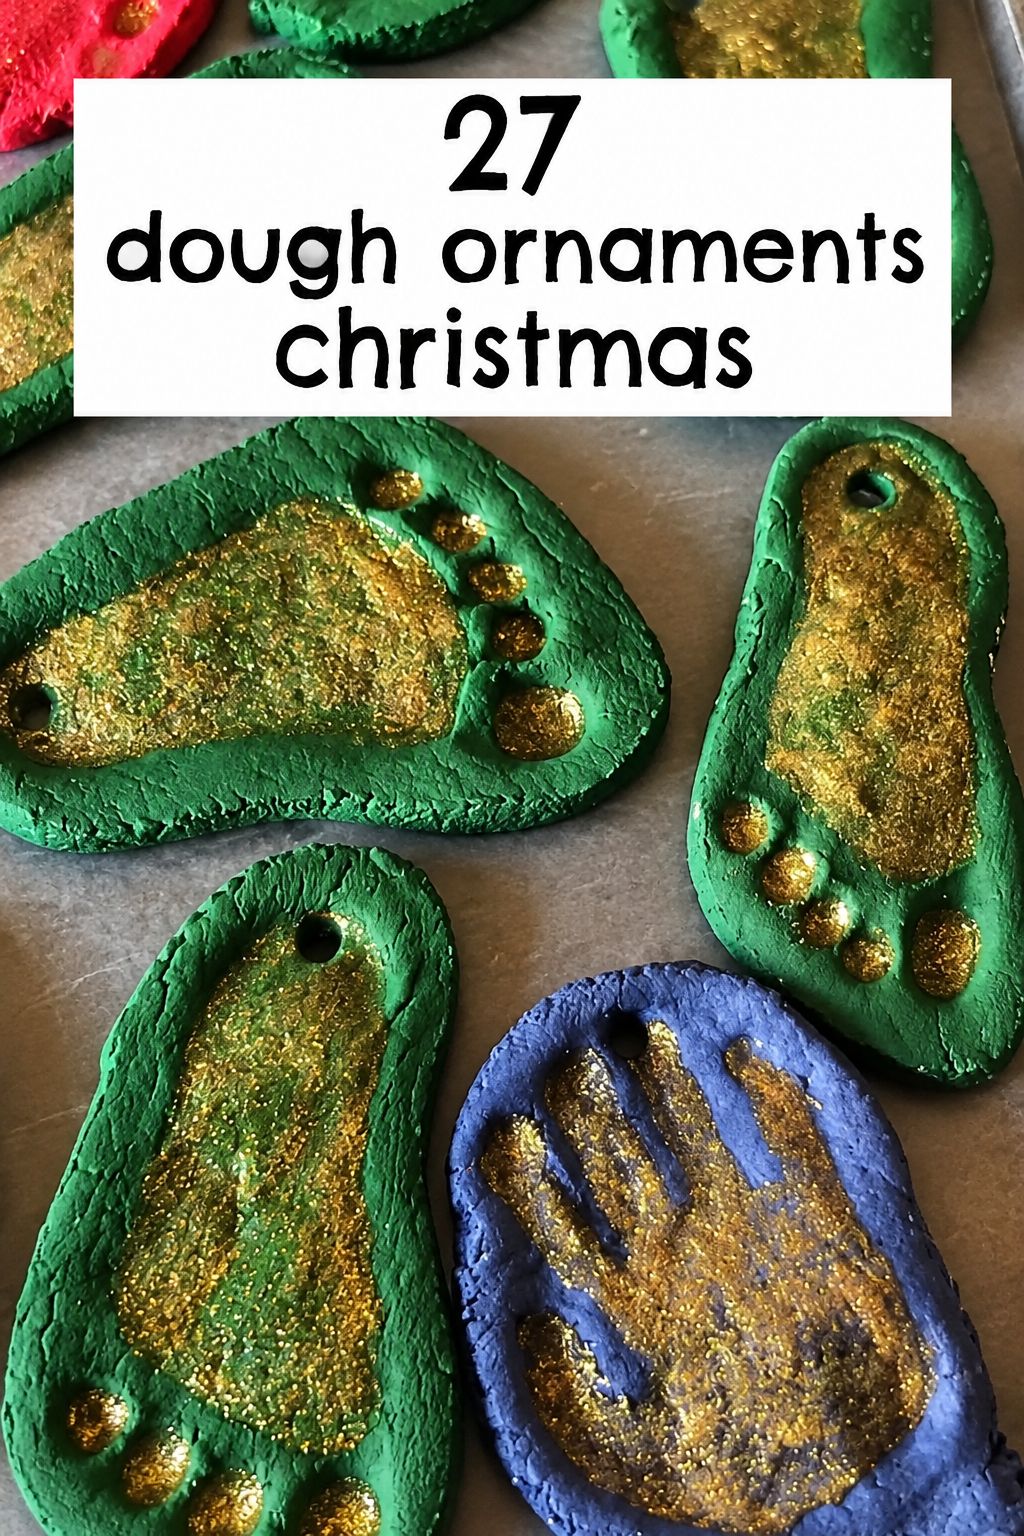
A baby’s foot pressed into salt dough, trimmed around the shape, with the hole poked before baking. One maker’s mix is about 1 cup salt to 1 cup flour with 3/4 cup water, kneaded until soft. Make it for a baby’s first Christmas, and write the date on the back.
Handprint Mitten Ornament
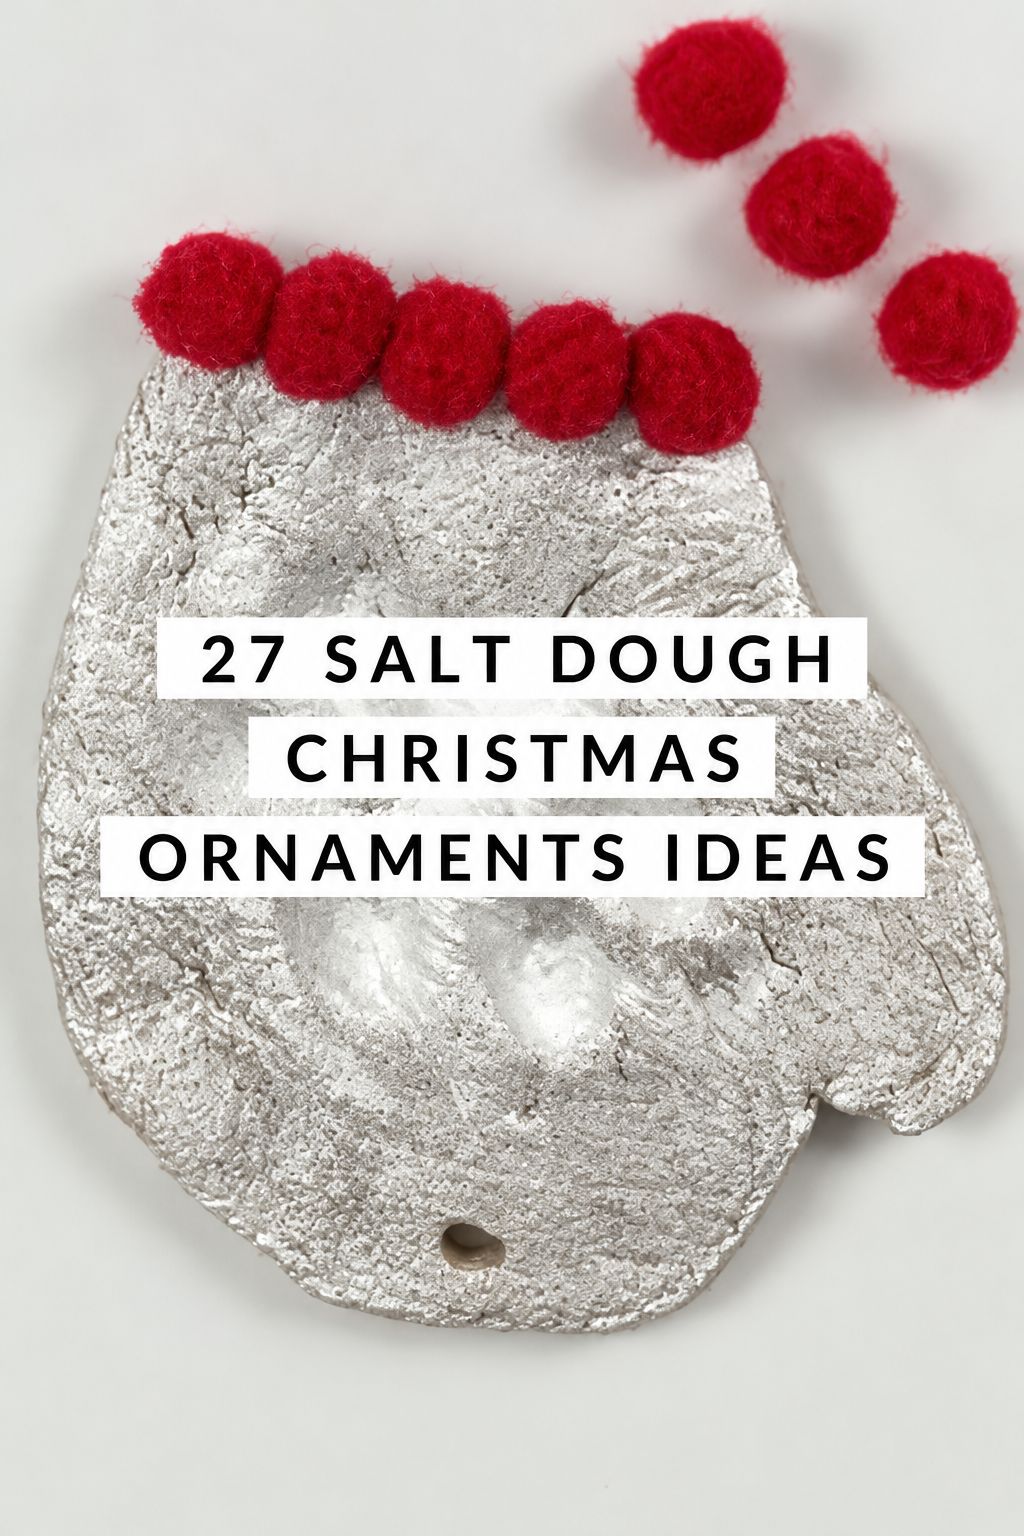
The handprint is cut and painted to look like a cozy mitten, so even wobbly toddler prints read as cute. You just need dough, a knife or cutter to shape the mitten, and paint for details. I recommend this when your helpers are very young and the hands-on part needs to stay short.
Pet Paw Print Ornament
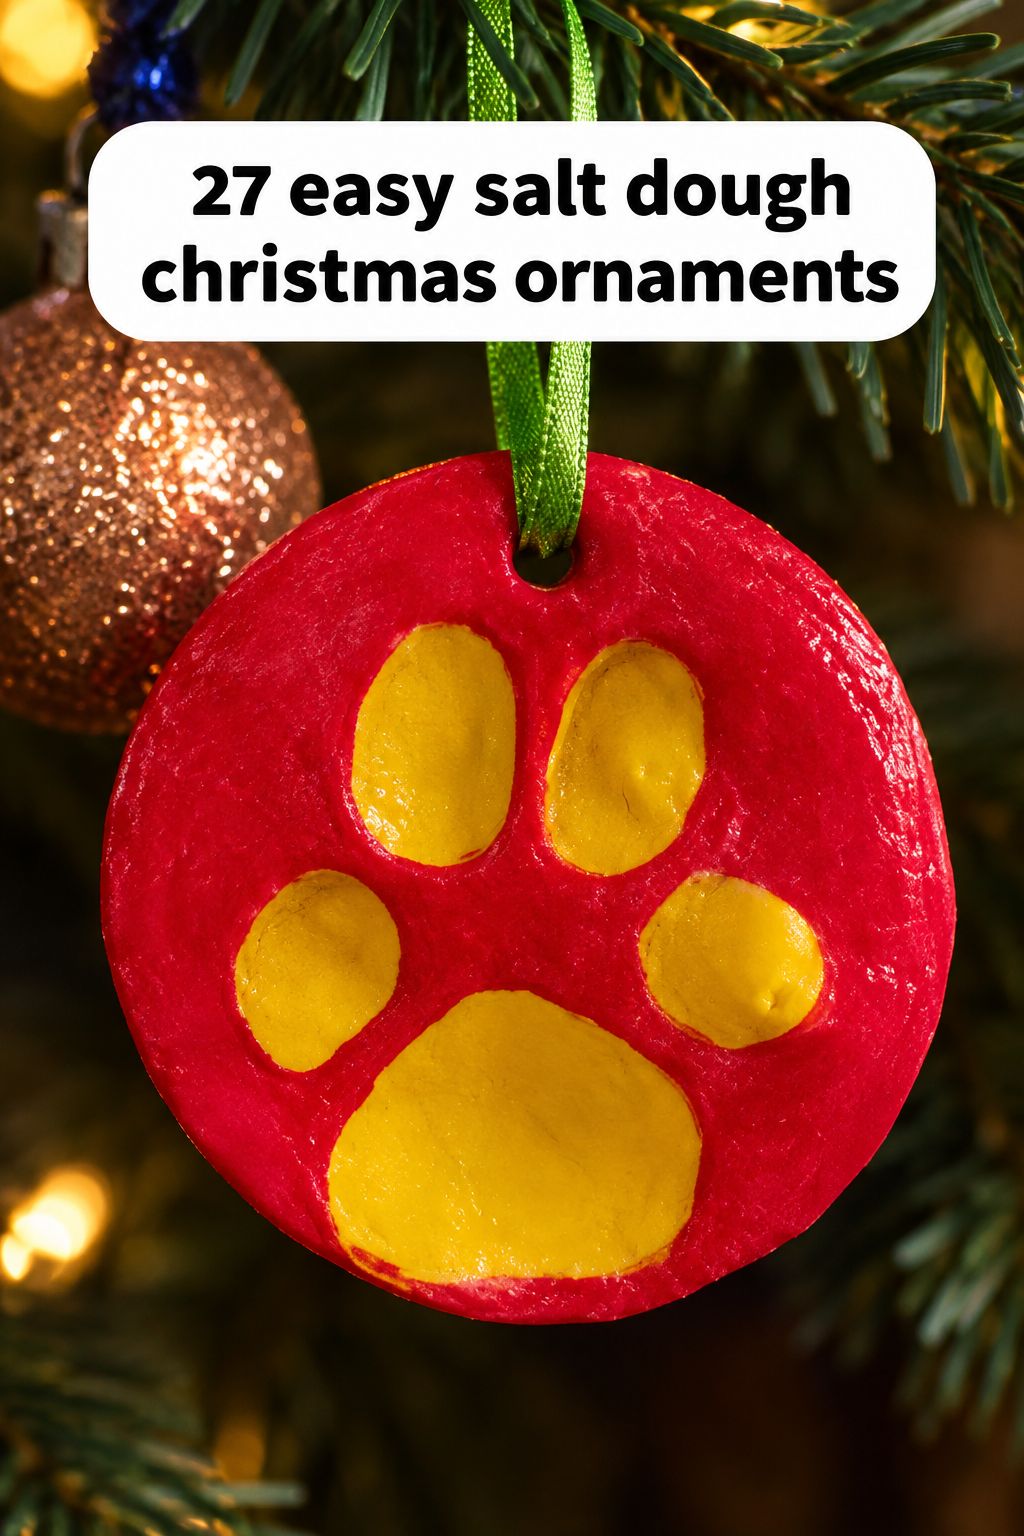
A dog’s paw pressed into dough makes a simple tree ornament you can personalize with a name and year. Salt dough is salty enough to poison a dog, and baked pieces can also cause blockage, so keep pets out of the craft area, let ornaments dry up high, and hang the finished ornament on a tall, sturdy branch. Skip this ornament if you cannot keep paws away while you work.
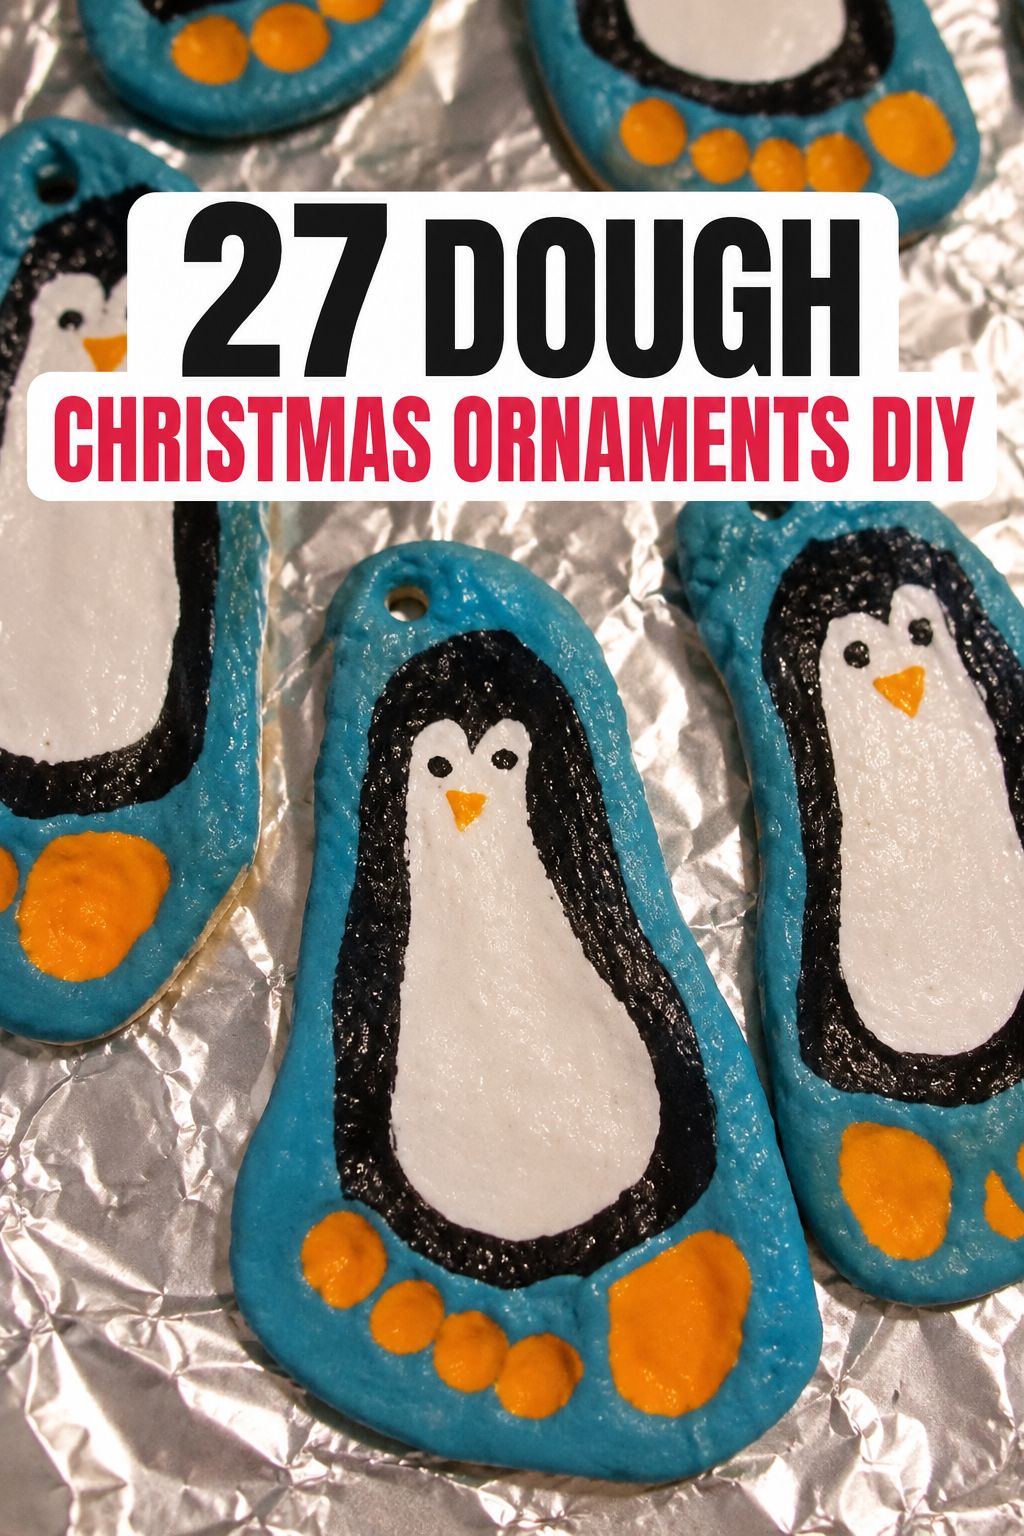
Footprint Penguin Ornament
A child’s footprint painted as a penguin. One maker bakes them at 200°F for 2 to 3 hours, longer for thicker pieces, until hard. I like this for families who want a penguin on the tree without any sculpting.
Fingerprint Christmas Tree
Fingerprints form the Christmas tree on this ornament. This ornament can be made with a microwave method, but I’d follow the low-oven method in the how-to below, since the timings there are for the oven. The fingerprint tree suits kids who are happy to press one fingerprint at a time.

Fingerprint Snowman Ornament
Fingerprints become little snowmen, with the details painted on after baking. You need rounds of dough, white paint, and fine brushes for the faces. Handy when you want a few characters on one ornament.
Cookie-Cutter Classics
If I had to pick one to make with a crowd, it would be the snowman cut-out: three ingredients, and it doubles as a gift tag. I would pass on the faux frosted cookie ornament if you have toddlers or dogs who might mistake it for a real cookie. Salt dough ornaments are not food, and the faux cookie looks convincingly edible.
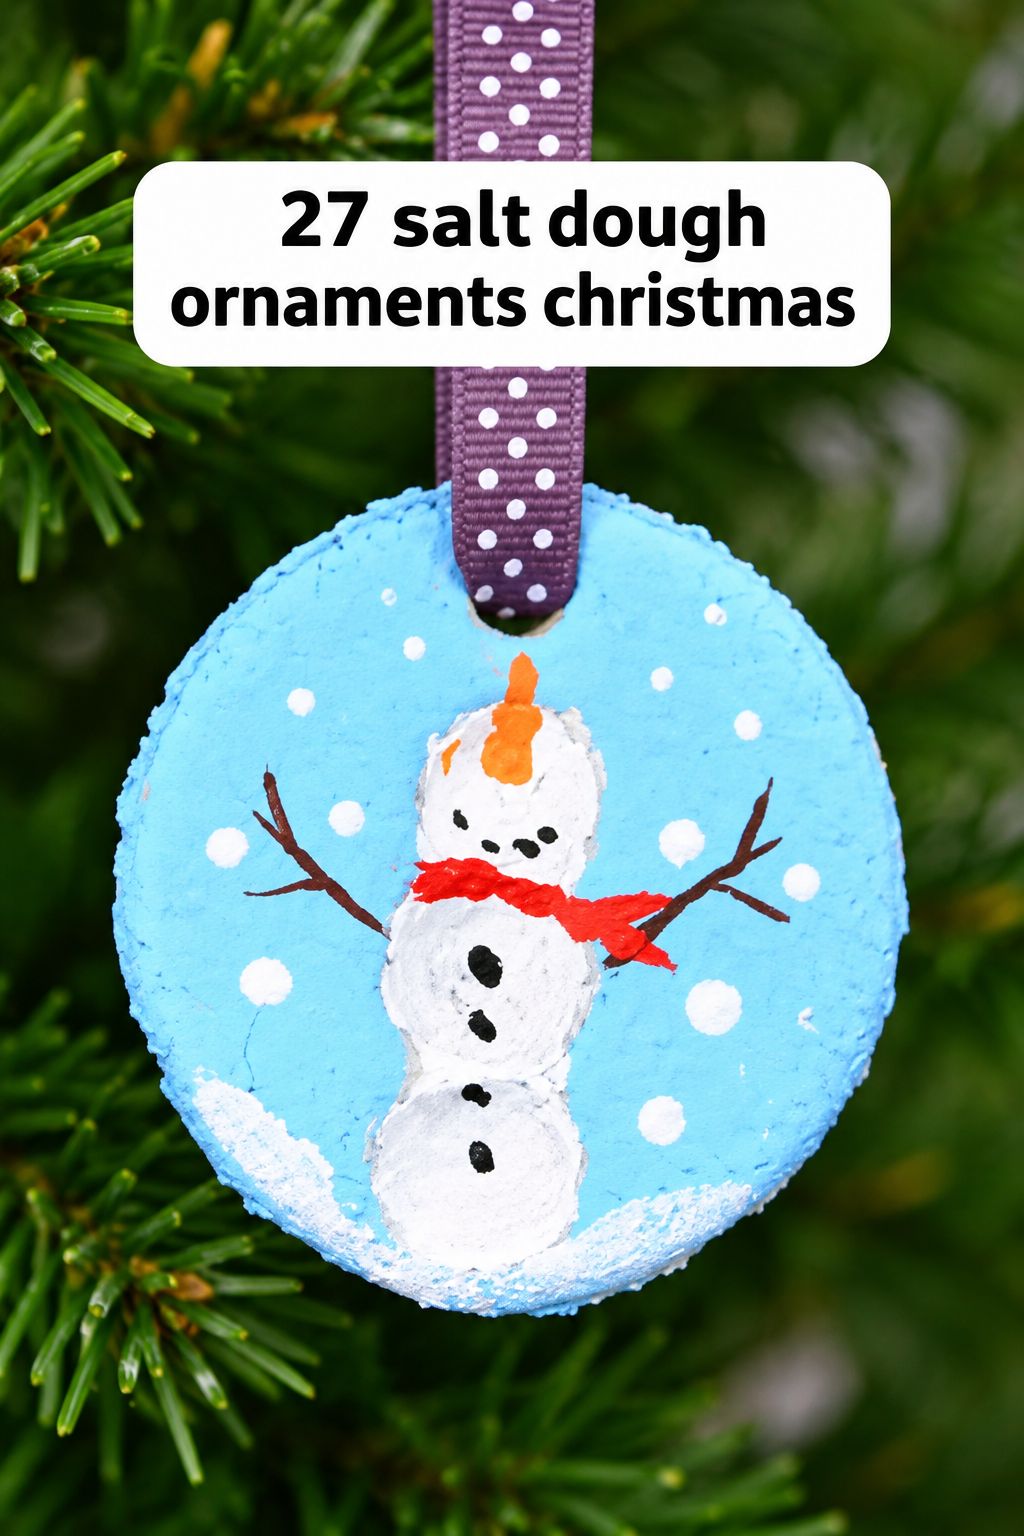
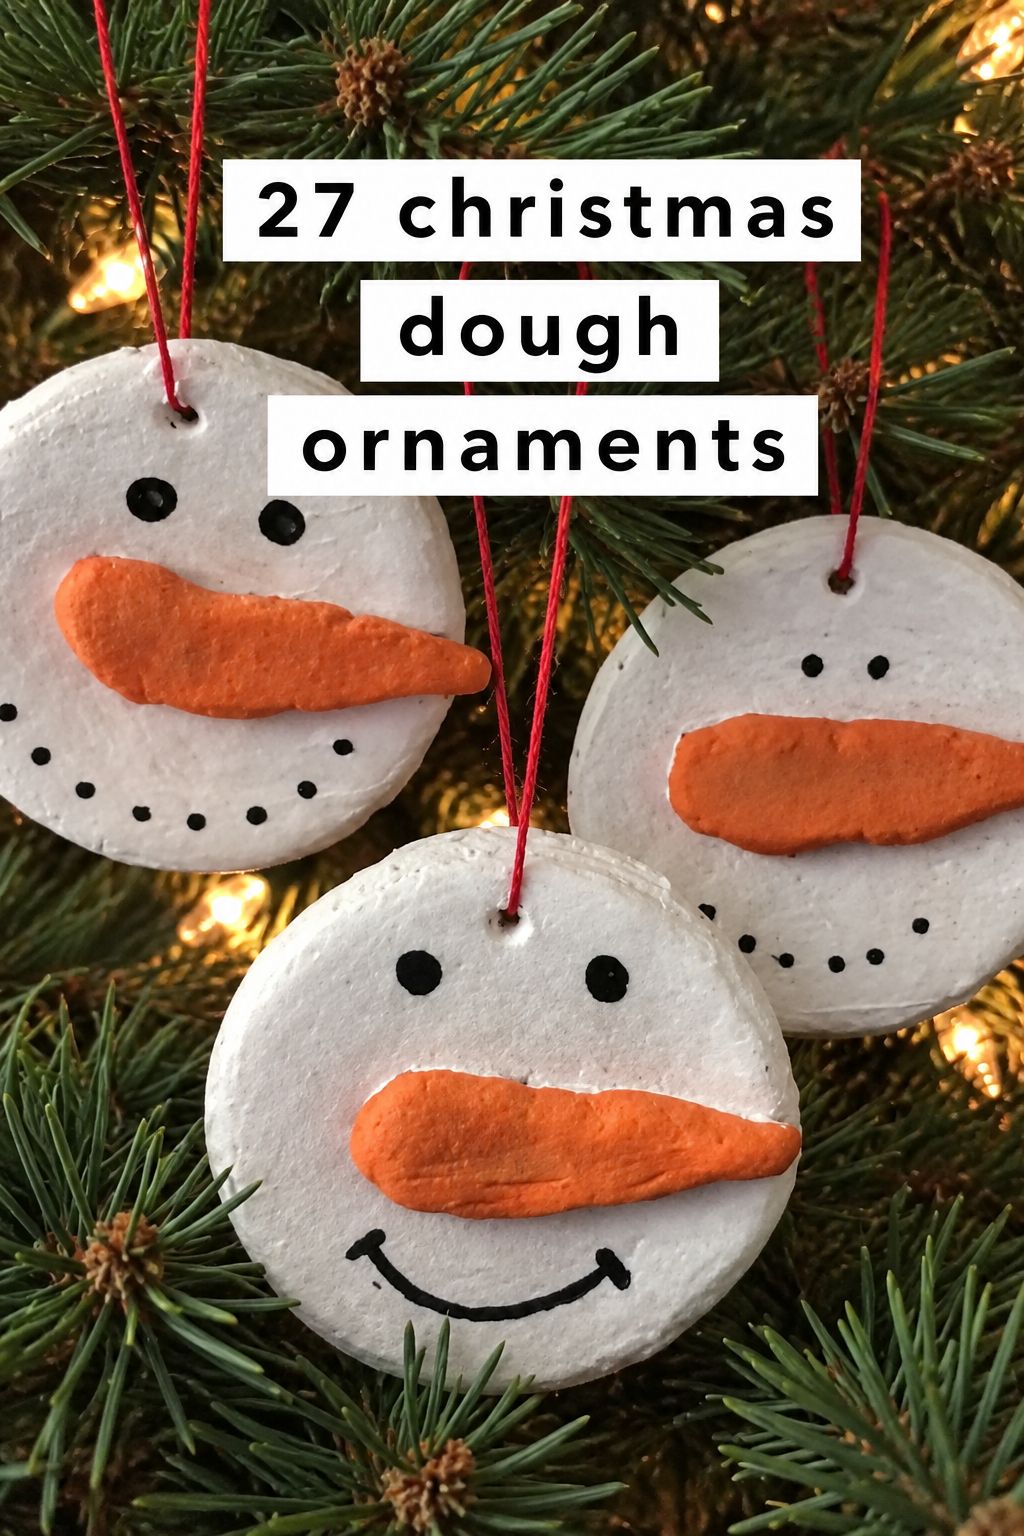
Snowman Cut-Out Ornament
Cut with a snowman cookie cutter, baked flat, then painted and sealed. It works as an ornament or as a tag tied to a present. Kids can make a batch for grandparents without any special tools.
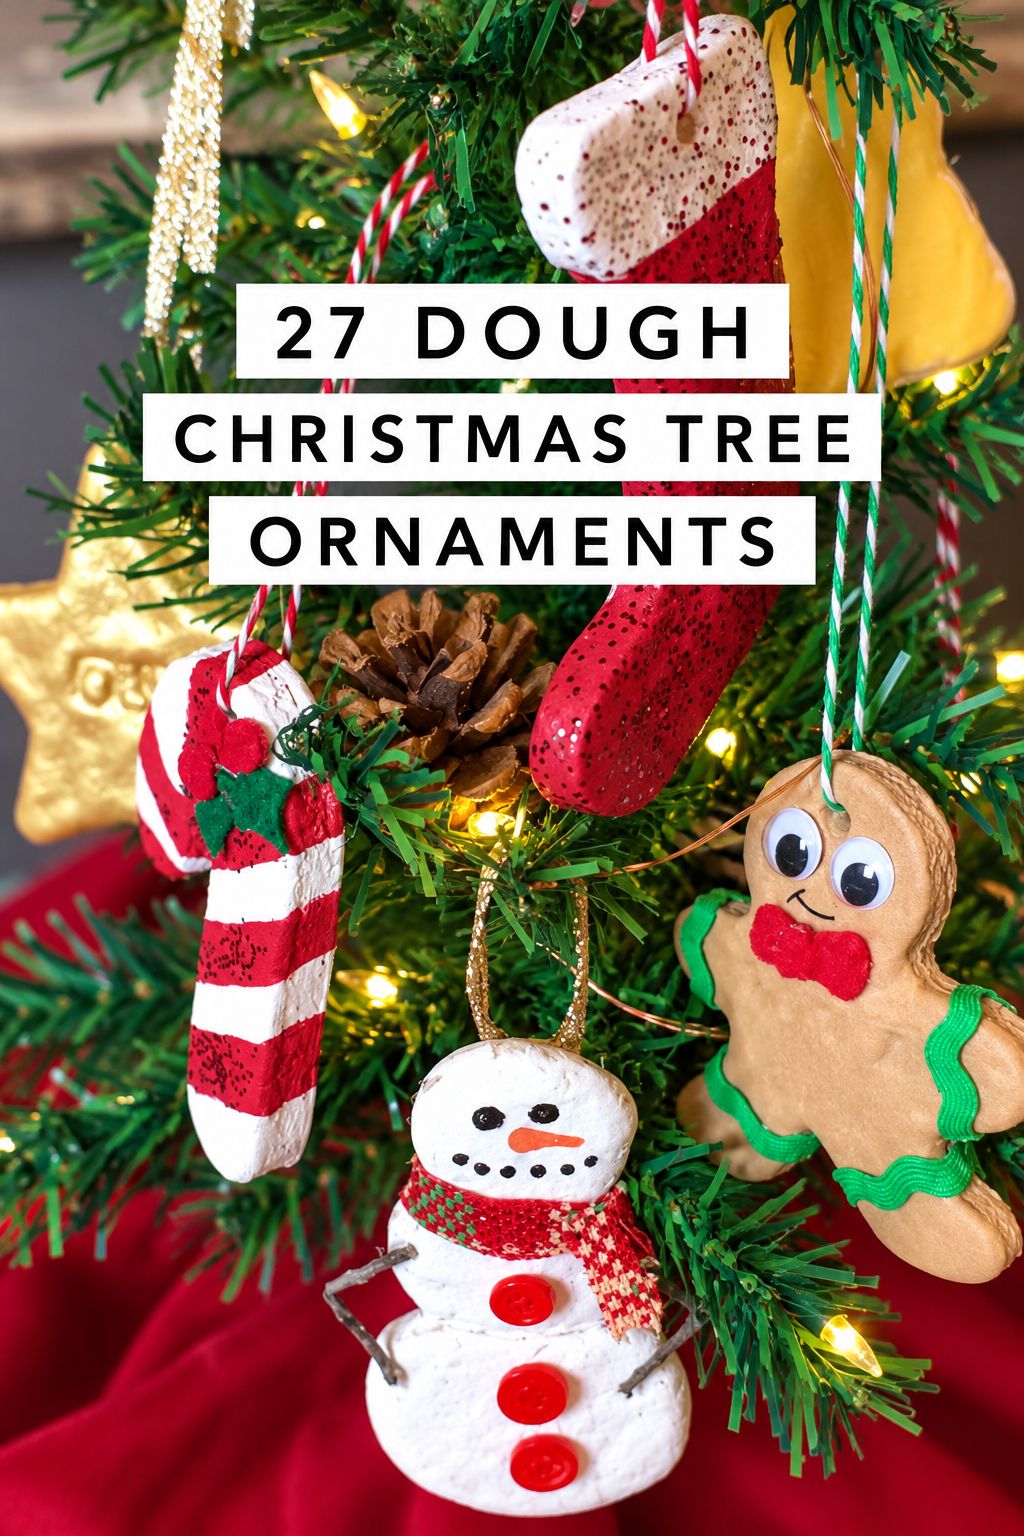
Gingerbread Man Ornament
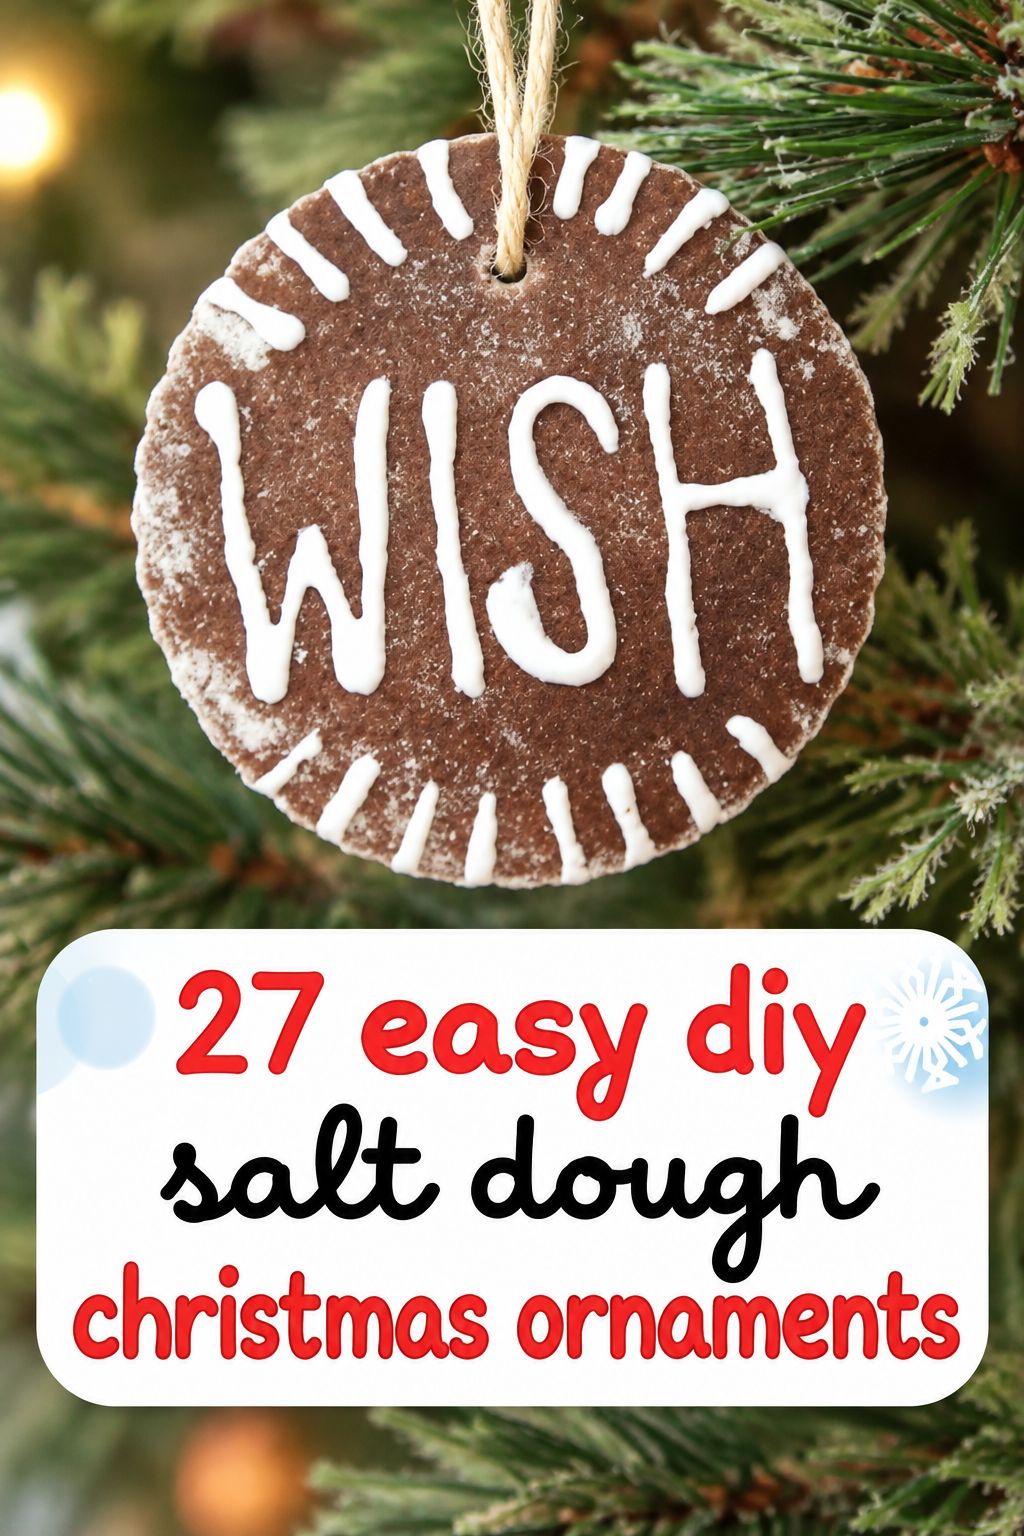
The color is mixed into the dough, so the gingerbread man is tinted before baking, not just painted after. This recipe uses 2 cups flour to 1 cup salt, plus water to bring it together. Good if you want even color without a lot of brushwork.

Rudolph Reindeer Ornament
A reindeer shape cut from rolled dough, baked flat, with antlers and a red nose painted on. You need a reindeer cutter or a steady hand with a knife. An easy fit for a woodland or Rudolph-themed tree.

Faux Frosted Cookie Ornament
Made to look like a decorated Christmas cookie, with salt dough standing in for polymer clay, so it is cheap and simple. I would save it for a display tree rather than one low enough for little hands to grab.

Star Ornament
A clean star cut 1/2 inch thick, baked at 250°F for about 2 to 2.5 hours until fully dry, then painted before sealing. Stars are easy to cut and look good in multiples. Keep this one in your back pocket for leftover dough, when you want a simple shape that still feels festive.
Color, Sparkle and Personal Touches
Colored dough is my pick here because the tint is in the dough itself, so you can skip painting and go straight to sealing. I would skip glitter if you want to finish in one sitting, since glitter is glued on after the ornament is sealed and needs its own dry time.
Colored Dough Ornaments
Color kneaded into the dough so it runs all the way through, then cut into trees or tags. One maker’s batch is 4 cups flour, 2 cups salt, and 2 cups water. Bright ornaments, no painting.

Photo Ornament
A small printed photo is decoupaged onto the baked and painted ornament for a gift-ready piece. You need a flat round or rectangle, smooth paint underneath, and a sealer over the photo. This is the one I would make when you want a face on the tree.

Glitter Ornaments
Cookie-cutter shapes dressed up with glitter, stamped patterns, or felt. The glitter goes on with glue after sealing, not before. Pick this when you want sparkle, and plan for that extra glue step.
Button Ornament
A flat round made to look like a button, with button holes poked through the center. You need a round cutter and a straw or skewer for the holes. This ornament is charming on a rustic or sewing-themed tree and easy for kids to paint.

Stamped, Molded and Vintage-Look Ornaments
Stamped ornaments and gift tags get my vote if you already own rubber stamps, because they look detailed without any sculpting. The Belsnickel mold ornament is the one I would pass on unless you are happy to buy that specific silicone mold.
Stamped Ornaments and Gift Tags
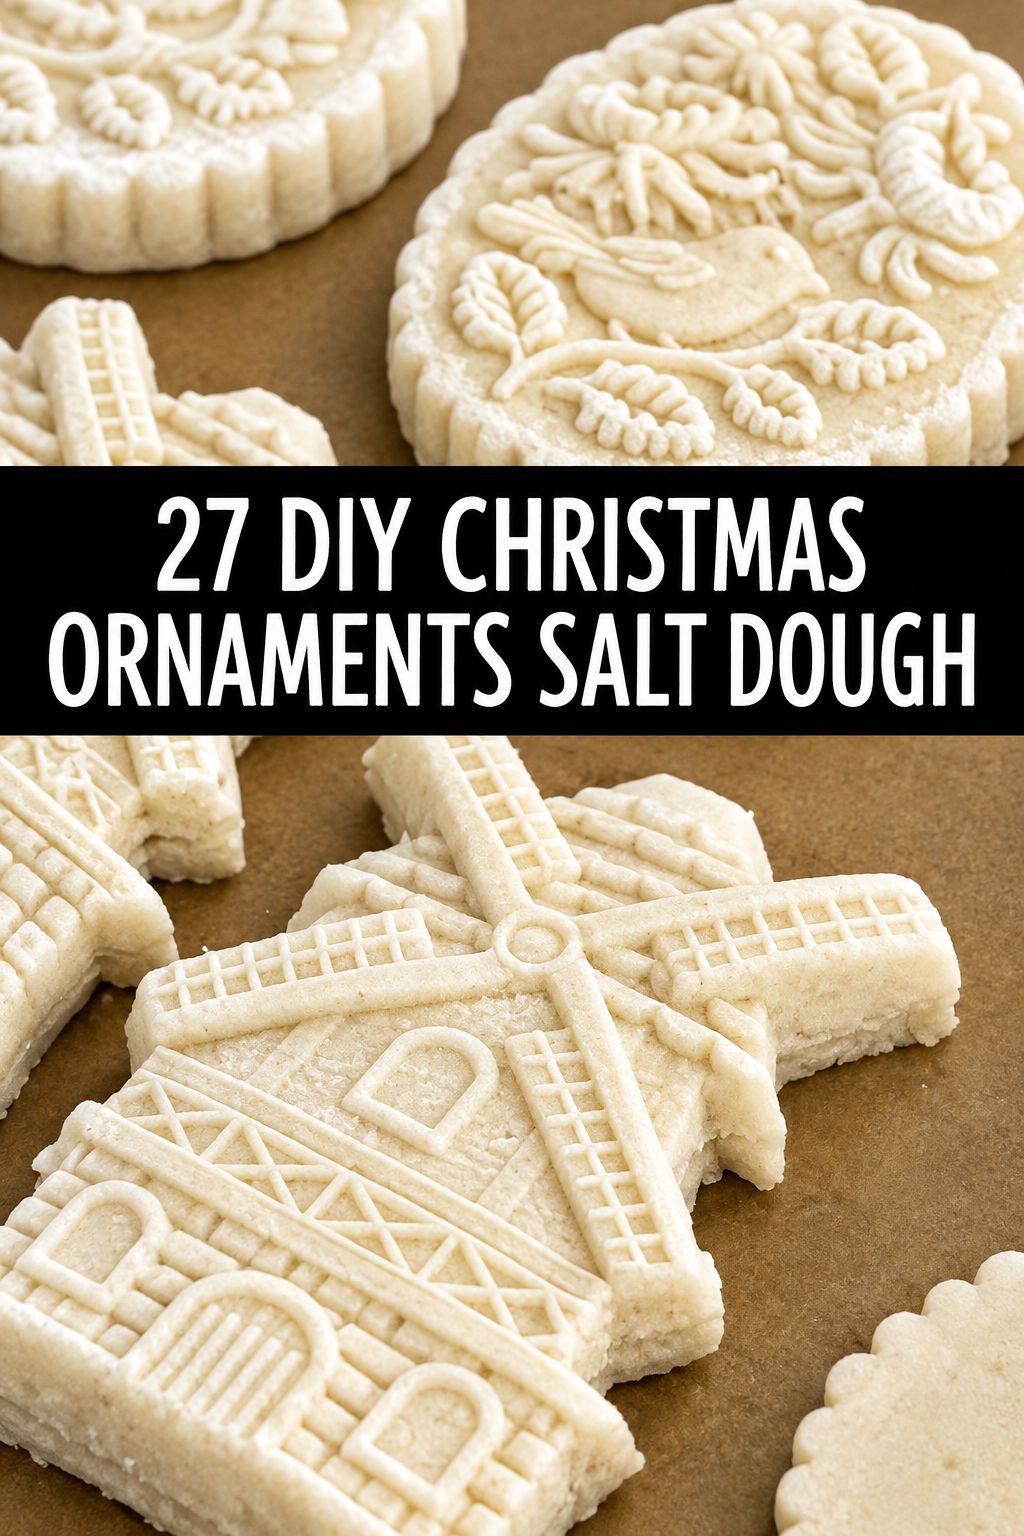
Rubber stamps pressed into soft dough leave patterns that work for ornaments and gift tags alike. Roll evenly, stamp firmly, then bake flat. Reach for this if you like a vintage farmhouse or boho look with little painting.

Embossed Ornaments
Made with an embossing tool or silicone molds for raised detail. If you use a silicone mold, bake the dough in the mold and lift it out after, or the pieces can squish. I recommend this for crafters who want texture without freehand work.

Cookie-Mold Vintage Ornaments
Dough pressed into vintage cookie molds for an old-fashioned relief. Plain salt dough can be sticky in molds, so you will need a release technique to get clean prints. Worth the fuss if you love that pressed, heirloom look.
White Gift Tag Ornaments
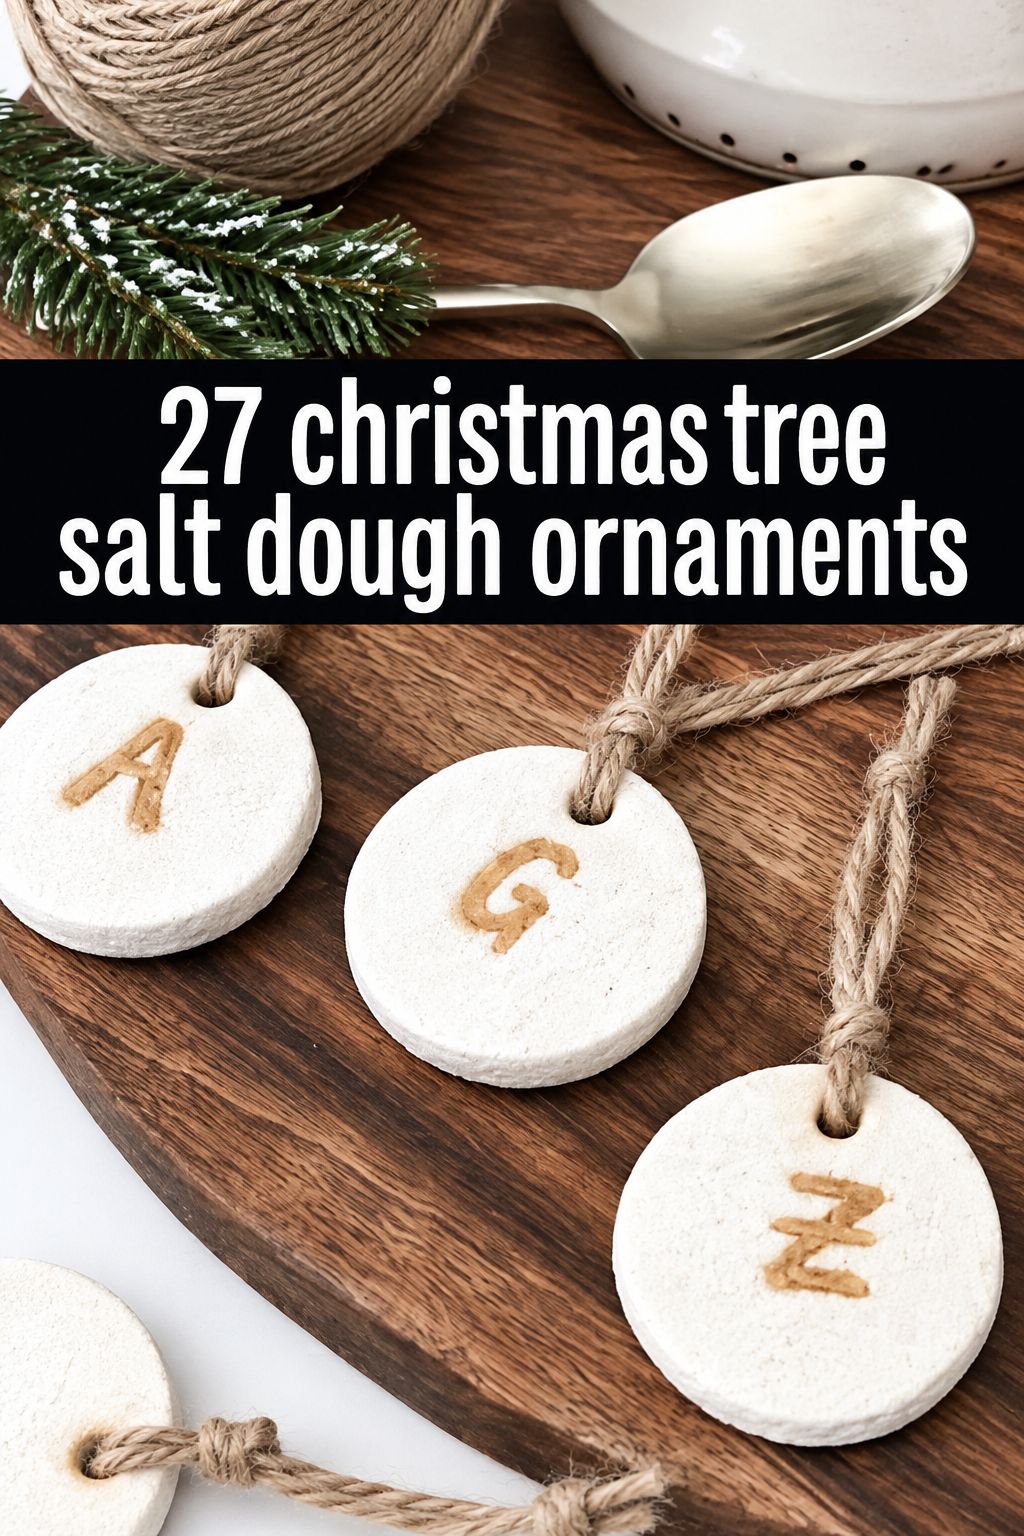
A bright-white dough used for small tags and ornaments that look clean tied to brown paper or ribbon. Keep the pieces thin and even so they dry flat, then seal all sides. Make these when you want tags that double as keepsake ornaments.
Cinnamon-Scented Ornaments
Salt dough with cinnamon added for scent, which is different from cinnamon-applesauce dough. Store these in a sealed bag or container in a cool, dry place. I like this when you want the tree to smell warm.
Belsnickel Mold Ornament
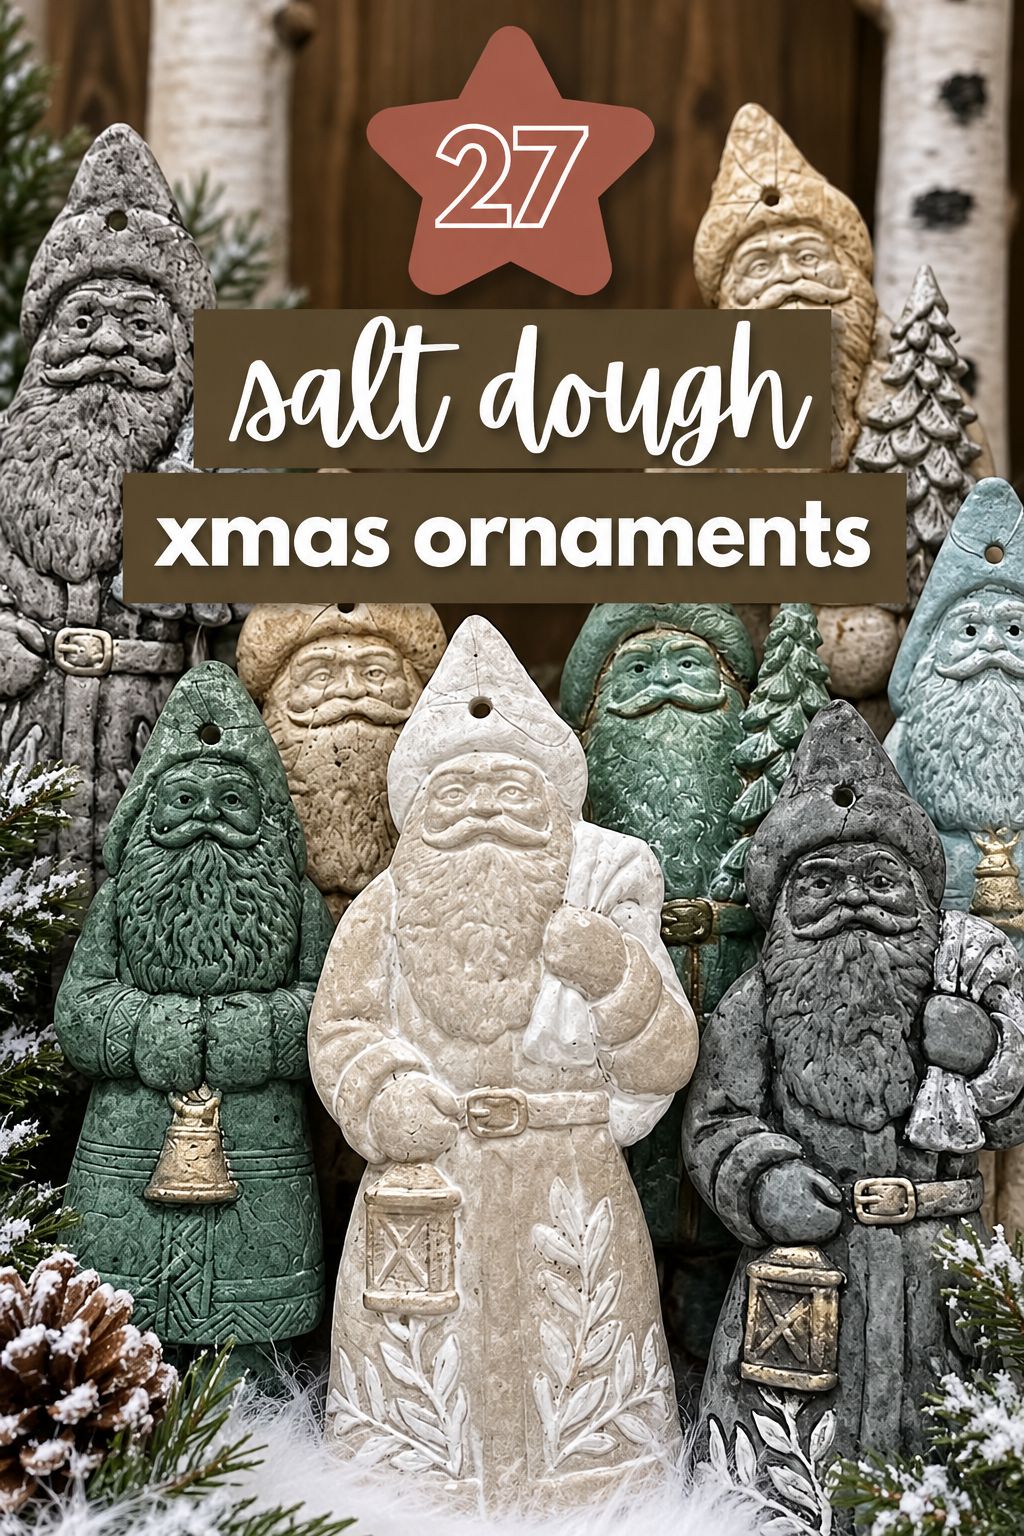
An old-world Santa, or Belsnickel, cast in a silicone mold from three-ingredient dough. The mold supplies the detail, so you do not need to be a sculptor. Save it for when you want a vintage-style Santa on the tree and do not mind buying the mold.
Sculpted 3D Ornaments
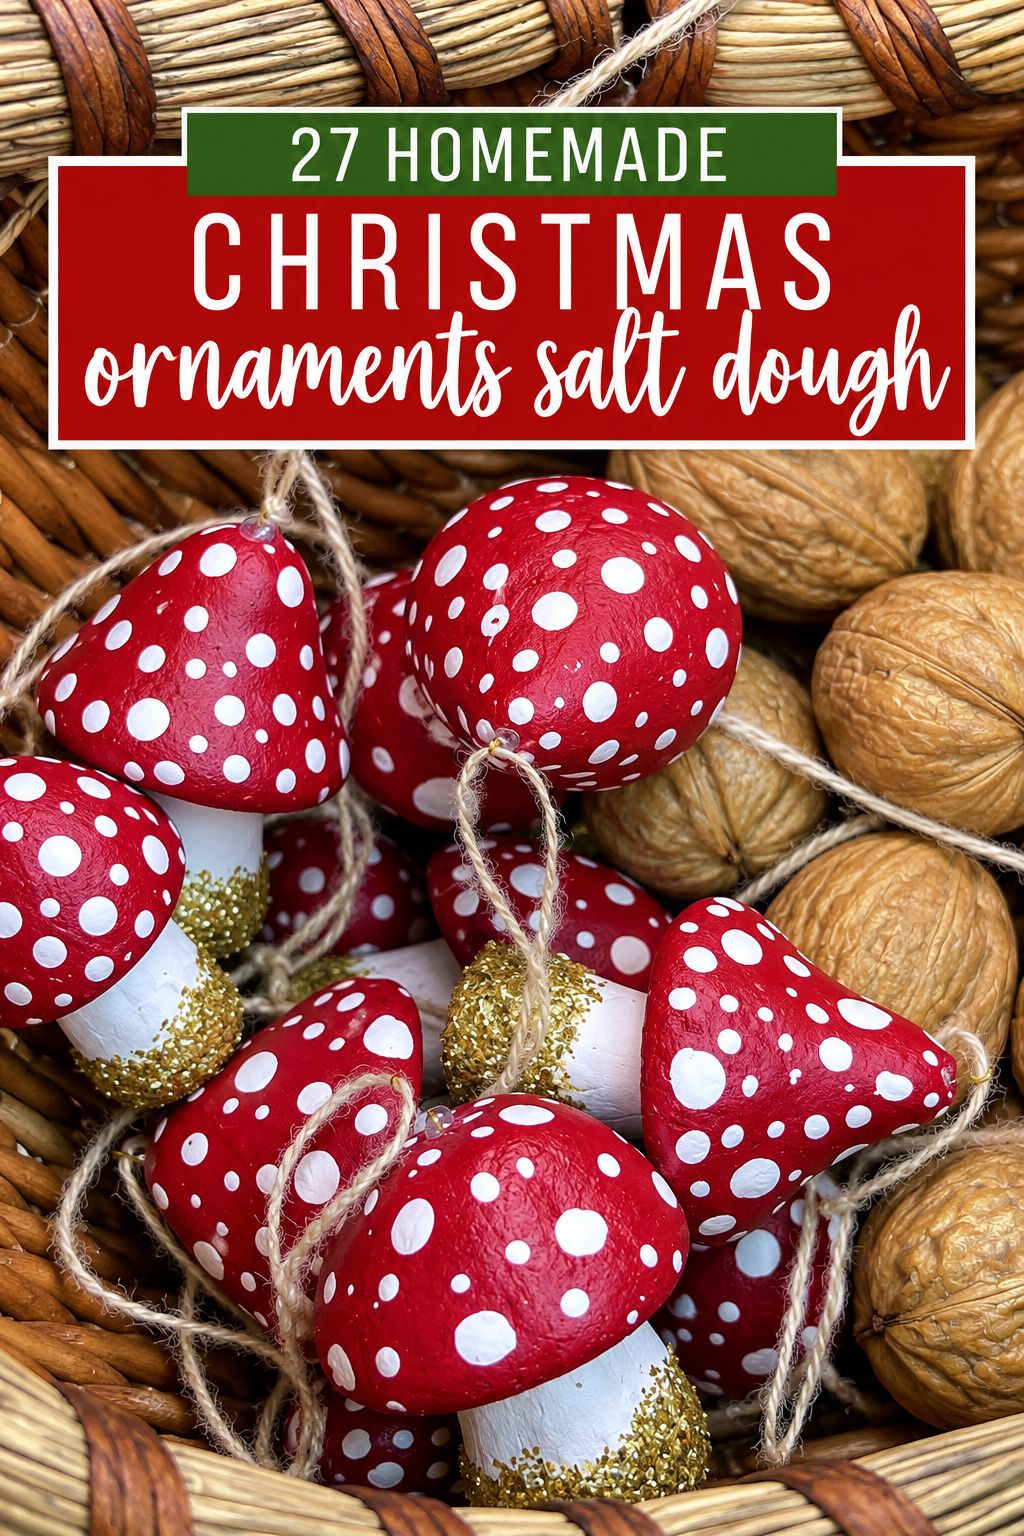
My favorite in this group is the red toadstool mushroom: it’s just simple shapes painted red, and it sits nicely on a natural-themed tree. I would skip the sculpted Santa for little kids, because it needs detailed hand-modeling that is frustrating for small fingers. Thicker 3D pieces also need a longer, low bake to dry all the way through.
Red Toadstool Mushroom Ornament
A small mushroom cap and stem shaped from dough, painted red, and hung as an ornament. Any color works if you want to match your tree. The toadstool is a good pick for woodland decor and for makers who like to shape rather than cut.
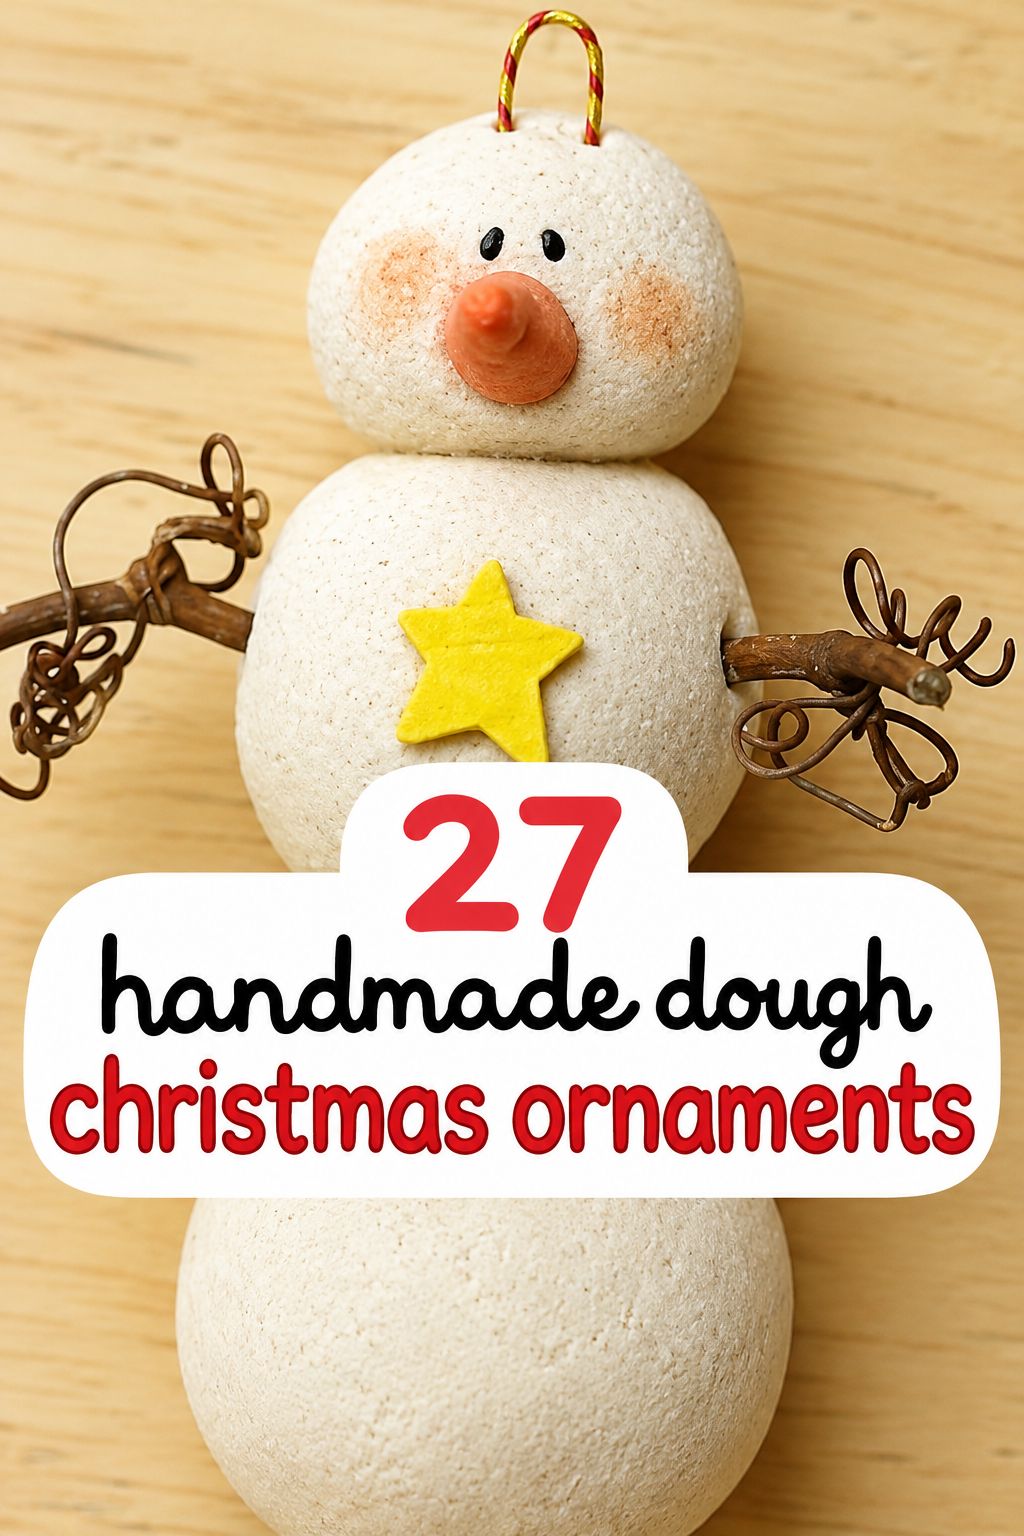
Sculpted 3D Snowman
A little snowman built up from rounds of dough and accessorized, with a few variations to try. Keep the size modest and the thickness even so it dries through in the oven. Go this way when you want a dimensional character instead of a flat cut-out.
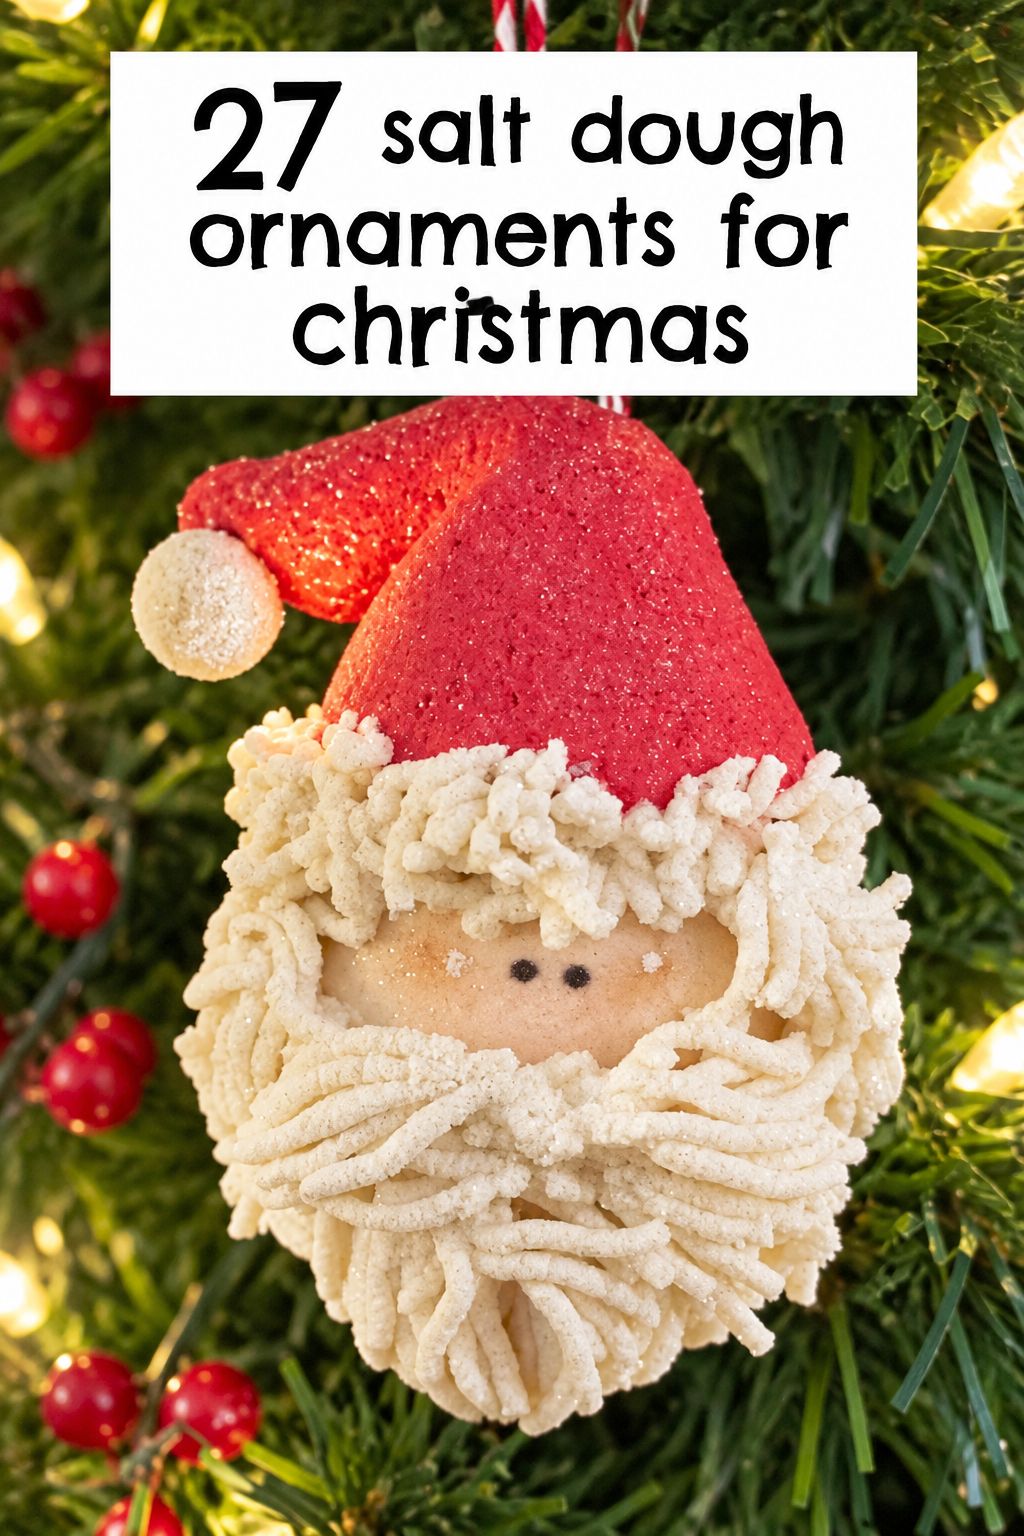
Sculpted Santa Ornament
A hand-sculpted Santa built step by step, with beard, hat, and coat details. It takes more time and a steady hand, plus a thorough dry before painting. I think it is best for adults or teens who enjoy modeling.
How to Make Salt Dough Ornaments
Salt dough, sometimes called homemade clay, is not the same as store-bought air dry clay. Salt dough is flour, salt, and water that hardens in a low oven. Recipes disagree on times and temperatures because thickness, flour, and ovens all change the timing, so the steps below give ranges that keep your dough ornaments flat and hard.
Mix 2 parts flour to 1 part salt, then add about 1 part warm water. Some makers use a little less water, about 3/4 cup per 2 cups flour. Use plain all-purpose flour, not self-rising flour, which can make the dough puff. Knead 5 to 10 minutes until soft and smooth. If the dough is sticky, knead in a little more flour, about a tablespoon at a time. If it is stiff, add water the same way.
Roll to an even thickness, about 1/4 inch for most ornaments. Thinner pieces bake faster, and very thick pieces can split from trapped air. Keep the thickness even across each piece so it bakes evenly.
Make the hanging hole before baking with a straw or skewer.
Bake low and slow, 200 to 250°F, until hard and dry, checking every 20 minutes. Thin cut-outs often take 90 minutes to 2 hours. Handprints and thick or sculpted pieces usually need 2 to 3 hours or more, and some 200°F recipes run 4 to 6 hours. The ornament should feel firm without much give, not soft or squishy.
If your dough puffs, the oven is likely too hot or you used self-rising flour, and sometimes it happens anyway. Lower the heat and bake longer. Do not turn the temperature up to speed things along.
You can air dry salt dough ornaments, but it takes about 4 to 7 days and is slow in cool or humid weather. A short bake helps remove the last moisture and lowers the chance of mold. Microwave methods exist too, but I would stick with the oven, since that is what these timings cover.
Once the ornaments are fully dry and cool, paint with acrylic craft paint. If you paint a background and then details, let the first color dry before adding the next. Seal every side and edge with Mod Podge or a clear spray sealer, doing one side, letting it dry, then the other. Never seal a damp piece, because you will lock the moisture inside.
Store finished ornaments wrapped in bubble wrap in a hard container, away from moisture and where they will not get knocked around. Keep them dry between seasons so they do not soften.
FAQ
How Long Do Salt Dough Ornaments Last?
Sealed and kept dry, they can last for years. There is no measured lifespan to quote, but makers report long life when pieces are fully dried, sealed on all sides, and stored away from humidity. Moisture is the main threat. It can soften them, make them crumble, or cause mold, so wrap and box them for storage.
Are Salt Dough Ornaments Safe Around Pets?
Only with care, because they are not food. The salt content is high enough to poison a dog, and a baked ornament can also cause pain or blockage if chewed or swallowed. Keep pets out of the area while you mix, roll, and dry, let pieces dry up high, and hang finished ornaments on a tall, sturdy branch. If a pet eats any, call your vet or an animal poison helpline right away.
Can You Make Salt Dough Ahead?
Yes. Raw dough keeps for a couple of days in an airtight bag or container with as much air pressed out as possible. If it went in the fridge, let it come back to room temperature before rolling, because cold dough turns hard.
For three kitchen staples, salt dough asks for a lot of patience. Make a little extra for a test piece so you can check your oven’s timing before the handprints go in, then seal every edge, and this year’s ornaments can still be on the tree next December.
Don’t forget to pin this to your Christmas Gifts Board for later!