I am excited to introduce you to Erica Jackson Curran who put together the creative post below on how to DIY your own invitation keepsake frame. A big thank you to Erica!
Your wedding invitation is one of the first details you choose after getting engaged, not to mention it gives your guests a first glimpse of the fun ahead. It’s a pretty significant little piece of paper, so why do our extra copies often get stored away with the other wedding supplies after the big day?
Invitation Keepsake Frame (DIY)
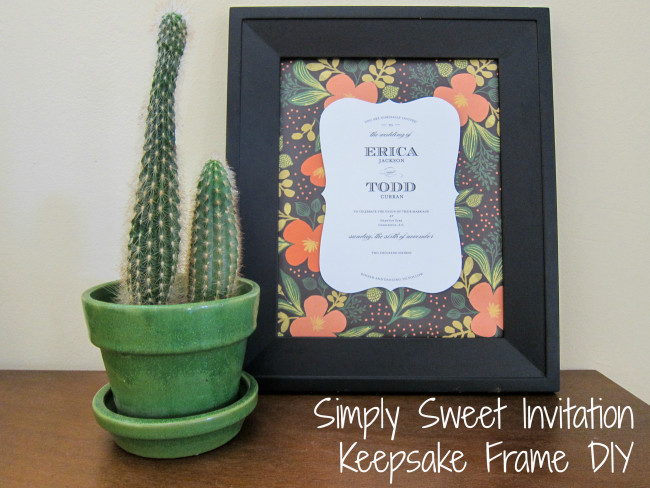
Give your invitation the spotlight it deserves by creating a simple keepsake frame that will always remind you of your special day. And for your engaged and recently married friends, this is a quick, affordable project that makes for a truly thoughtful wedding or shower gift.
Supplies Needed:
- A copy of your wedding invitation
- Frame
- Pretty paper
- Ruler
- Scissors
- Glue stick
- Pen
Now let’s get started!
Step 1: Prepare your Frame
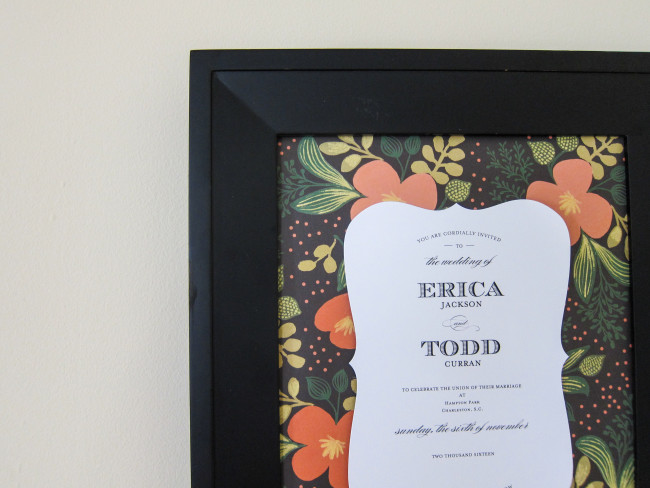
Luckily, I had a basic black frame at home that I knew would perfectly complement the simple elegance of my invitation. However, feel free to get creative here! You may find a lovely vintage frame that just needs a coat of paint, or you could dress up a plain frame with a swipe of color that ties in with your invitation or paper.
Whatever you choose, make sure that the frame is several inches larger than your invitation in order to allow plenty of room for your background pattern.
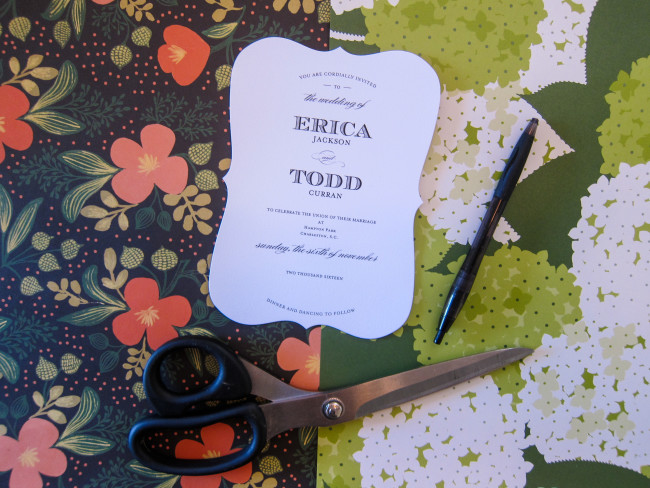
Step 2: Choose your paper
You can go in one of two directions: If your invitation is very intricate and colorful, you’ll probably want to choose background paper that quietly complements your design. Because my black-and-white invitation is so simple, I decided to have some fun with the paper. I took the invitation to a local stationery store and spent some time holding it up against various wrapping papers. I ended up bringing home two different sheets of wrapping paper. After comparing each pattern to my frame and invitation at home, I decided to go with Rifle Paper Co.’s Midnight Floral pattern.
Step 3: Cut the paper to size
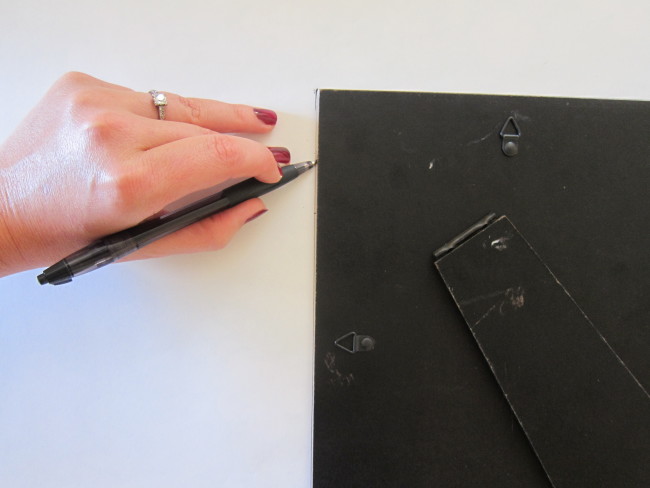
Most frames will have a sheet of paper or cardboard inside that you can use to cut your paper exactly to size. Because mine didn’t, I simply used the back of the frame as an outline, traced it out, and started snipping. I then glued the paper to the front of the frame’s backing.
Step 4: Carefully center your invitation
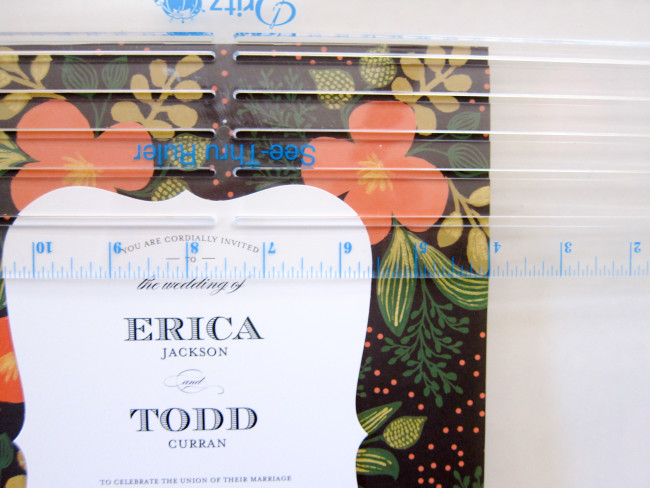
You may be tempted to eyeball this step, but I’d recommend using a ruler to ensure that you center your invitation perfectly—especially if you’re using paper with a busy pattern, like mine. Once you’re absolutely sure it’s centered, secure it with glue or double-sided tape.
Step 5: Slip it in the frame and hang!
Once you’ve given the glue a chance to set, carefully slide your finished project into the frame and find the perfect place to hang it. I think they’re especially sweet in the bedroom, powder room, or really anywhere where it will be a conversation starter.

About the Author
“Erica Jackson Curran is the Bridal Editor of Charleston Style & Design Magazine. She has written about weddings for Charleston Weddings, Smitten, and Destination I Do. Erica loves to share her invitation inspiration and other wedding details as a blogger for Shutterfly.”


Erica Jackson Curran
May 21, 2015 at 8:36 amThanks so much for having me!
Helpful Reviewgowns.gr
May 22, 2015 at 4:41 amThanks for sharing.
Helpful Review