Wedding Signage Checklist: Every Sign You Need and Exactly Where to Put It
Your guests are wonderful people.
They are also, the moment they step out of their car at an unfamiliar venue, completely lost. Without clear wedding signage, they will wander. They will text you. They will accidentally walk into the wrong event. And you will be mid-vow, unable to help them.
This is the signage checklist that skips the decor fluff and focuses on function. We are talking about legibility, placement, and the kind of wording that is polite but leaves zero room for confusion.
The signs your guests will actually use, starting exactly where they do: the parking lot.
1. The Arrival: Parking and Directional Signs
Picture this: it is three minutes before your ceremony, and half your guests are circling a gravel lot texting each other for help. High-impact signage starts at the curb, not the altar.
Why It Matters
This is the very beginning of your guest experience. Clear directional signs prevent the parking lot panic spiral and ensure everyone is seated before you start walking. Nobody wants a late arrival tiptoeing down the aisle mid-vow. Nobody.
What to Say
Keep the wording blunt, the text high-contrast, and the arrows massive. Stick to:
- Wedding Parking
- Shuttle Pick-Up
- Drop-Off Only
If your venue hosts multiple events on the same day, add your names. You really do not want Great Aunt Martha accidentally crashing the corporate fundraiser next door.
Placement Strategy
Your first sign goes exactly where guests turn off the main road. Repeat at every fork or junction. Watch out for these common fails:
- Tiny fonts: if it is not readable from a moving car, it is just lawn decor
- Vague arrows: point to the lot, not the general direction of the universe
- Single signs: if there are multiple entrances, you need multiple signs
Quick count before you order: tally every entrance and every decision point. Budget one sign per fork in the road, and add your names for any shared venue spaces.
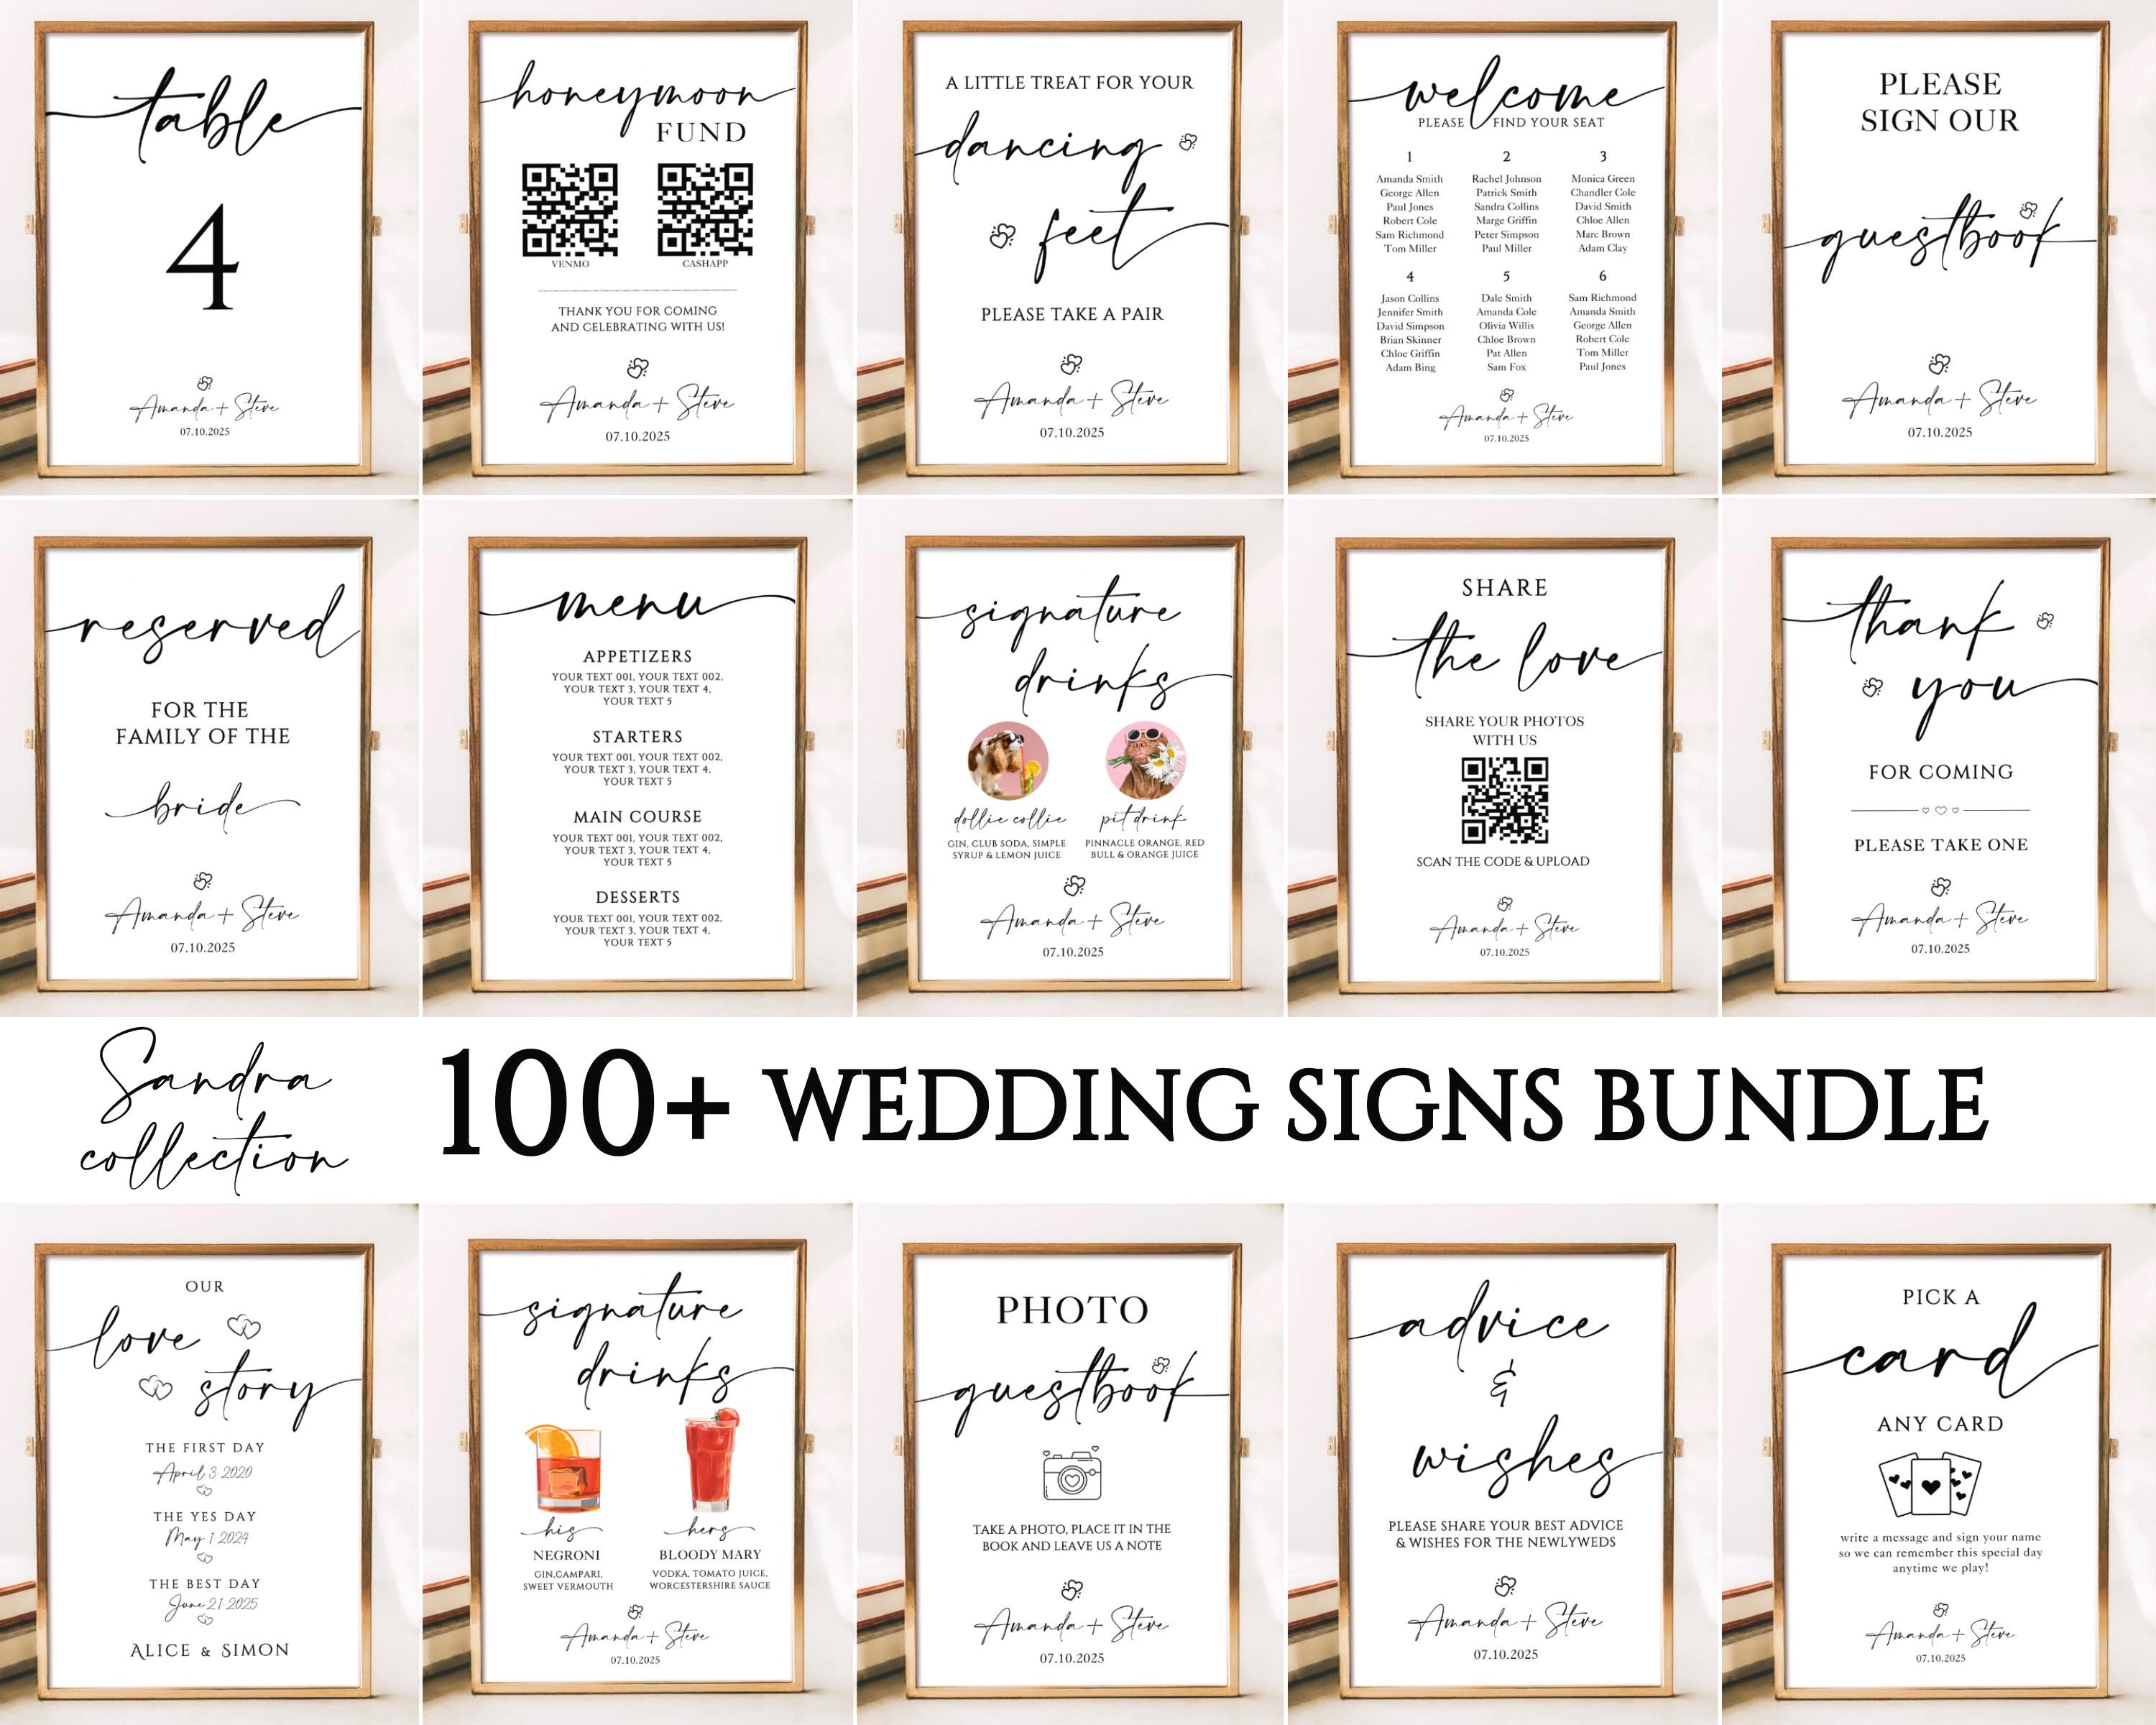
100+ Editable Minimalist Wedding Signs
2. The Greeting: The “You’re in the Right Place” Sign
There is nothing quite like walking into a ballroom and slowly realizing you have crashed a stranger’s event. Awkward for everyone involved. Your welcome sign is more than a Pinterest-worthy photo prop. It is a functional confirmation checkpoint that tells guests they have found the right party.
Think of it as the “GPS destination reached” moment. At a venue with multiple simultaneous events, this sign is doing real work. It is the first essential item on your checklist, and it earns its spot.
Wording Options
You do not need a poem. Quick and clear works beautifully:
- The Minimalist: “Welcome to the wedding of [Name] & [Name]”
- The Helpful Host: add the date and the specific garden or room name to clear up any property confusion
Placement and Design
Position it where guests naturally pause as they approach the ceremony, not directly in the doorway where it creates a human bottleneck. We love fancy calligraphy as much as the next person, but the word “Welcome” needs to be readable from five feet away. If guests are squinting, the sign is failing its actual job.
The Pro Move
Add a small line or arrow at the bottom pointing to the next step, like “Ceremony this way.” It keeps the flow moving and stops guests from second-guessing every turn.
3. The Pathfinding: Wayfinding Signs for Seamless Flow
Half the guests missing cocktail hour because they wandered the wrong wing of a vineyard is a classic planning fail. Totally avoidable. If your venue has complex outdoor-to-indoor transitions, multiple buildings, or any layout that requires a “just walk until you see people” strategy, wayfinding signs are non-negotiable.
The Essential Sign Set
Minimum coverage for most venues:
- Ceremony
- Cocktail Hour
- Reception
- Restrooms (yes, even if there is already a plaque on the door)
- Exit / After Party
The Golden Rules of Arrows
One message, one arrow. This is not the moment for clever phrasing like “This way, my dudes.” Just point the direction clearly.
A sign goes at every fork and every doorway that could plausibly be mistaken for an entrance. If you have an accessibility route, mark it with a clear “Ramp” sign so no one ends up staring at a flight of stairs wondering what to do next.
Avoid the Bottleneck
Keep the seating chart out of narrow hallways. Placing it there is the fastest way to create a human traffic jam. The goal is flow toward the bar, not a dozen people blocking the entrance while scanning for Table 12.
4. The Digital Boundaries: Social Media and Unplugged Signs
A professional photo ruined by a guest’s neon-pink phone case is not the aesthetic anyone planned. Whether you want a fully phone-free ceremony or a shareable hashtag, your signage needs to set clear digital expectations. Most guests genuinely want to be respectful. They just need a sign to tell them how.
Copy-Paste Scripts for Every Vibe
Stumped on wording? Steal these:
- The Unplugged Vow: “We invite you to be fully present. Please keep phones and cameras away during the ceremony.”
- The Posting Delay: “We are savoring the moment. Please wait to share any photos until after the reception ends.”
- The Hashtag Hero: “Share the love! Use #[YourHashtag] so we can see the party through your eyes.”
Strategic Placement
Unplugged signs go at the ceremony entrance, where they are the last thing guests see before sitting down. For hashtags and posting guidelines, the bar area is your best friend. Guests love to snap a selfie while waiting for that first signature cocktail.
The Pro Move
Do not let the sign do all the heavy lifting. Ask your officiant to make a quick announcement before the processional. It reinforces the message and means you are not playing phone police on your own wedding day.
5. The Front Row: Managing Reserved Seating Without the Drama
A distant cousin casually claiming the Mother of the Bride’s seat is a recipe for family chaos and awkward reshuffling right as the music starts. Reserved signs are your first line of defense for four key groups:
- Immediate family and VIPs
- The wedding party
- Guests with accessibility needs
- Late-arrival holds
Two Clean Ways to Handle It
You do not need visual clutter to keep the aisle sharp. These two approaches work well:
- Individual row signs: simple tags or ribbons draped over end seats
- The minimalist approach: one “Reserved” sign at the start of the row, with ushers managing the rest
Strategic Wording
Keep it polite but firm. No room for “accidental” seat-stealing:
- Reserved for Family
- Wedding Party Seating
- Accessible Seating Held
Placement and Common Pitfalls
Signs go on the aisle seat, visible before anyone sits down. A sign tucked in the middle of the row is too late to stop a confident squatter.
Do not reserve half the venue. Over-reserving leaves gaping empty rows in your professional photos while guests are cramped in the back. Hold seats only for those who need them and keep it strategic.
6. The Big Picture: Schedule Signs for Seamless Transitions
Spending your reception answering “When is dinner?” forty times is not the plan. A well-placed schedule sign acts as a silent coordinator, preventing guest confusion and helping everyone pace their cocktail hour accordingly.
Think of it as your “Tonight’s Moments” list. You do not need a play-by-play of the DJ’s set. Stick to the milestones guests actually care about:
- Ceremony time
- Dinner and speeches
- First dance
- Late-night food
- Send-off or after party
For multi-day celebrations or multi-location events, add a brief “Where to be” line for each item to keep everyone oriented.
Smart Placement and Design
Place your timeline where people naturally pause: the cocktail hour entrance or the reception foyer. It gives guests something useful to read while waiting for their first glass of champagne.
Keep the font large and the list short. If it takes more than five seconds to scan, you have added too much. Give guests the highlights. They will find the tacos when the tacos arrive.
7. The Reception Pivot: Moving the Crowd Without a Megaphone
Guests clustering awkwardly in a doorway, waiting for permission to enter, is a total momentum killer. The reception entrance sign marks the official shift from ceremony mode to party mode, and its primary job is to give people an immediate task.
Think of it as a polite traffic controller. Pick one clear instruction and pair it with a directional arrow:
- “Grab a drink” pointing toward the bar
- “Find your seat” pointing toward the seating chart
- “Sign our book” pointing toward the guestbook table
Position the sign at the reception entrance or just before the main room doors. This is a fun place to get creative with your decor, whether that means an ornate frame, a neon sign, or something that matches your vibe. Just make sure the instruction is readable. If guests cannot see where you are pointing them, they will hover. You want flow, not a guessing game.
8. The Seat Search: Mastering the Seating Chart and Escort Cards
There is a phenomenon where perfectly capable adults lose the ability to find their own name the moment they see calligraphy. It turns entrances into mosh pits if you are not careful. Whether you go with a classic chart or individual escort cards, the goal is the same: get people to their tables fast so the bar line stays manageable.
Give It Space
Placement is the most common failure point. Avoid positioning your chart in:
- Narrow doorways or hallways
- Right next to the bar
- Near the bathroom line
Choose a wide, open area where a crowd can gather without blocking the rest of the party.
Make It Scannable
Alphabetical by last name. This is not negotiable. Grouping by table number forces every guest to scan every single name, and the line backs up fast. Keep headings clear and table numbers large enough to read from a distance.
The Crowd-Flow Trick
Hosting 100 or more guests? Set up two identical charts a few feet apart to split the crowd and cut wait time in half. If you are using heavy frames or mirrors, make sure they are anchored safely. A gust of wind toppling the seating chart is not the excitement anyone needs.
A small instruction line helps the confused: “Find your name, note your table, grab a drink.”
9. Table Talk: Numbers, Names, and Navigating the Room
Table numbers are not just decor. They are the GPS for your entire reception. They get your guests seated quickly and help the catering team deliver the right plates to the right people. No one wants to circle the ballroom for ten minutes, and your vegan bridesmaid really does not want the ribeye.
If you are using creative names instead of numbers, make sure your seating chart matches the table display exactly. If the chart says “The Parisian Café,” there had better be more than a tiny croissant on the table. Consistency is what keeps this system from falling apart.
A few logistics to keep in mind:
- Size matters: the number should be larger than your centerpiece. If guests have to move a floral arrangement to read the table, it is too small.
- Prime placement: visible from the room entrance, not tucked behind a wine bottle or hidden in eucalyptus.
- Sturdy stands: choose something that will not topple if a guest’s sleeve brushes past.
- Candle check: if there are candles nearby, skip thin paper that curls or becomes a fire hazard when things heat up.
10. The Bar Menu: Your Secret Weapon for Shorter Lines
The bar line moves slowly for one main reason: guests reach the front with no idea what they want. Clear bar signage keeps orders moving and saves your bartenders from fielding “what do you have?” every thirty seconds.
What to Include
Prioritize readability and keep it simple:
- Signature cocktails: name plus a one-line description so guests know what they are committing to
- Beer and wine: a clean list of brands and varietals
- Cash bar info: accepted payment methods at the top, clearly stated
This prevents the “I forgot my wallet” shuffle and gets people back on the dance floor faster.
Design and Placement
Use a design hierarchy where drink names are large and bold, and details like “splash of lime” stay smaller below. Skip the loopy scripts that are impossible to read after one glass of champagne. If guests are squinting to tell gin from rum, the sign is not doing its job.
Menus go at eye level at every bar station. Multiple bars mean multiple signs. A “Last Call” sign is genuinely useful at venues with strict end times. It signals the end of the night without anyone having to shout over the music.
11. The Dietary Map: Food Labels and Favor Signage
Playing “mystery sauce roulette” at a buffet is less fun than it sounds when someone has a dairy allergy. Clear food labeling spares your guests the anxiety and the catering staff the repetitive questions.
What to Tag
You do not need a full ingredient breakdown for every dish. Keep it snappy: dish name plus the essential dietary tags. This is especially important at stations, food trucks, and passed hors d’oeuvres where the “what even is this?” factor is high.
Focus on the big four:
- Gluten-Free (GF)
- Vegetarian or Vegan
- Contains Nuts
- Dairy-Free
The Sweet Stuff and Favors
Apply the same logic to the dessert table. People have strong feelings about biting into a cupcake expecting vanilla and getting lemon. Label flavors and fillings clearly so guests can commit to their sugar rush with full confidence.
Do not let your favors go untouched. A simple “Please take one” sign at the exit prevents the sad end-of-night scenario where you are left with fifty personalized candles because guests were not sure if they were allowed to touch them.
Visibility Is Key
Labels go at the start of the buffet line, not halfway down after the plate is already full. High contrast, plenty of whitespace, bold fonts. Guests are reading these quickly in dim lighting, and a delicate script is nobody’s friend in that situation.
12. The Sentiment Station: Guestbooks, Cards, and Gifts
Finding a stack of heartfelt cards shoved behind a floral arrangement three days after the wedding is a logistical nightmare with an emotional sting. Every checklist needs a plan to keep this station visible, functional, and secure.
Help Them Leave a Mark
Do not let your guestbook become a beautiful paperweight because nobody saw it. Use a sign like “Sign Our Book” or something with a little more personality: “Leave a Note for the Newlyweds.” If you are going non-traditional, include one-step instructions to prevent guest stage fright:
- Audio guestbook: “Pick up the phone, wait for the beep, leave a message.”
- Polaroid station: “Snap it, shake it, stick it, sign it.”
- Advice cards: “Share your best marriage advice here.”
Label the Loot
Make the gift table easy to find. Add a directional arrow if it is tucked away. Keep the wording warm but clear: “Cards and Gifts” works perfectly well, and “Cards, Gifts, and Your Best Marriage Advice” works even better if it matches your vibe.
Placement and Security
Position this station somewhere visible and staffed, ideally near the entrance during cocktail hour. A sign is not a security guard. Use a locked box for cards and have a trusted person move everything to a safe room once dinner begins.
The Technical Execution Guide: Legibility, Weatherproofing, and Logistics
Now that you have your sign priorities sorted, here is how to make them actually work. A sign that is beautiful but unreadable is expensive clutter. We are talking pure function.
The Golden Rule of Legibility
One inch of letter height for every ten feet of viewing distance. If your parking sign sits thirty feet from a driver’s seat, those letters need to be at least three inches tall.
Script fonts get trickier because flourishes and slanted letters reduce visual clarity. Size them up by an extra twenty percent compared to block fonts. Then do the Fridge Test: print your sign at full size, tape it to the refrigerator, and stand at the distance your guests will actually be. If you cannot read it instantly, the font is too small.
Accessibility Basics
High contrast is your best friend. Dark text on a light background, or light text on a dark background. Avoid tone-on-tone combinations like gold on cream because they disappear completely in low light.
Keep font weights sturdy. Ultra-thin scripts have no business being on a “Restrooms” sign. Place primary signs at roughly five feet from the ground and make sure no easel legs are blocking pathways. If you use a bilingual layout, keep both languages visually balanced. Shorten your wording to fit rather than shrinking the font.
The Outdoor Survival Kit
Wind is not your friend if you are using lightweight foam core, which will act like a sail and disappear before cocktail hour. Go with heavy wood or acrylic, secured with sandbags, water weights, or hidden anchors.
Quick stress test: if a clumsy toddler bumped the easel, would it fall? Add more weight to the base if the answer is yes.
For evening events, check for glare before the day of. Glossy acrylic looks gorgeous in daylight and becomes a blinding mirror under a spotlight. Use matte finishes wherever possible. If the venue is dim, add a small battery-powered LED or uplight pointed at your seating chart. Do not hope the existing lighting will be enough.
Your Day-Of Execution Checklist
Do not leave placement to chance. Three steps that make the difference:
- Label the backs: use painter’s tape to write the specific location on the back of every sign, like “Main Entrance” or “Bar 2”
- Assign a Sign Captain: one person who is not in the wedding party is responsible for setup and the ceremony-to-reception flip
- Plan the exit: decide now whether each sign is a “Keep,” “Resell,” or “Trash” item so teardown is not a chaotic free-for-all at midnight
Wedding Signage FAQs
We get a lot of questions about signage logistics. Here are the ones that come up most often.
How many signs do I actually need?
Most weddings run beautifully on five to seven core signs: a welcome sign, an unplugged ceremony reminder, a seating chart, table numbers, and a bar menu. If your venue is sprawling with hidden restrooms, add a few directional arrows. The rule of thumb is simple: only add a sign if it solves a real guest problem. Otherwise, it is just expensive decor that needs to be stored afterward.
What size should wedding signs be?
Follow the ten-foot rule. For every ten feet of viewing distance, letters need to be at least one inch tall. Your welcome sign should be at least 18 x 24 inches to be visible from the arrival point. Small table numbers can be 5 x 7 inches as long as the font is bold. Always test your designs in dim lighting before the big day.
Where should I put the seating chart to avoid a bottleneck?
Wide, open area, away from the bar and any narrow doorways. Traffic jams happen when you funnel 150 guests into a tiny hallway to find their names. For larger guest counts, print two identical charts and space them a few feet apart to split the crowd. See the section above on mastering the seating chart for the full breakdown.
How do I handle outdoor wind and rain?
Skip lightweight foam core entirely. Heavy wood, acrylic, or metal on sturdy easels secured with sandbags or weights. Paper signs are gone at the first gust. If the forecast is uncertain, stick to waterproof materials like acrylic or framed prints behind glass, and have a plan to move outdoor signage under a tent if needed.
Do I need bilingual signage?
If a significant portion of your guest list primarily speaks another language, yes. Use short, punchy phrases and a clear visual hierarchy: one language on top, the other in a slightly different color or style below. If it starts to look cluttered, two separate signs is a better solution than shrinking the text to fit everything onto one board. Readability wins every time.
When should I DIY versus hire a pro?
DIY works well for small items like table numbers and place cards. For large-scale installations, seating charts, and anything requiring delivery and professional setup, hire someone. The last thing you need on your wedding morning is to be playing handyman. Assign a designated person to handle installation either way, so you can focus on getting ready.