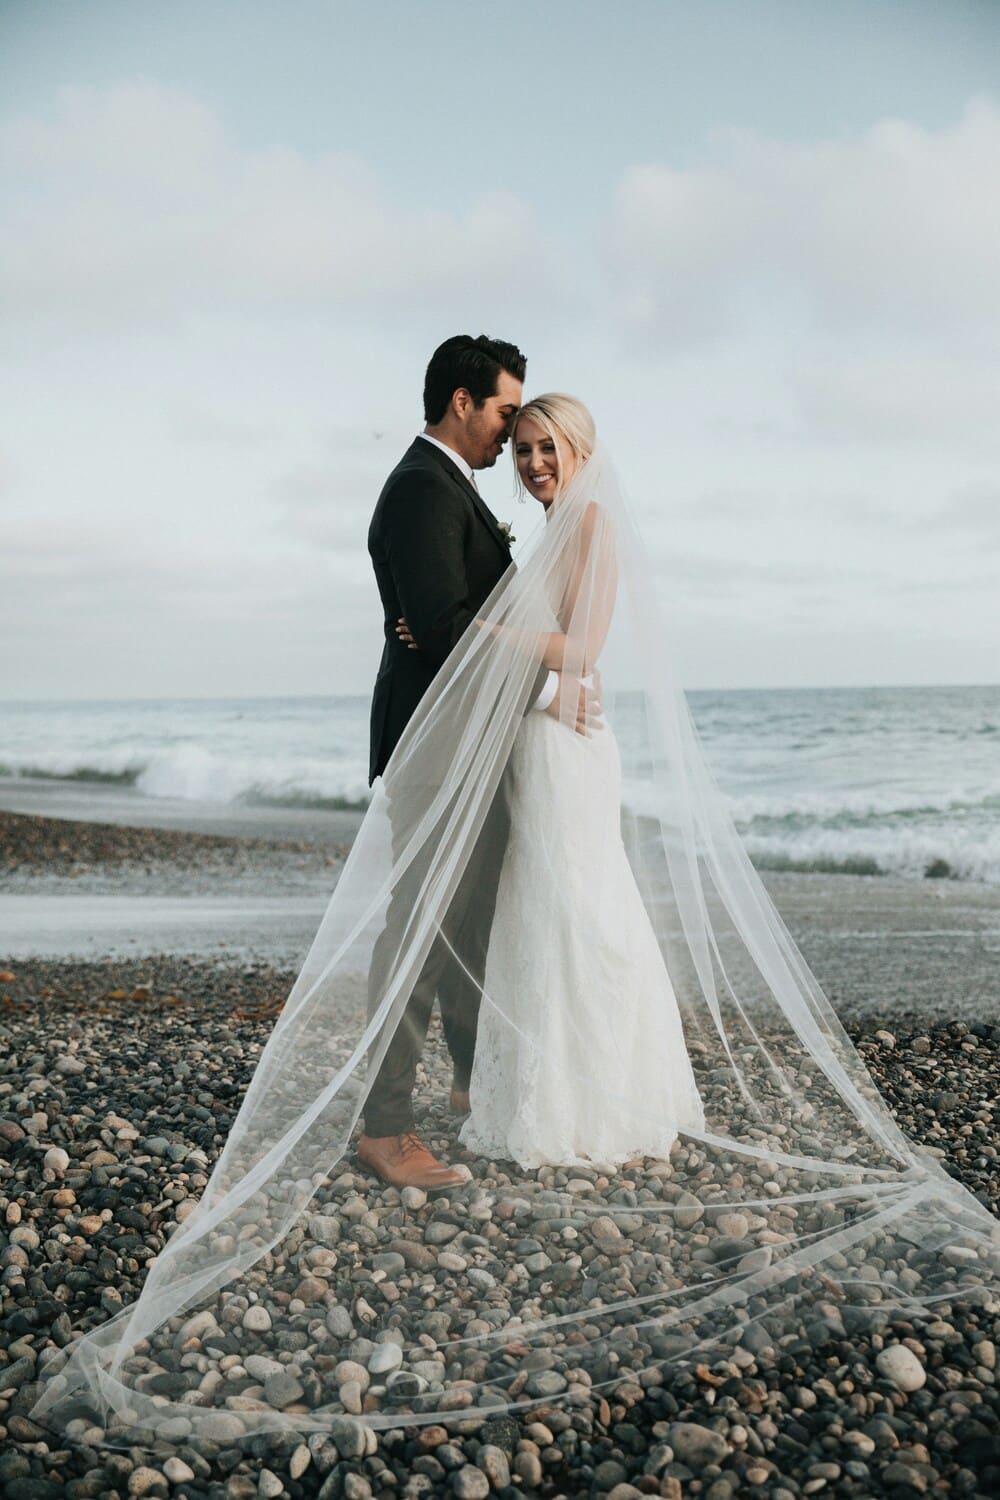
Plan only one of them and you end up with a stack of nice photos that jitter the second you put them in sequence.
So here’s the buying, the shooting, and the editing, including a tape trick that costs nothing and the free CapCut template that syncs your cuts to the beat.
Pick One Frame Shape and Stick With It
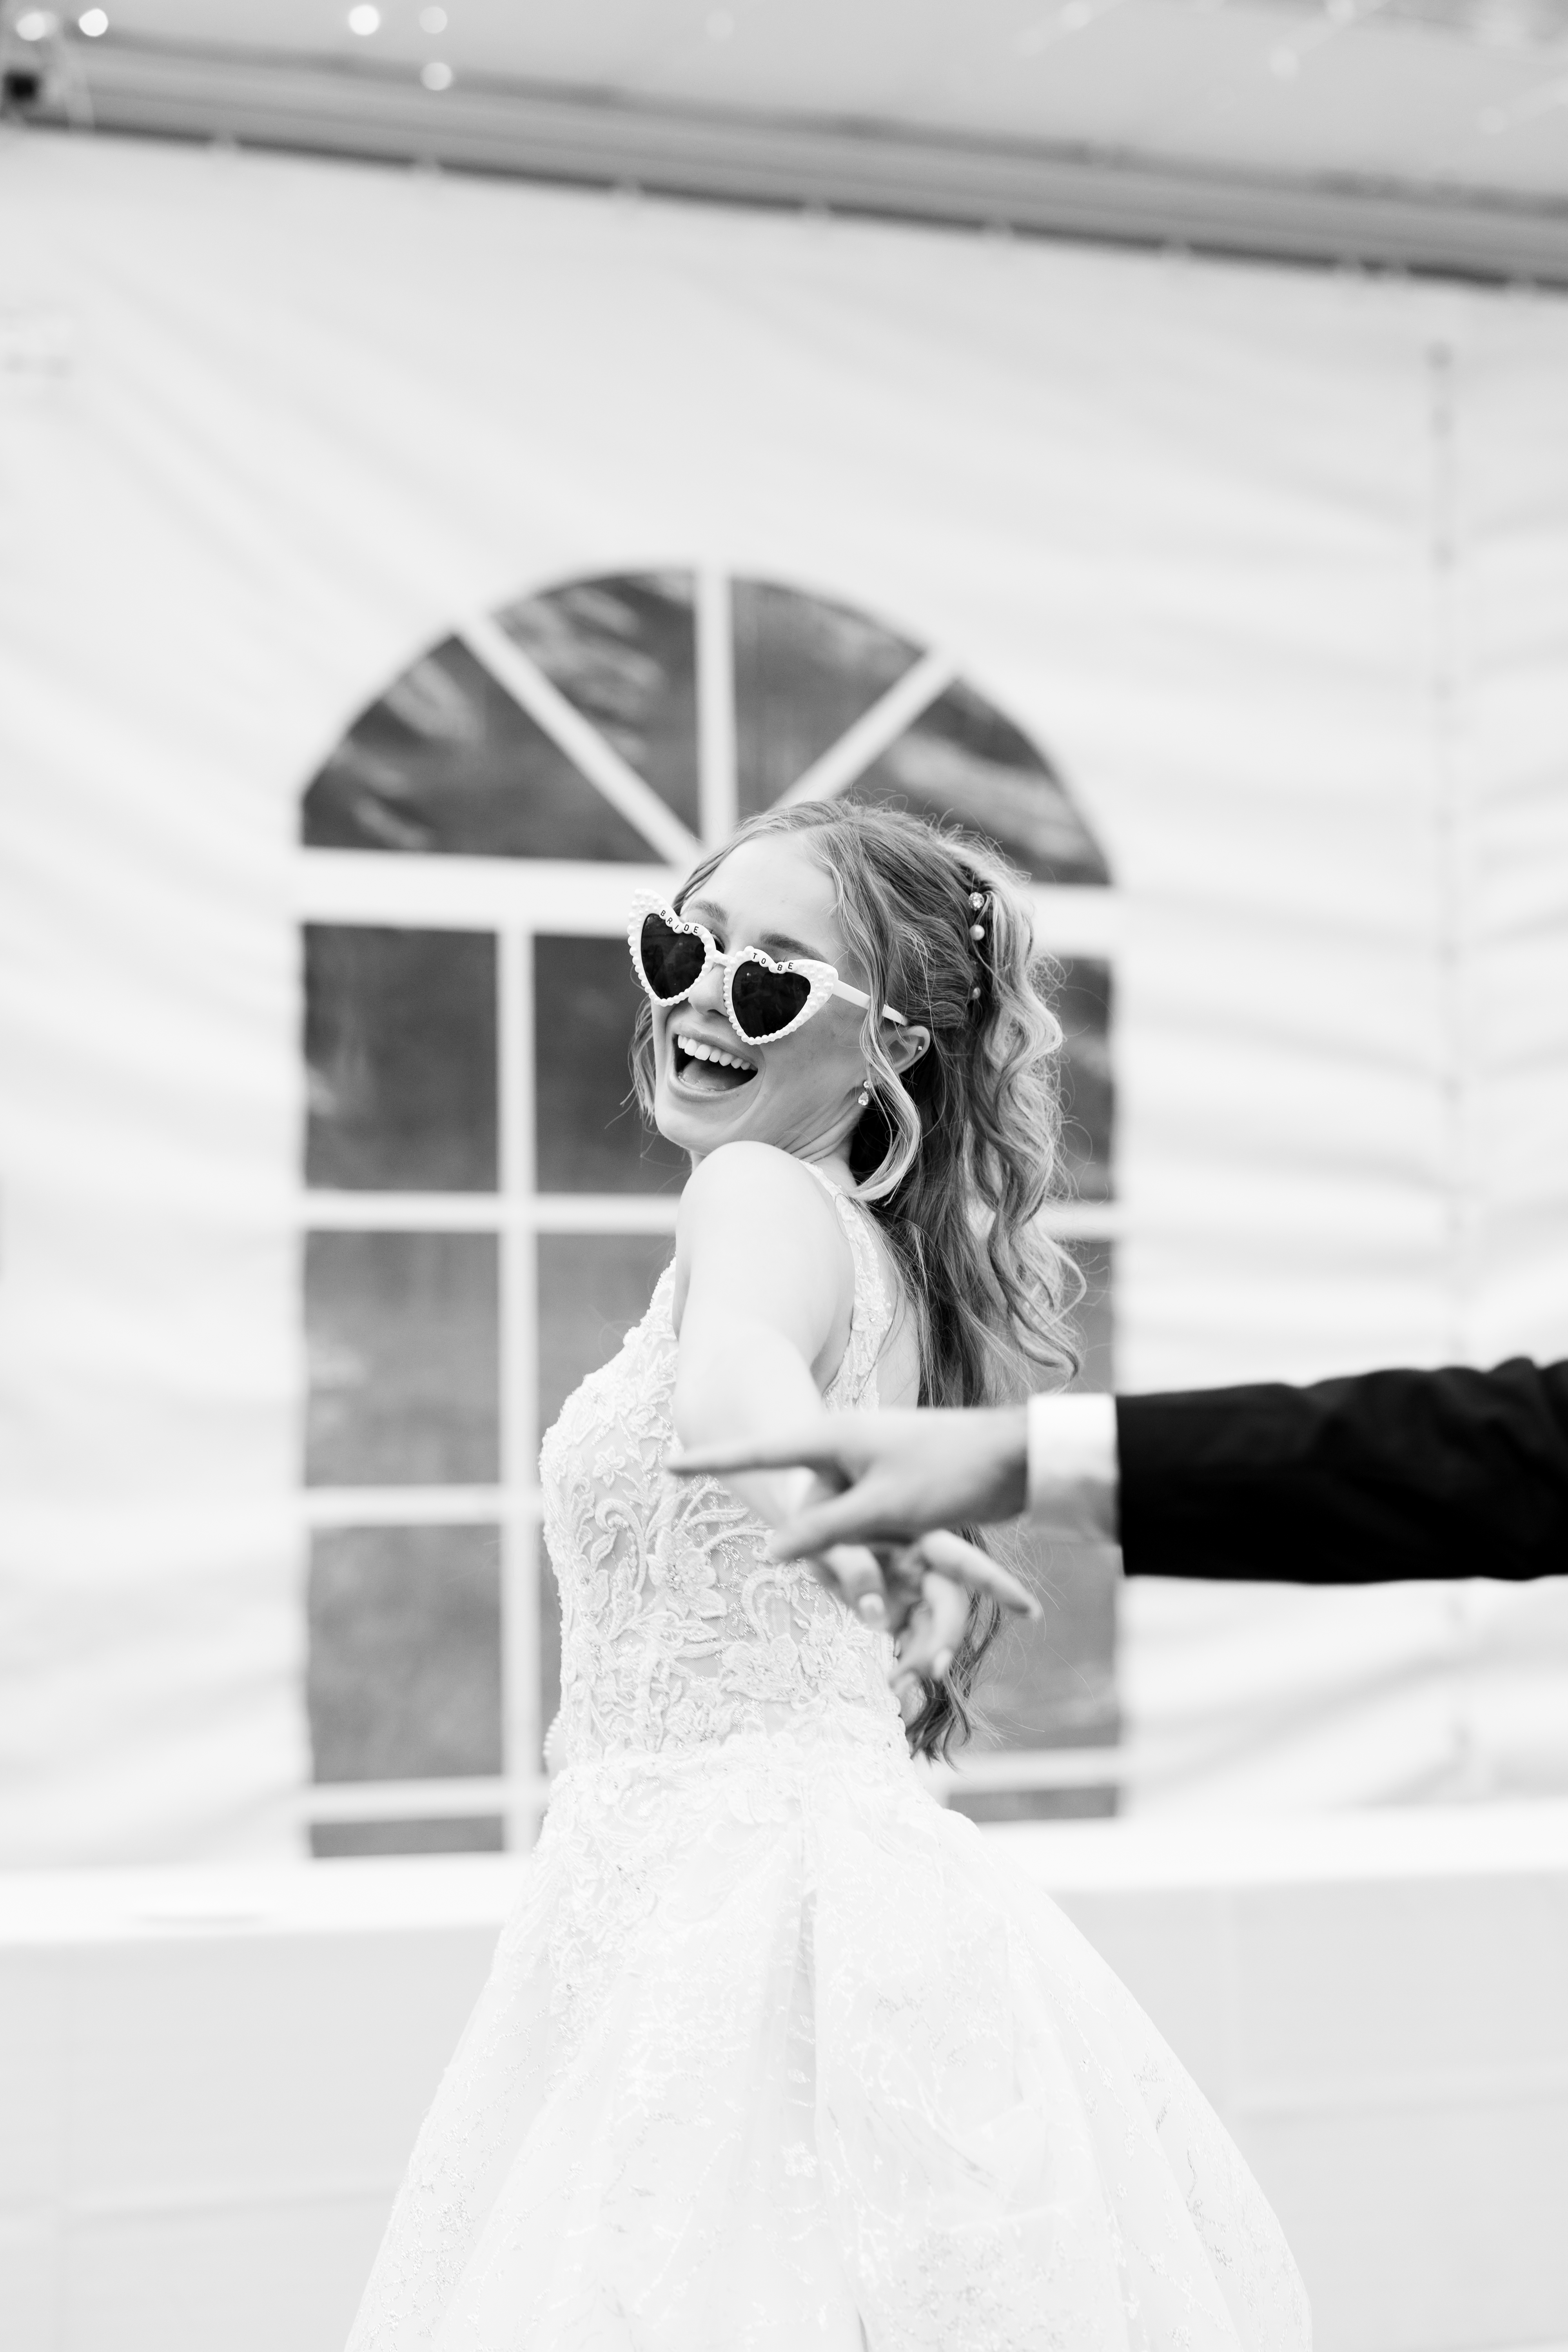
One silhouette across the entire party. That single decision separates a montage that snaps from one that wobbles, because mixed frame shapes put the glasses in a different position in every photo and the transitions fall apart no matter how carefully you crop.
The shapes that hold up on camera:
- Retro white frames give you strong contrast under direct flash, which is why they read so clearly in a fast cut.
- Heart-shaped frames run playful and cheeky, and they photograph best on a crowd that’s already loud.
- Cat-eye frames bring a sharper retro look and sit well on a more formal reception.
- Classic Wayfarers are the safe pick. They flatter nearly every face shape and your groomsmen won’t fight you on them.
- Y2K metallics are fun but reflective, so pair them with simpler outfits or the frame gets busy.
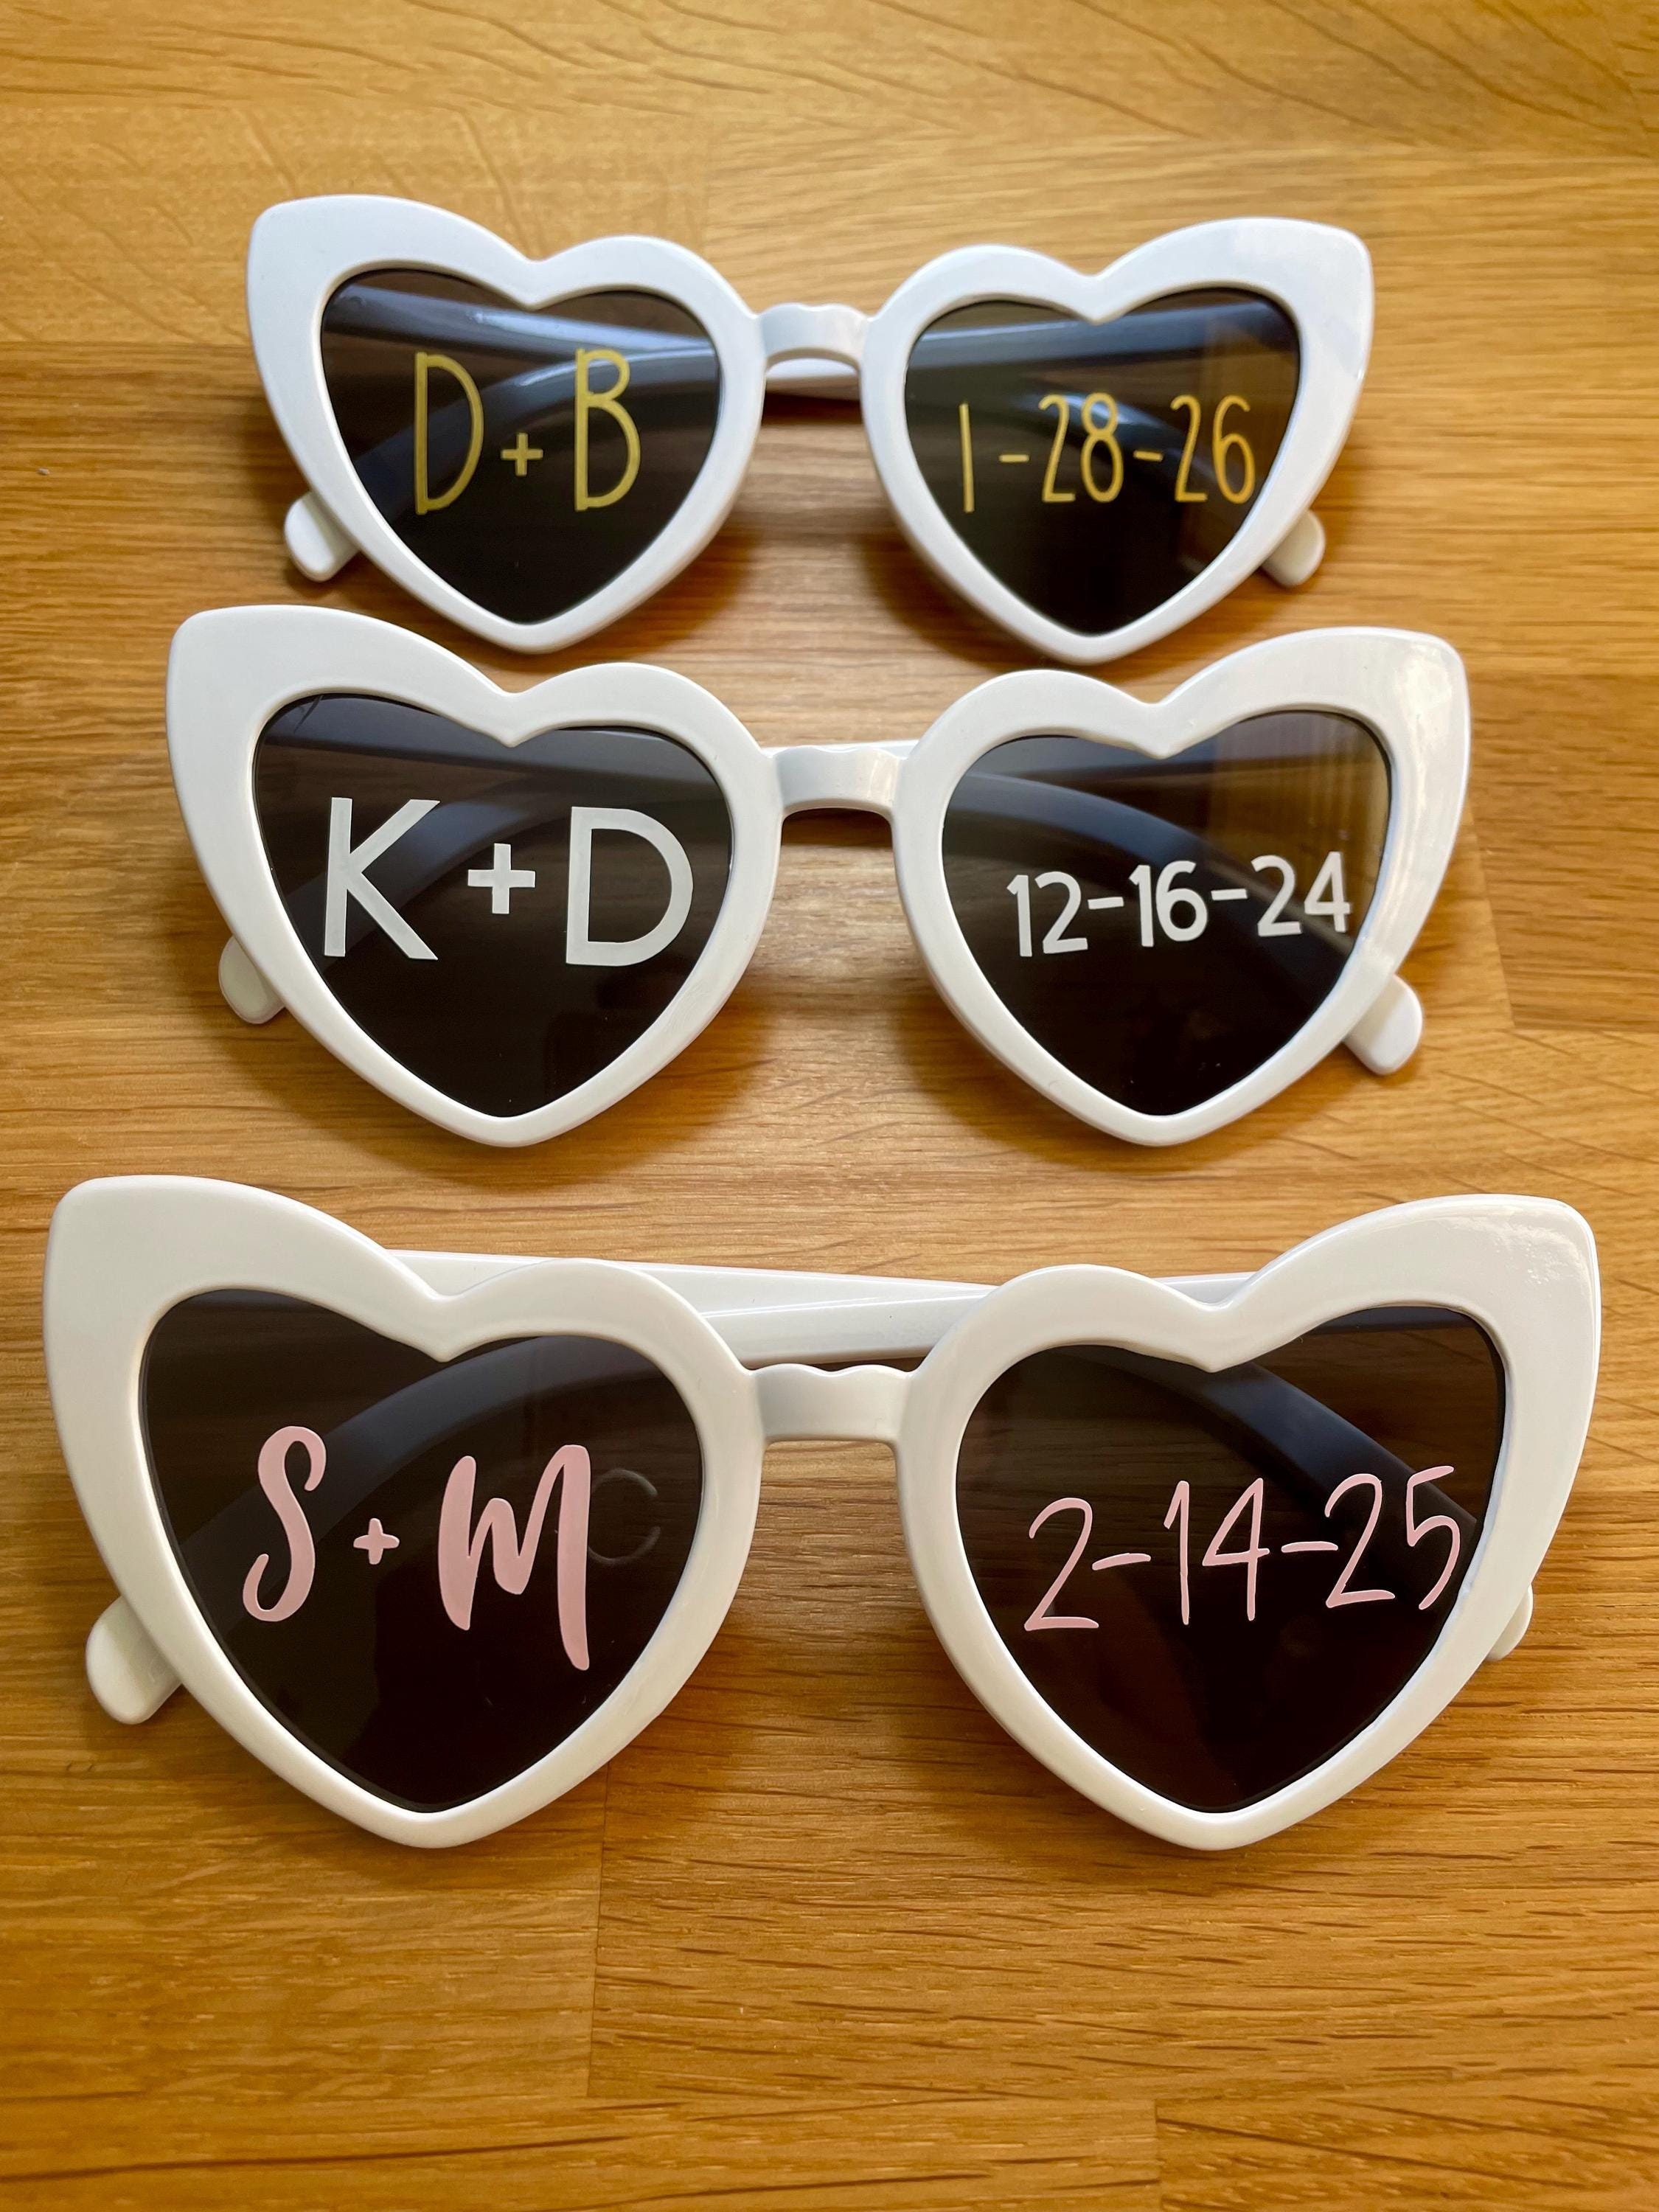
Two small rules save you later. Don’t mix wildly different shapes, and if you’re printing custom text, put it along the arms rather than across the lenses so the flash photos stay crisp.
One search note while you’re browsing: type the full phrase. Search “wedding glasses” on its own and you’ll lose an hour to champagne flutes and personalized drinkware.
Where to Buy Them and How Many to Order
Sourcing comes down to how many pairs you need and how personalized you want them.
- Bulk unbranded is the lowest cost per pair and the obvious pick for a big guest list.
- Etsy personalized has cuter shapes and lower minimums at a higher price.
- DIY vinyl gives you total design control in exchange for a weekend of your own labor.
Quantity depends on the job you’re giving them. If the shades sit at each place setting as a wedding favor, order one pair per guest. If they live in a basket as a dance-floor prop, one pair per two guests covers it. Add a 10% buffer either way for breakage and the pairs that walk off in someone’s jacket pocket.
Doing the vinyl yourself takes more prep than people expect. Decals don’t stick well to a curved arm, so wipe the plastic with isopropyl alcohol, use permanent craft vinyl, and give them 24 to 48 hours to cure before you pack them. Test three to five sample pairs before you commit to a batch of a hundred.
One rule that isn’t optional: if guests will wear these outside during the ceremony or portraits, buy pairs with 100% UV protection. Novelty frames don’t all have it.
Getting Guests to Put Them On

Buying a hundred pairs is the easy half. The distribution plan decides whether they end up on faces or in a pile next to the cake.
Putting a pair on every place setting gets the highest participation and costs the most. A grab basket at the bar or beside the escort card table lands in the middle on both counts. A dedicated photo station keeps the dinner tables clear, though it only holds up with clear signage and someone stationed there to run it. If you’re building the station, borrow from photo booth backdrop setups, since the same lighting and framing problems apply.
Short sign copy beats clever sign copy. Something like “Shades on, party mode” is plenty. Then ask your DJ or MC for one announcement right before golden hour or open dancing, which counts for more than any sign on a table. Our wedding signage ideas cover the lettering if you’re making them yourself.
Nobody thinks about the hygiene side until it’s a problem. Keep lens wipes nearby, and on a warm day, keep the plastic frames in the shade so guests aren’t putting on someone else’s face sweat at body temperature.
At the end of the night, hand one bridesmaid or groomsman the job of collecting the leftovers. You paid for them. They shouldn’t leave in the venue’s trash bags.
How to Shoot It With Direct Flash

You don’t need a professional or a better camera for this. You need the same settings on every single shot, and a phone with the flash forced on will get you there.
Direct on-camera flash is what creates the high-contrast, late-night look the trend runs on. Shoot in 9:16 vertical so the files drop straight into a video edit without re-cropping. If your photographer is handling it, 1/200s at f/16 is a reasonable starting baseline for direct flash, and they’ll adjust from there.
Framing is where the edit gets easy or hard. Keep the sunglasses centered every time, and leave generous room around the face instead of cropping tight in camera. You can always crop in. You can’t crop out.
Dark lenses are the usual complaint. A pitch-black tint can go flat and featureless under a hard flash, so lighter or gradient tints keep eyes visible indoors. If you’ve already bought dark frames, ask guests to angle their faces slightly away from the light and shoot them anyway.
Cycle through a shot list so you don’t deliver eighty identical photos: solos, couples, trios, one big group shot, a few raised-glass cheers, and whatever the dance floor gives you unposed. If you want more setups to hand your photographer, our wedding portrait poses gallery has plenty that adapt to this.
Run the Shoot in Fifteen Minutes
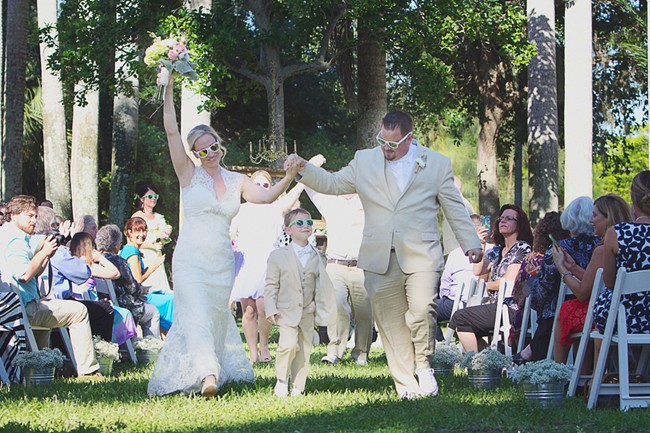
Fifteen minutes. Past that you’ve turned your reception into a photo shoot, and guests can feel it.
Slot it right after dinner and before peak dancing, or grab it outdoors during golden hour. Run it with two people: a wrangler who hands out glasses and lines up the next group, and a shooter who does nothing but shoot. One person trying to cover both is how fifteen minutes becomes forty.
Keep the same distance and the same centering on every group. Take two or three frames per group, then move. You’re after volume, not portraits, and a fast line keeps the energy up.
Start with the wedding party and the parents. Once guests see the bride’s mother in heart-shaped shades, the shy ones stop resisting. If the clock gets away from you, shoot a VIP cut of ten to fifteen groups and let the rest go.
The Tape Trick That Lines Up Every Crop
Tape. A marker. One reference photo. That’s the entire toolkit for the step that keeps your video steady instead of jumpy, and it does the same job as software you’d otherwise pay for.
- Open one straight-on reference photo, the sharpest and most centered one you have.
- Stick a small piece of clear tape on your screen directly over the sunglasses.
- Trace the outline of the glasses onto the tape with a fine-tip marker.
People get this wrong in two predictable ways. They trace the face instead of the glasses, which defeats the point, or they pick a reference photo shot at an angle, which skews every crop that follows it.
Add a small vertical centerline on the tape if you want to catch drift early. It takes five seconds and saves you from spotting the drift after you’ve already exported forty files.
Crop the Batch in One Sitting
With the guide taped up, editing turns into assembly-line labor. Dump every image into one folder, pick your anchor photo, and go.
For each photo: crop and zoom until the shades sit inside your traced outline, nudge the exposure or contrast if it needs it, export, next. Keep the export settings identical every time, same aspect ratio and same resolution, or the sequence will flicker in size.
Resist the urge to fix the color. The direct flash look is supposed to be bold and slightly blown out, and correcting it back to natural takes the punch out of it.
Lightroom or the default Photos app both handle fixed crop ratios fine on desktop. On a phone, CapCut does the manual cropping without much fuss. At ten to fifteen seconds per photo, a batch of forty takes under ten minutes.
Set It to Music and Post It

The cropped photos were the hard part. From here it’s a two-minute assembly job.
The shortcut is the free CapCut wedding glasses template. Drop your pre-cropped images in and it snaps the cuts to the audio beat for you. Doing it by hand is fine too: place the images in order in whatever editor you like, set each frame to roughly 0.1 seconds, and adjust the timing until the cuts land on the beat drops.
Put your best faces and cleanest crops in the first two seconds. That’s the window you get before someone scrolls past.
Check the export before you post. Render at 9:16 in high quality, skip the smoothing and blur filters, and watch it through once to catch any frame where the glasses jump out of position.
Keep the caption short. The video carries it.
Your Timeline From Order to Post
Only one piece of this happens on the wedding day. The rest sits on either side of it.
- A week out: finalize your count plus the buffer, print the signage, and confirm your photographer or content creator knows the flash setup you want.
- Wedding day: hand the shades to your wrangler, run the fifteen-minute shoot, and back up the raw files before anyone goes to bed.
- Within 48 hours: tape the monitor, batch crop, assemble, post.
If you’re slotting this into a bigger run of show, our wedding reception checklist is a useful place to park it so it doesn’t collide with the toasts.
Frequently Asked Questions
Most of what couples ask us lands on the decisions you can’t undo once the order ships.
How many pairs of sunglasses should I buy?
Base it on the job they’re doing. As place-setting favors, one pair per guest. As a dance-floor prop station, one pair per two guests. Add 10% on top either way to cover breakage, pairs that go missing, and the guests who grab a spare for a friend.
Do dark lenses ruin flash photos?
They don’t ruin them, but lighter tints look better indoors. Very dark lenses lose all detail under a hard flash, so sheer or gradient tints are the safer buy. If dark frames are already ordered, use them and ask guests to tilt slightly away from the light to cut the glare.
Do DIY vinyl decals peel off curved frames?
They can, mostly when the prep gets skipped. Clean the arms with isopropyl alcohol, use permanent craft vinyl, and hit the decal with a second of hair dryer heat so it conforms to the curve. Let them cure 24 to 48 hours before packing, and test three pairs before you do a hundred.
Do we need a professional photographer for this?
No. A phone with the flash forced on and a 9:16 grid will do it. What matters is consistent framing, centered glasses, and enough volume to have options later. A pro will nail the exposure faster, but the format doesn’t depend on one.
How long does the editing take?
Multiply your photo count by your crop time. With the tape guide on your monitor, cropping runs about ten seconds a photo, so forty photos takes roughly seven minutes. Dropping them into an auto-syncing template adds two more.
The frame shape is the fun decision. The tape is the one that saves the video.