This year, we’re making a mess. The good kind.
Glitter on the floor, hot glue on your fingers, and ornaments that mean something when you hang them on the tree – or gift them. The slightly wonky, totally charming, “I made this!” kind.
Whether you’re crafting with kids, with wine, or with kids while hiding your wine, DIY ornaments are cheaper, cuter, and way more fun than anything you can buy in a box.
And we have all kinds of ideas for you here, so let’s get crafty. I’ve rounded up the easiest, cutest DIY ornament ideas that look impressive but are secretly super simple. No expert skills required.
Natural and Foraged Ornaments
These ornaments smell like Christmas and start with a walk outside or a trip to the spice rack. Mini Grapevine Wreaths get my vote, because the greenery covers gaps and hides wobbly gluing. With toddlers at the table, pass on Pinecone Ornaments: the scales are prickly on small fingers.
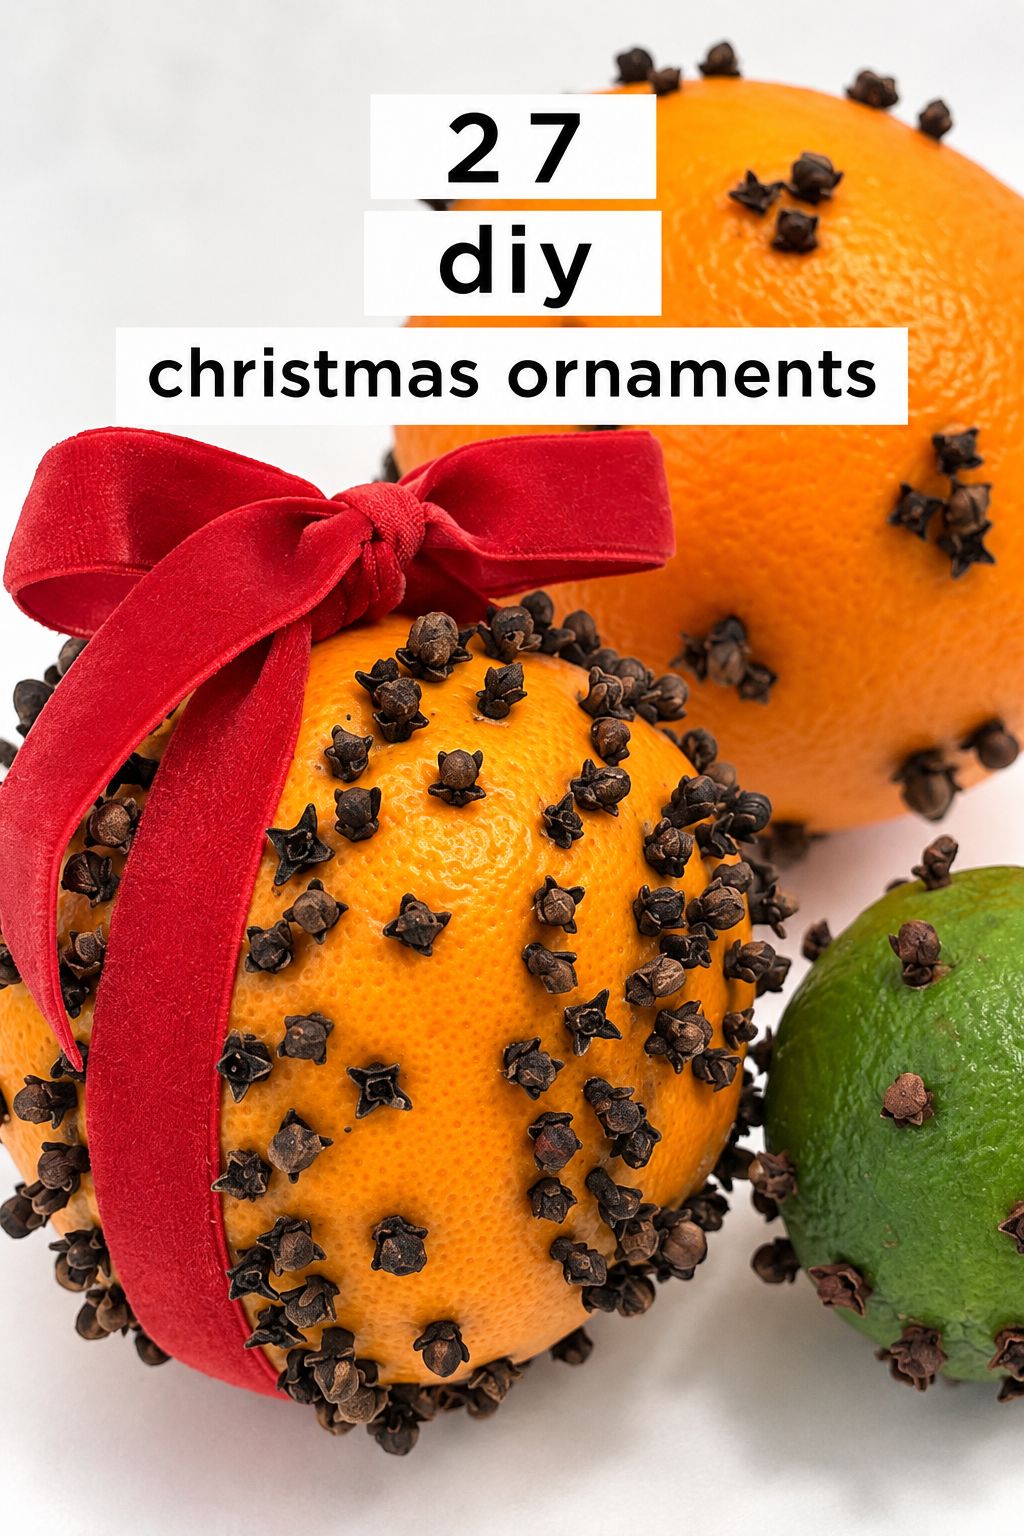
Orange and Clove Pomanders
A pomander is a fresh orange wrapped with ribbon around its middle and around again, with whole cloves pushed into the peel between the ribbon. It smells like Christmas and looks old-fashioned on the branch. Expect it to dry and darken, so make it close to when you decorate.
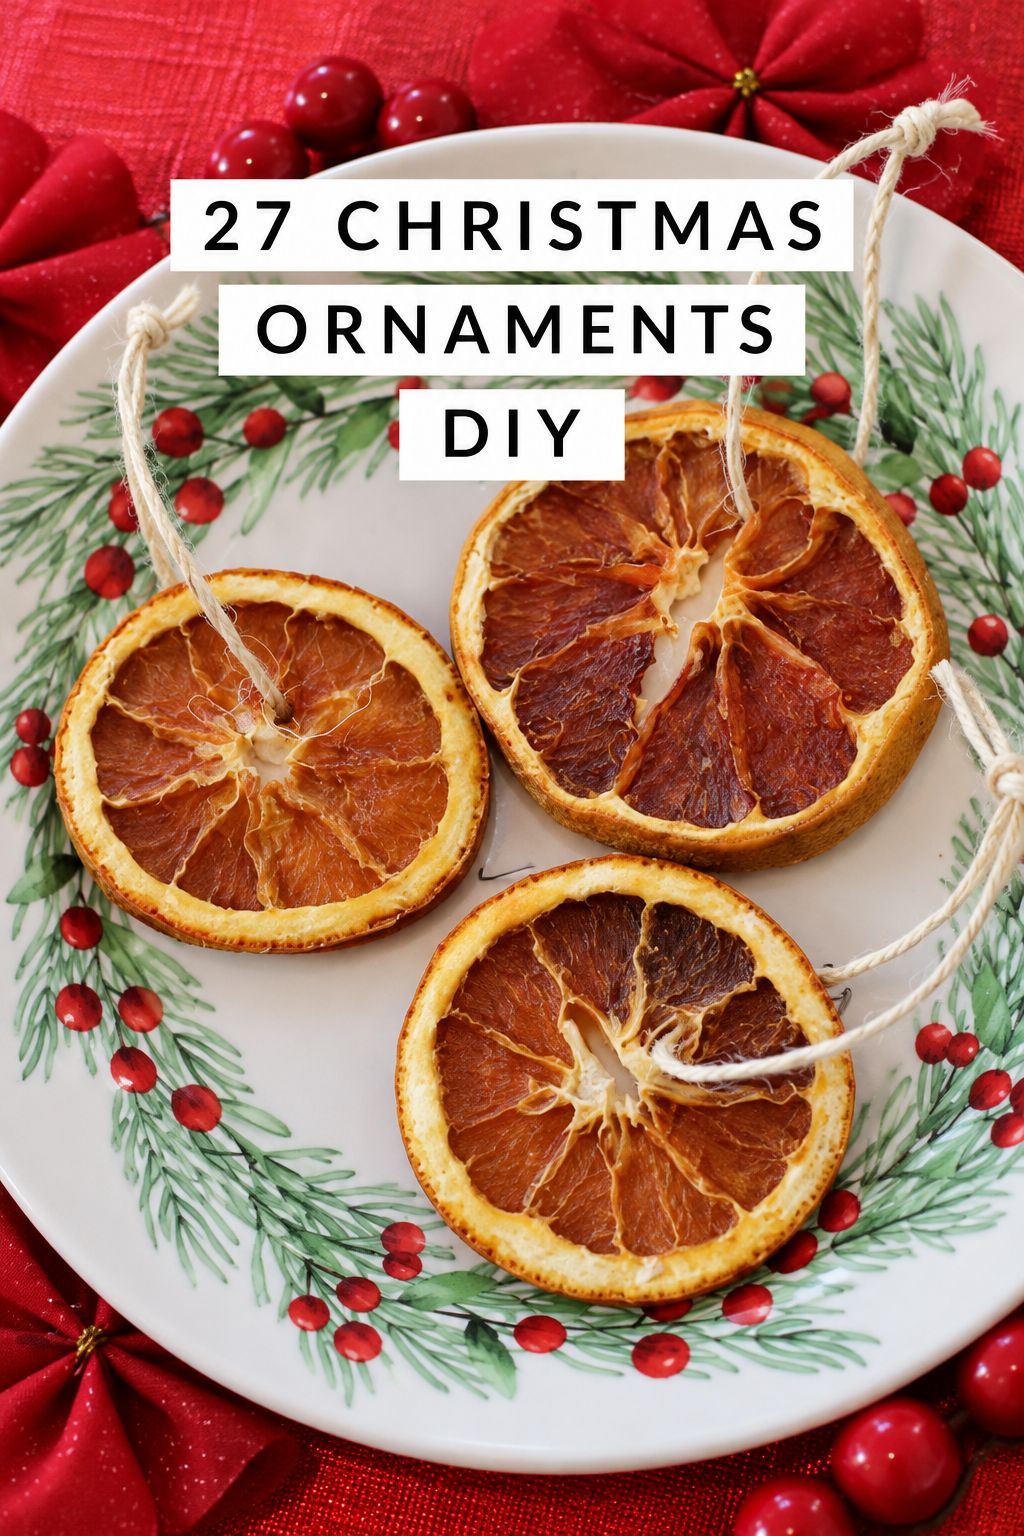
Dried Orange Slice Ornaments
Thin dried orange rounds become the base for paint and twine. Kids can paint simple fox faces or stars on them with off-white and black acrylic, and the slices make sweet teacher gifts. Keep the slices fully dry before painting so the paint doesn’t peel.
Cinnamon Stick Bundles
A small bundle of cinnamon sticks, tied in a triangle or a little log pile, brings warm scent without any baking. You hold the sticks together with hot glue and tie the bundle with twine or leather cord. Hot glue burns, so keep the gluing with adults.
Mini Grapevine Wreaths
A mini grapevine wreath form gets a twine loop for hanging. Then you hot glue short sprigs of pine, cypress or fir and a few whole star anise on top. Trim the sprigs small so the wreath stays light enough for the branch.
Twig Christmas Trees
A few twigs or small sticks form a triangle tree that you can wrap lightly with kitchen twine. The little tree is light, rustic and forgiving if the lines are not perfect. If the twigs are damp from outside, let them dry indoors first so the glue holds.
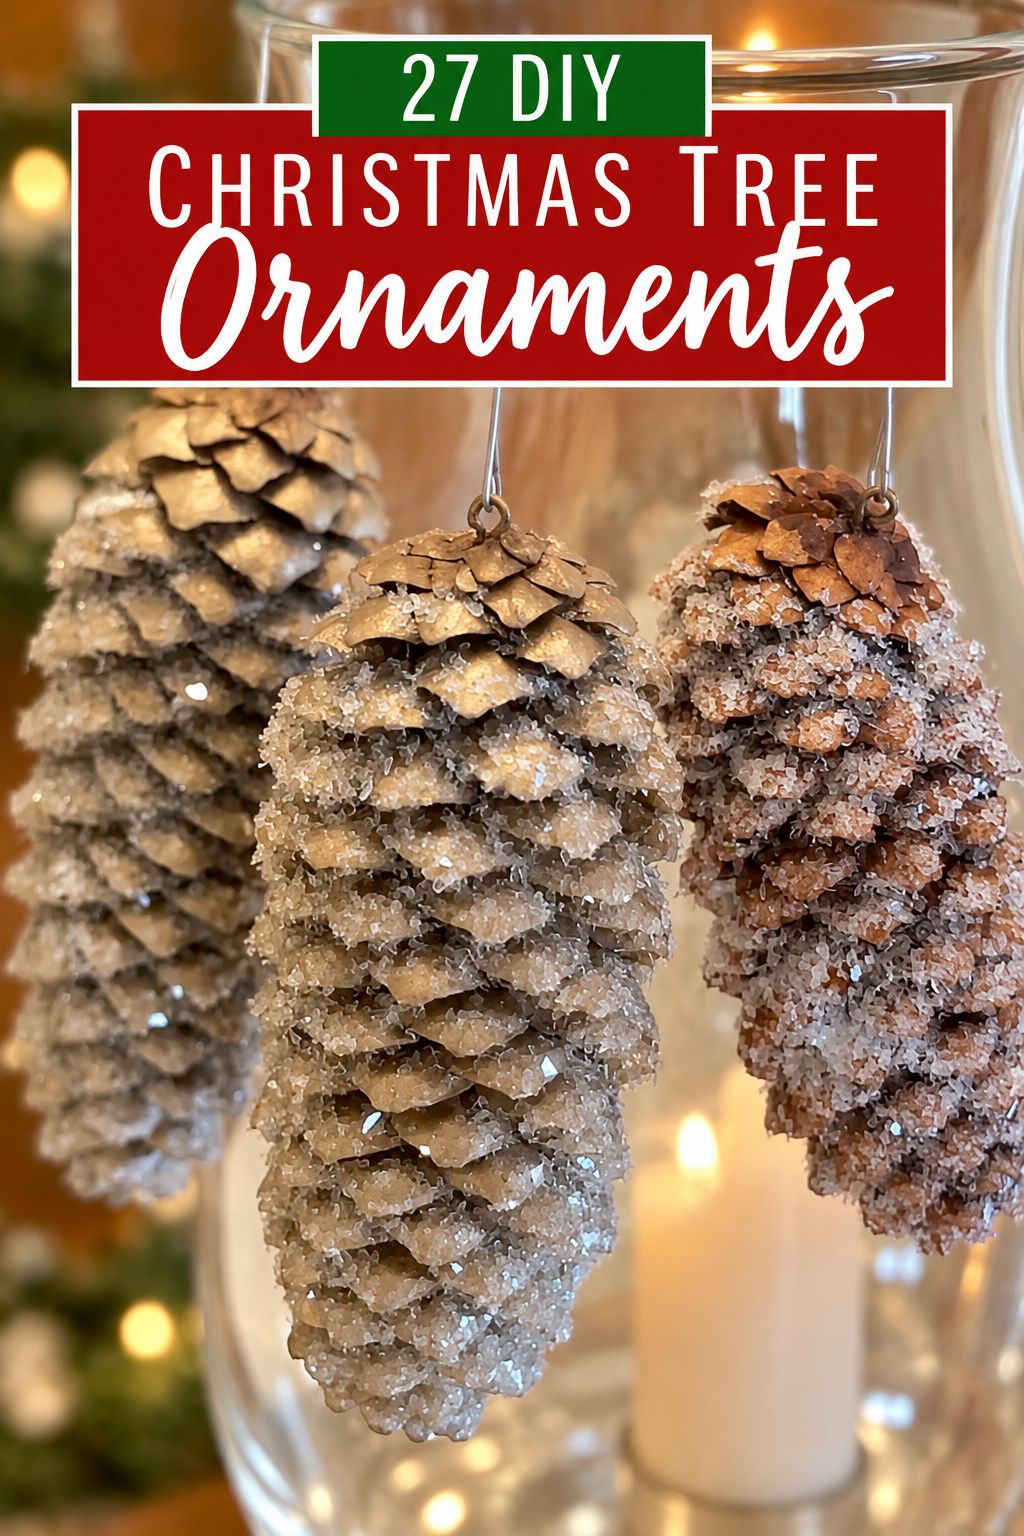
Pinecone Ornaments
Pinecones get a twine hanger and a small extra, like a tiny bow, a bead or a dusting of faux snow. Look for clean, open cones and shake out any debris before you start. Use tweezers for the small add-ons, since the scales are prickly.
Dough and Clay Ornaments
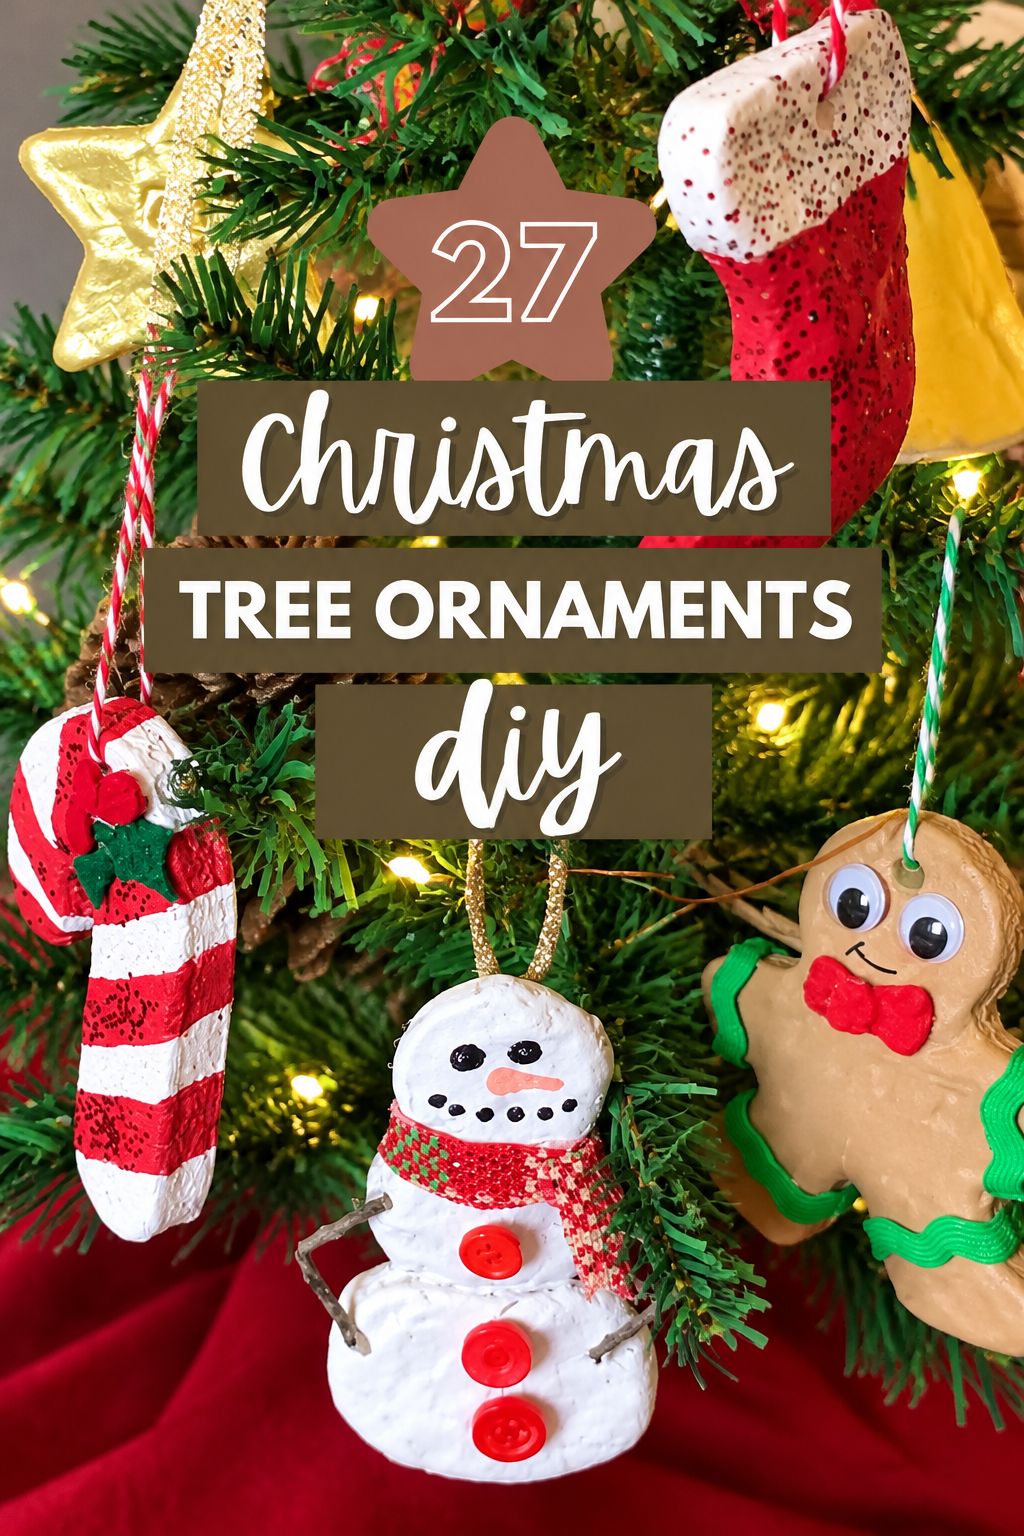
Dough and clay give you keepsakes with a name or a year pressed in, and they are also where a rushed job shows. Cinnamon Applesauce Ornaments are the low-risk choice: applesauce and cinnamon from the pantry, a lovely smell, and no oven if you let them air dry. Save Handprint Salt Dough Ornaments for a dry week, because thick prints stay soft underneath and humid air works against you.
Salt Dough Ornaments
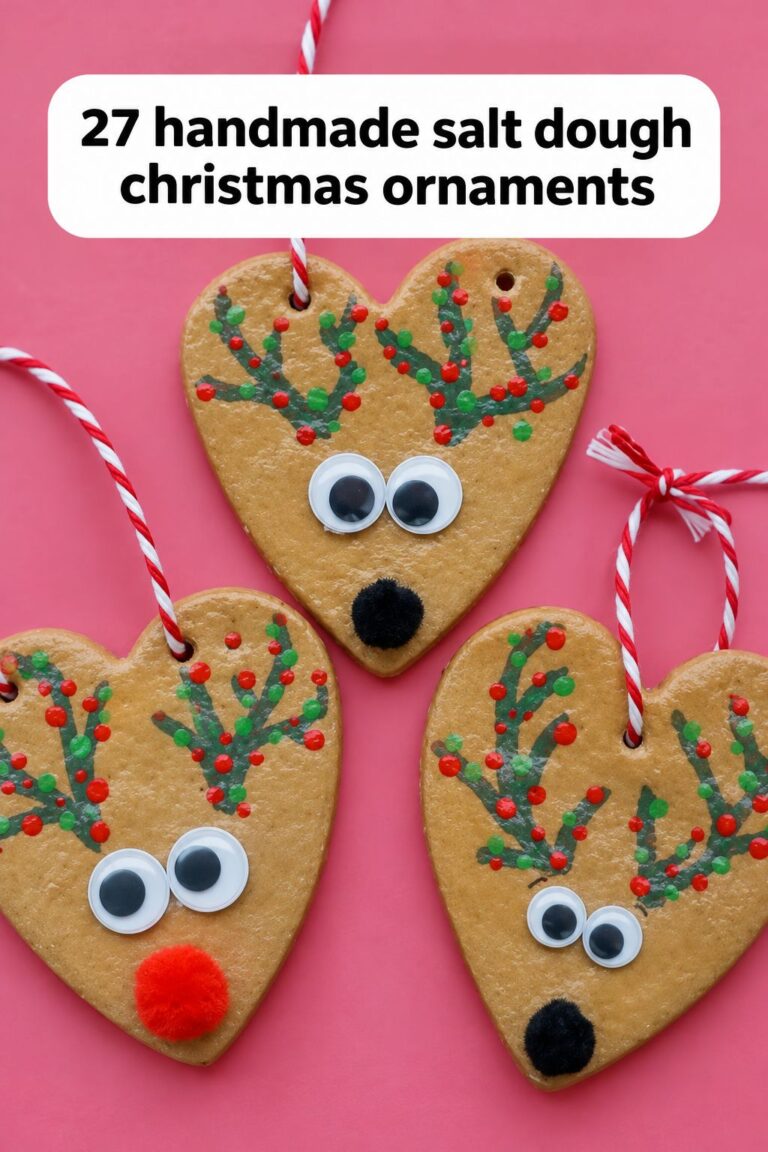
Salt dough is the classic flour, salt and water dough that you roll, cut with cookie cutters and dry hard. Poke the hole for the string before drying, or you will be drilling later. If the dough puffs up, the usual fix is lower and slower: a cooler oven, plain flour rather than self-raising, and more drying time. If one breaks, a strong craft glue can mend it.
Handprint Salt Dough Ornaments
A hand or paw pressed into rolled salt dough becomes a keepsake you can date on the back. Thick prints can stay soft underneath even when the top feels hard, so flip the piece and dry it longer. In humid weather, consider air-dry clay instead (a clay that hardens at room temperature, with no baking). Water left inside can grow mold if you seal too soon, and unsealed dough softens in damp air.
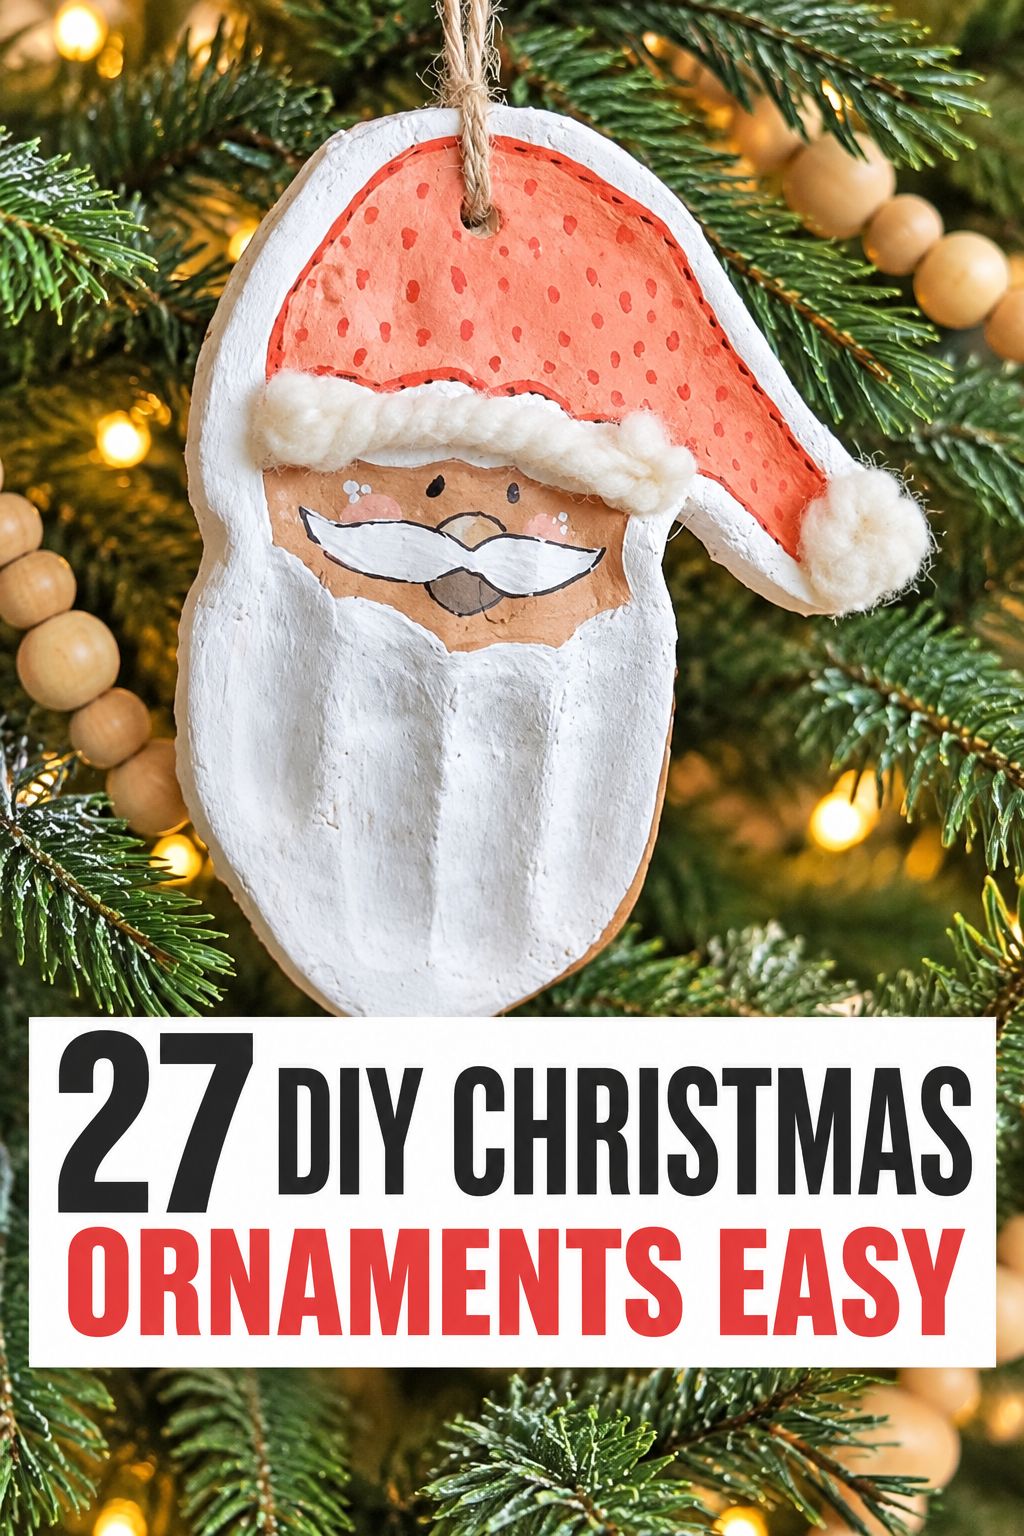
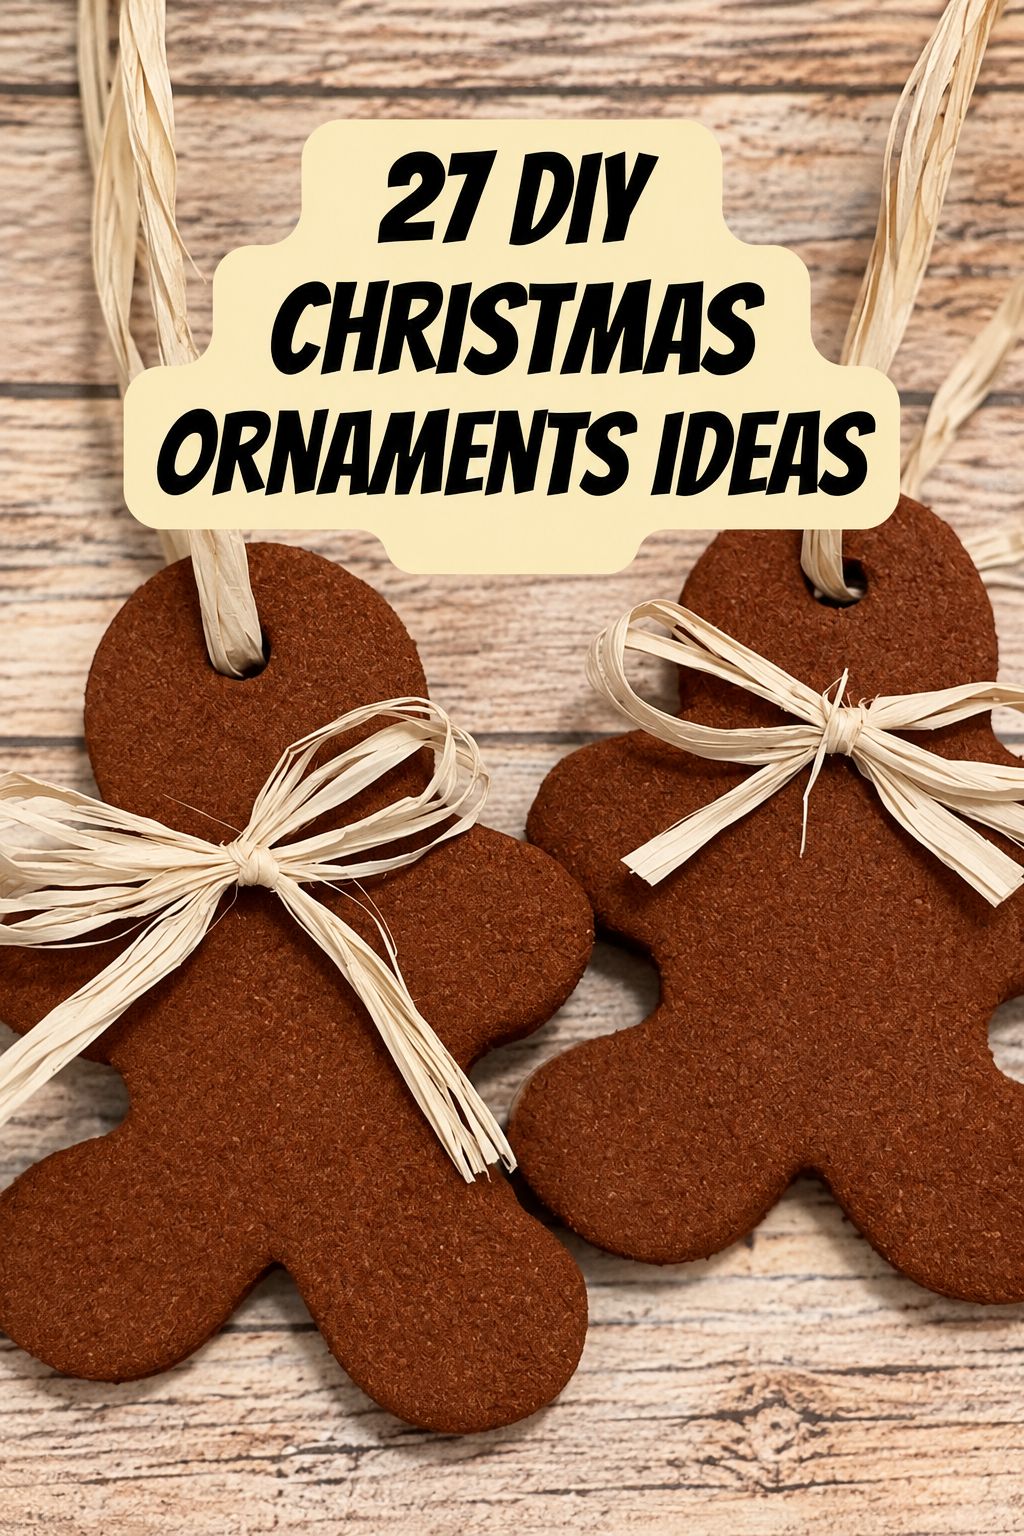
Cinnamon Applesauce Ornaments
Applesauce mixed with cinnamon makes a brown, scented dough that you cut like cookies and leave to air dry. The ornaments smell good in a gift box. Roll them thin and even so they dry flat without warping.
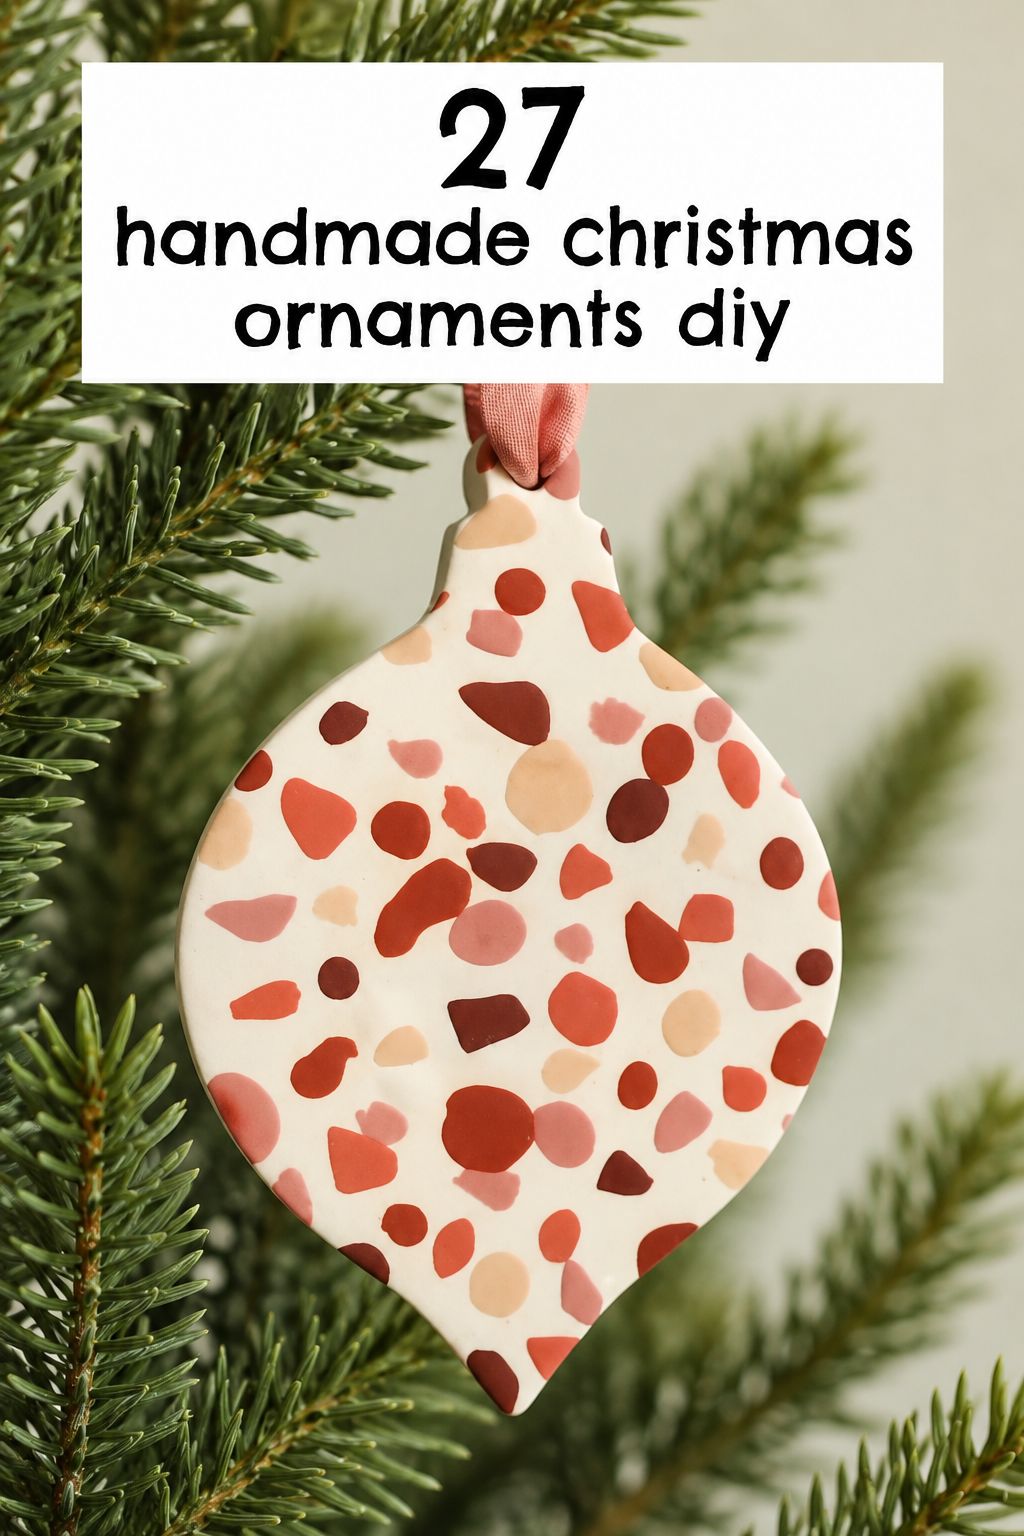
Polymer Clay Ornaments
Polymer clay is a plastic-based modeling clay that stays soft until you bake it in a home oven, then sets hard and sturdy. It is the clay for marbled colors and crisp cut shapes. Because it needs the oven, keep kids away from the hot tray and let pieces cool fully before you string them.
Air-Dry Clay Ornaments
Air-dry clay hardens as it dries in the open air, so unlike polymer clay it never goes in the oven. The pieces paint up cleanly for a modern look, which makes this the clay to pick for crafting with kids. Finished pieces are a bit fragile, so skip very thin edges.
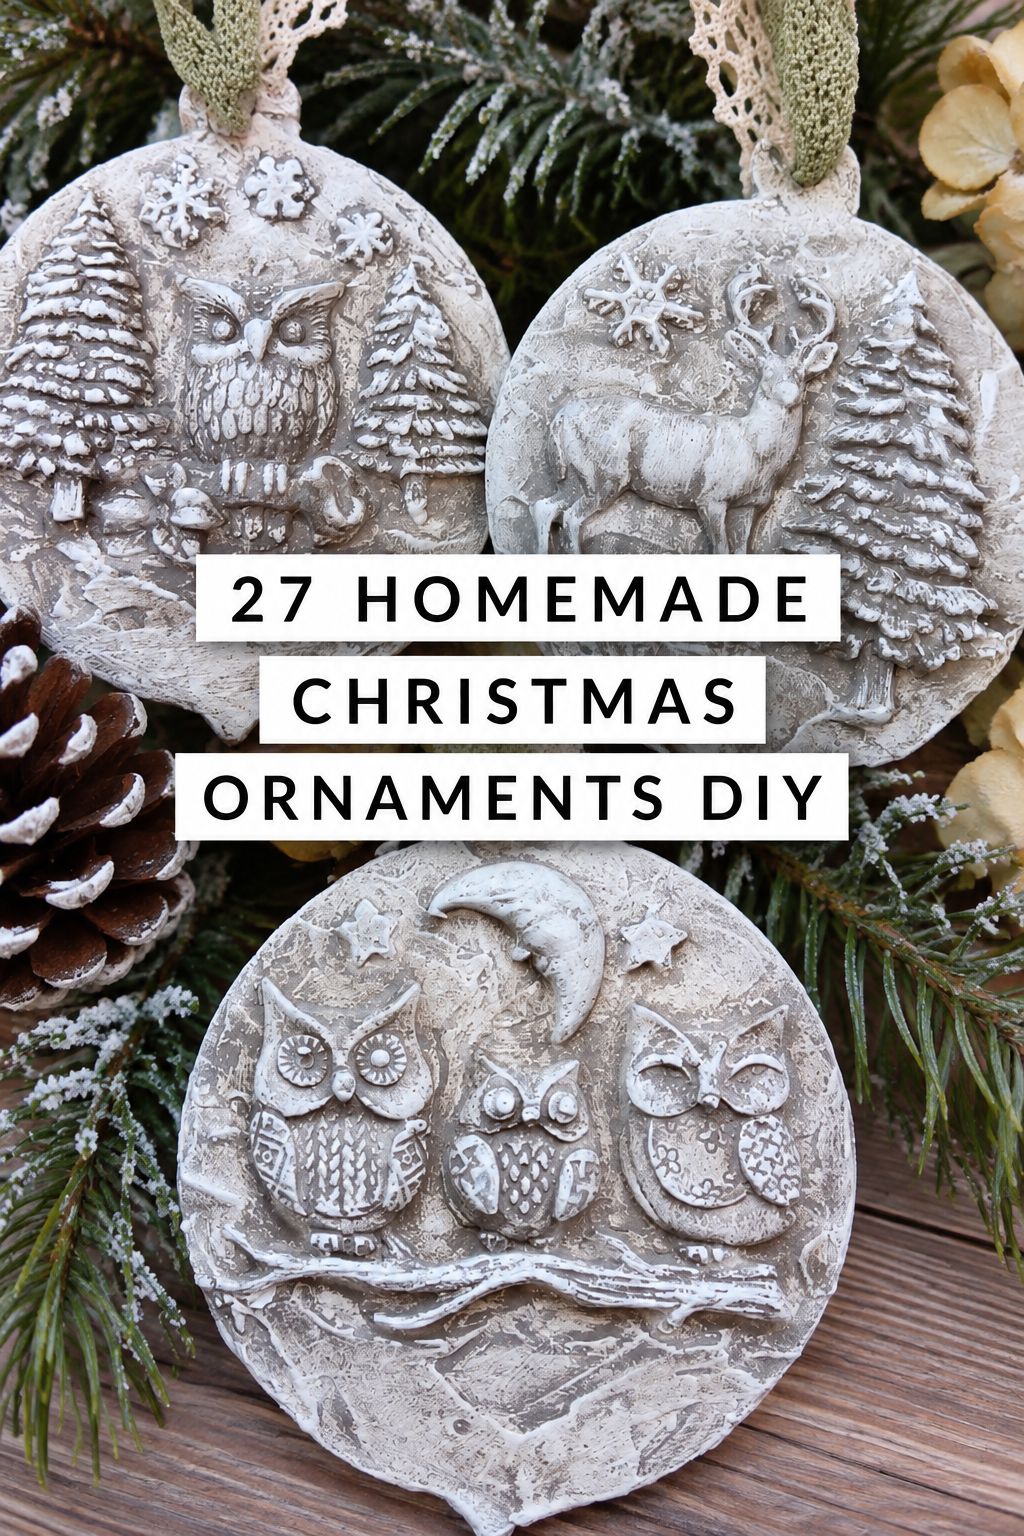
Stamped Clay Ornaments
You press rubber stamps, letter stamps or real leaves into soft clay to leave an imprint, then dry and paint. The imprint holds best when the clay is an even thickness and not sticky. Lift the stamp straight up so you don’t blur the detail.
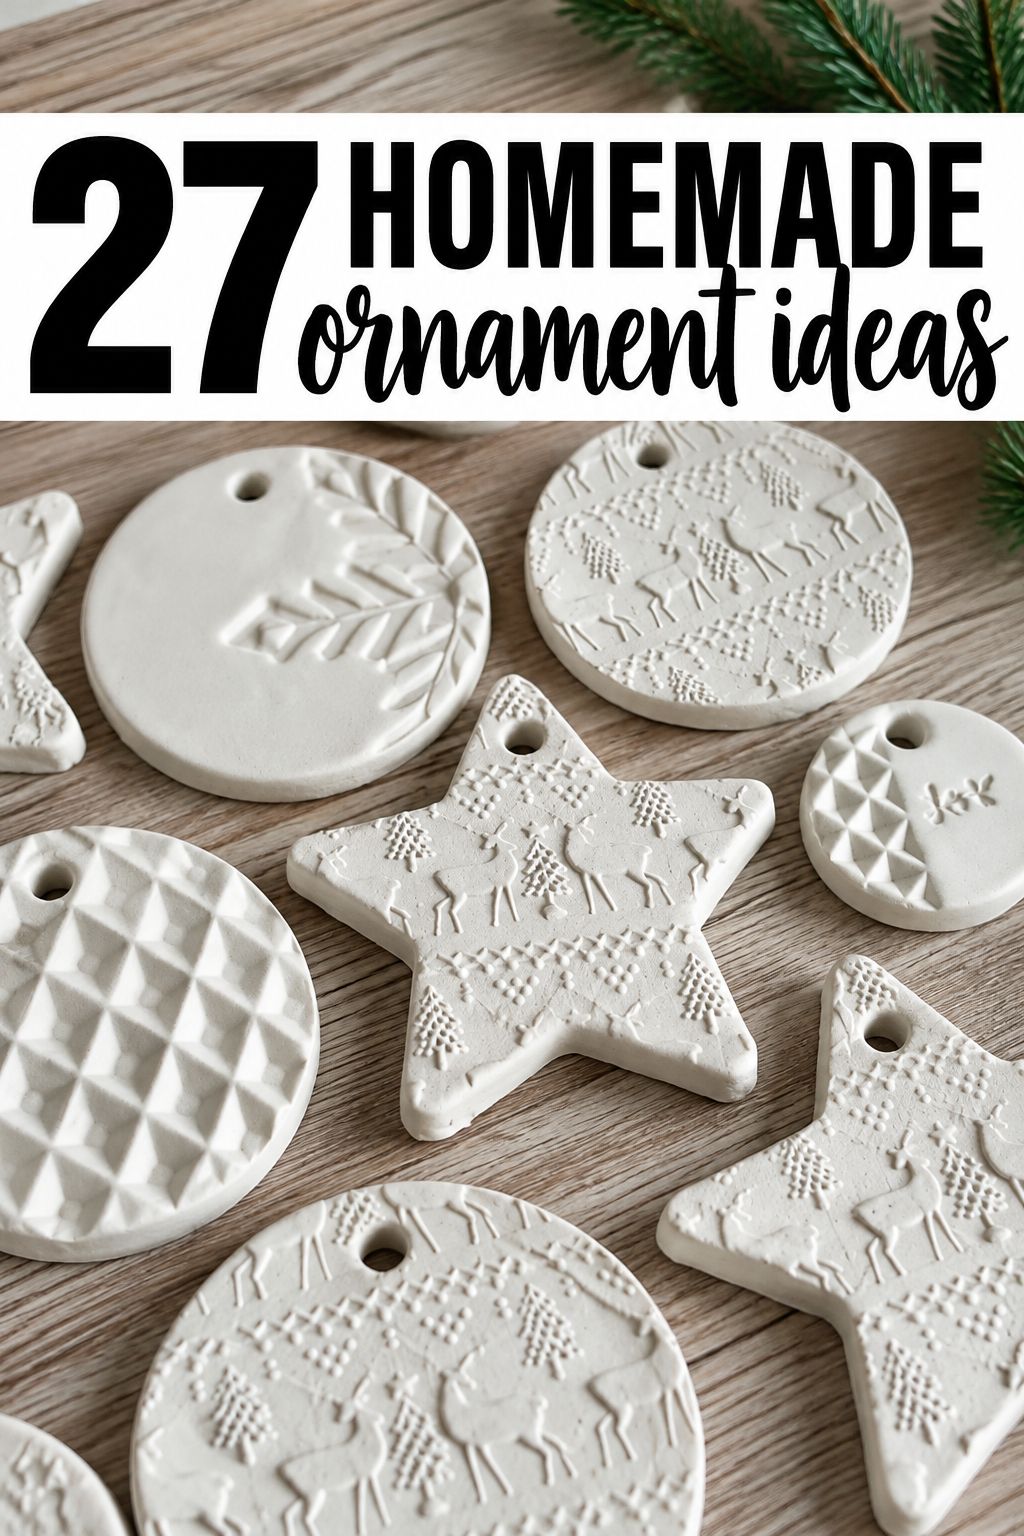
Salt dough comes with baking and sealing steps, and we cover both. The projects include handprint and footprint keepsakes, ornaments pressed from silicone molds, and dough tinted all the way through so nothing needs painting. One cinnamon-scented version made the list, and so did a safety note for pet owners.
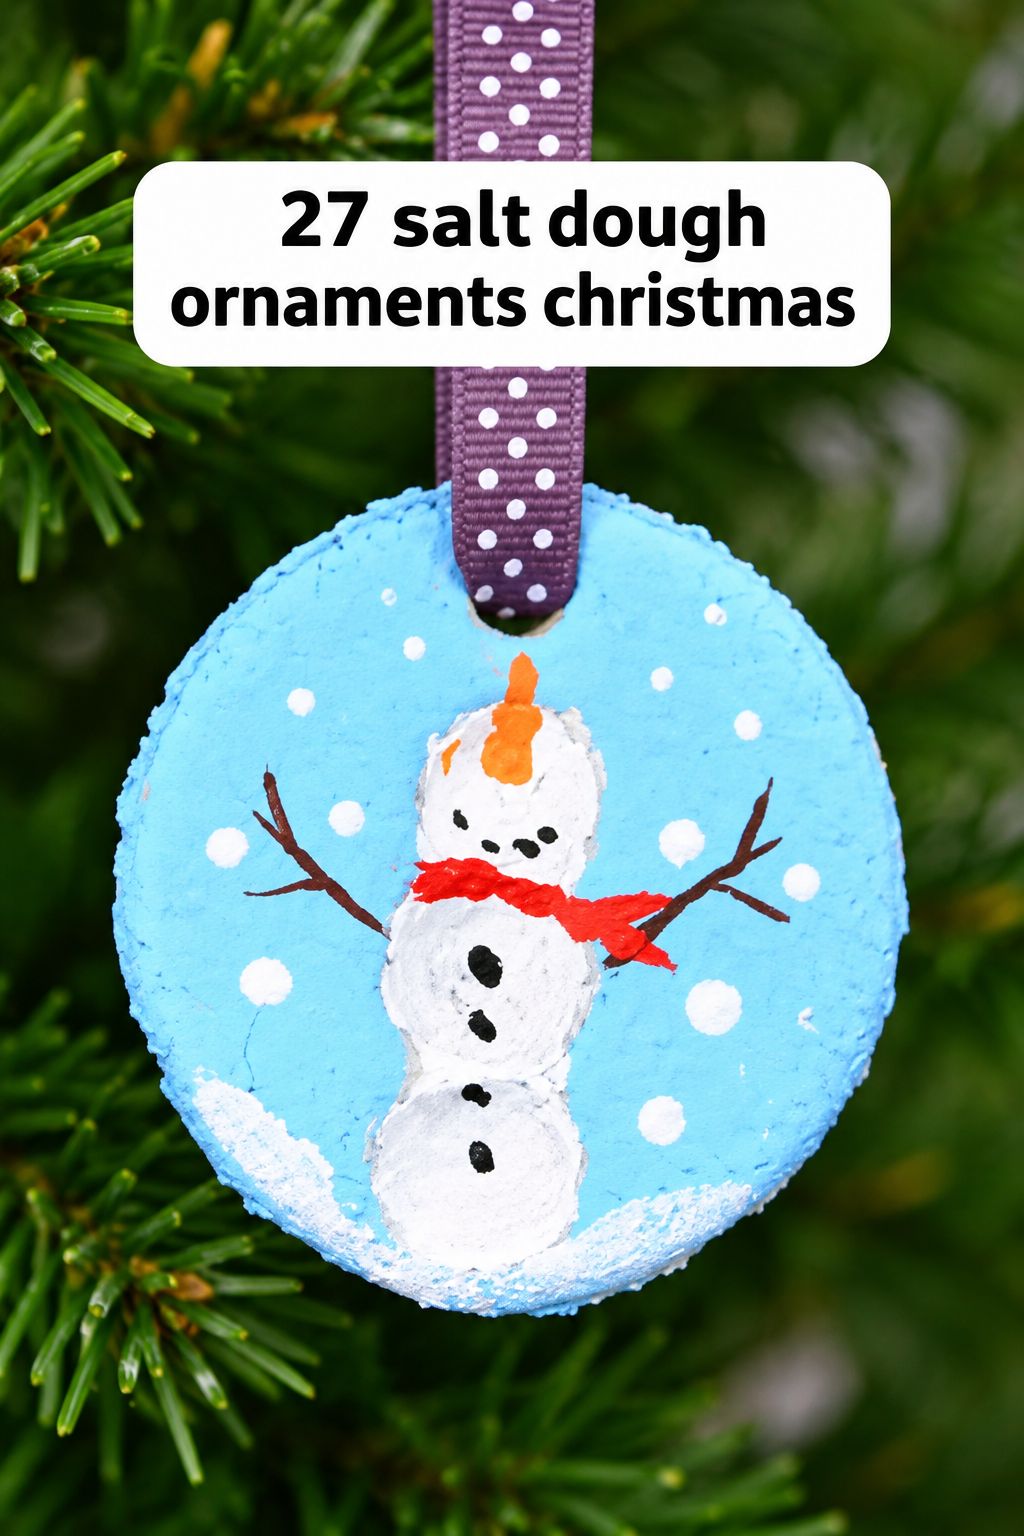
See our salt dough ornaments guide →
Yarn, Felt and Fabric Ornaments
Soft textures forgive wobbly cutting, so this is the gentlest group for first-timers who want easy homemade Christmas ornaments. Felt Gingerbread Ornaments are the kindest start for a beginner, since felt does not fray and a line of glue can stand in for stitches. Without an old sweater you are willing to cut up, Sweater Hoop Ornaments are a skip.
Shaggy Yarn Trees
Yarn wrapped around a cone or cardboard tree form turns into a shaggy mini tree with a fabric or felt star on top. Use whatever yarn you have and trim the shag to the shape you want. Wrap snugly so the base doesn’t show through.
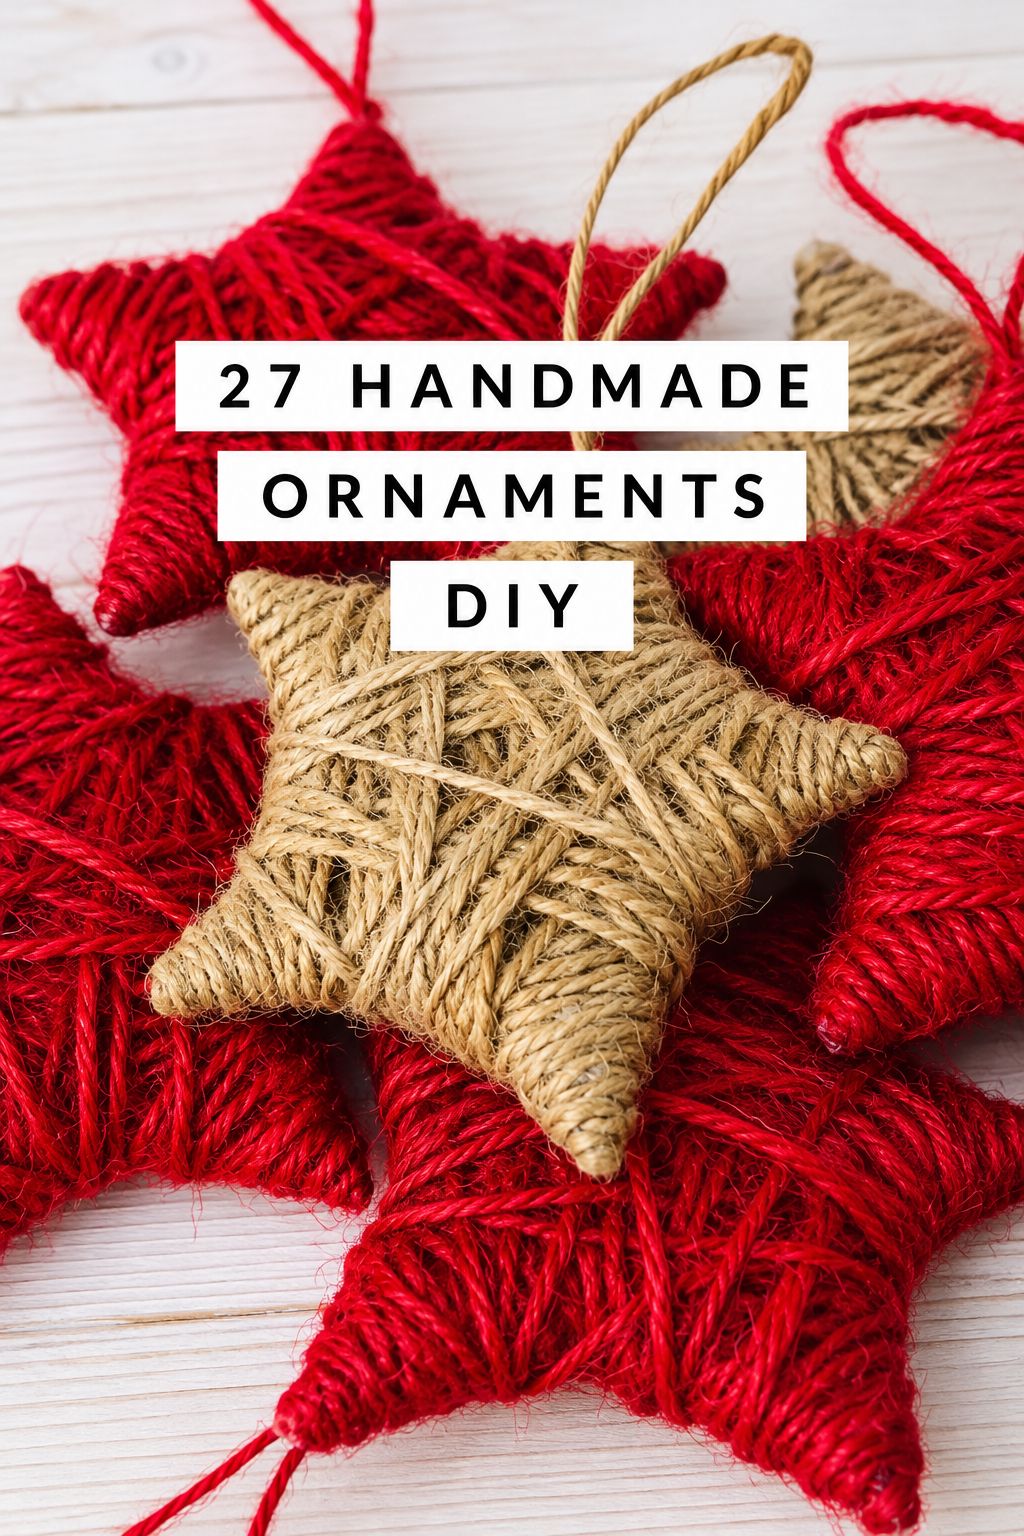
Yarn-Wrapped Stars
A cardboard star gets wrapped point to point in yarn until it is fully covered, with dabs of hot glue near the points. It’s a good use for leftover yarn, and you can match your tree colors. Glue the loop on the back of one point so the star hangs straight.
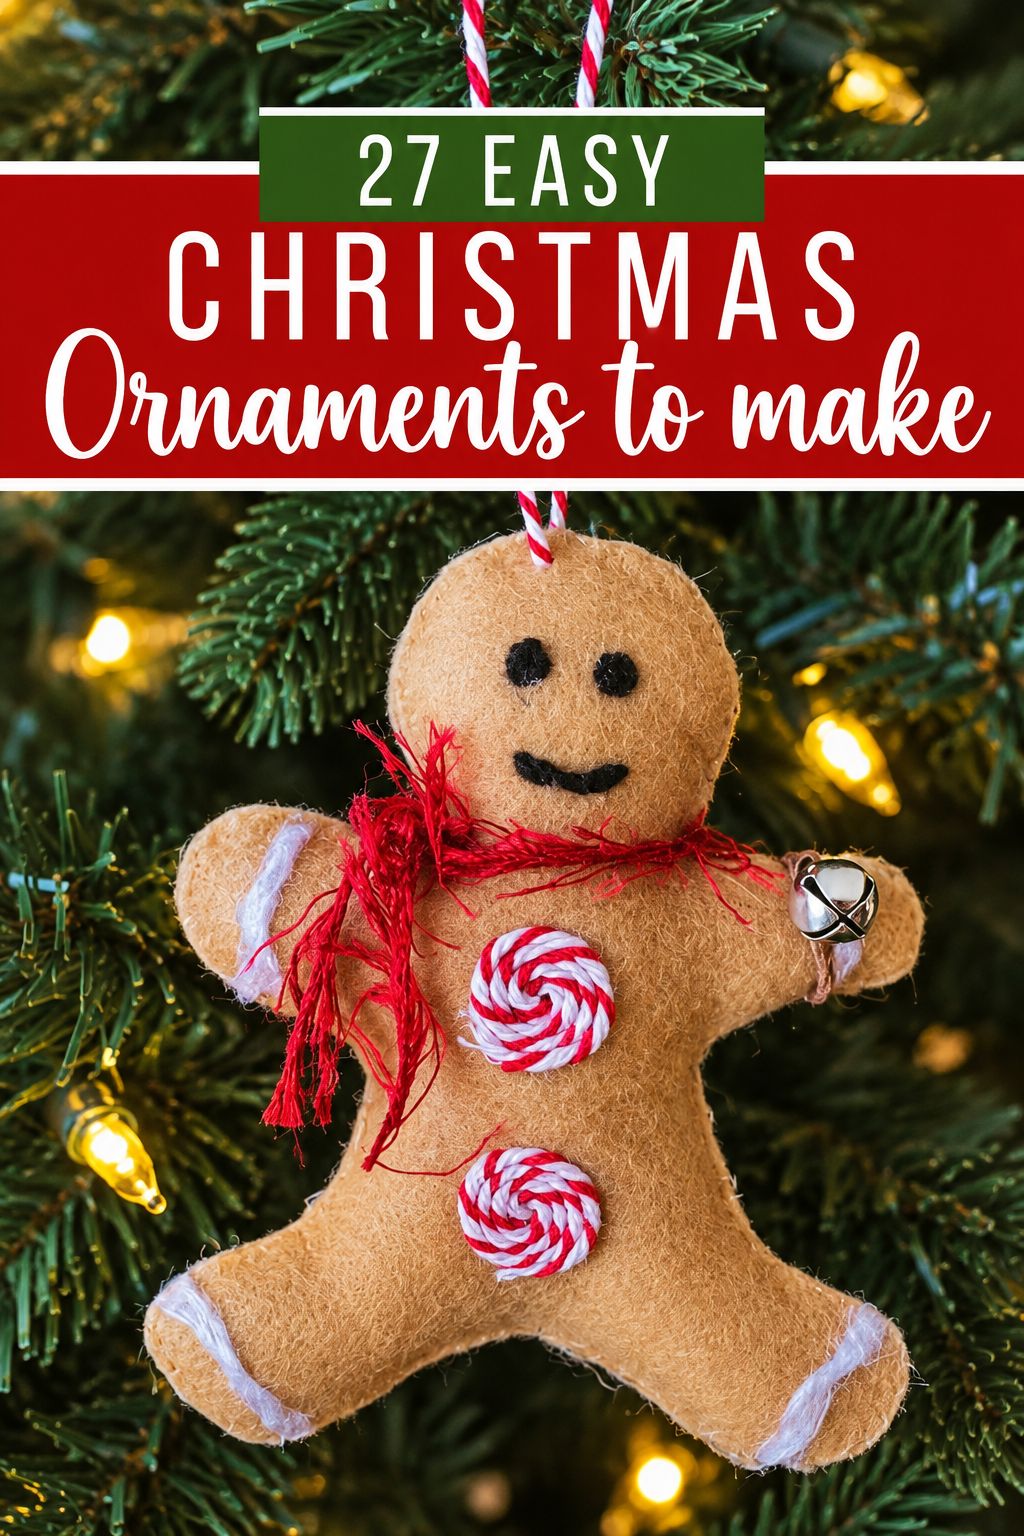
Felt Gingerbread Ornaments
A half-eaten gingerbread man cut from felt is stitched or glued at the edges. You don’t need to hem, and you can hand sew if you have no machine. Use small stitches or a thin line of glue to keep the edges flat.
Felt Animal Ornaments
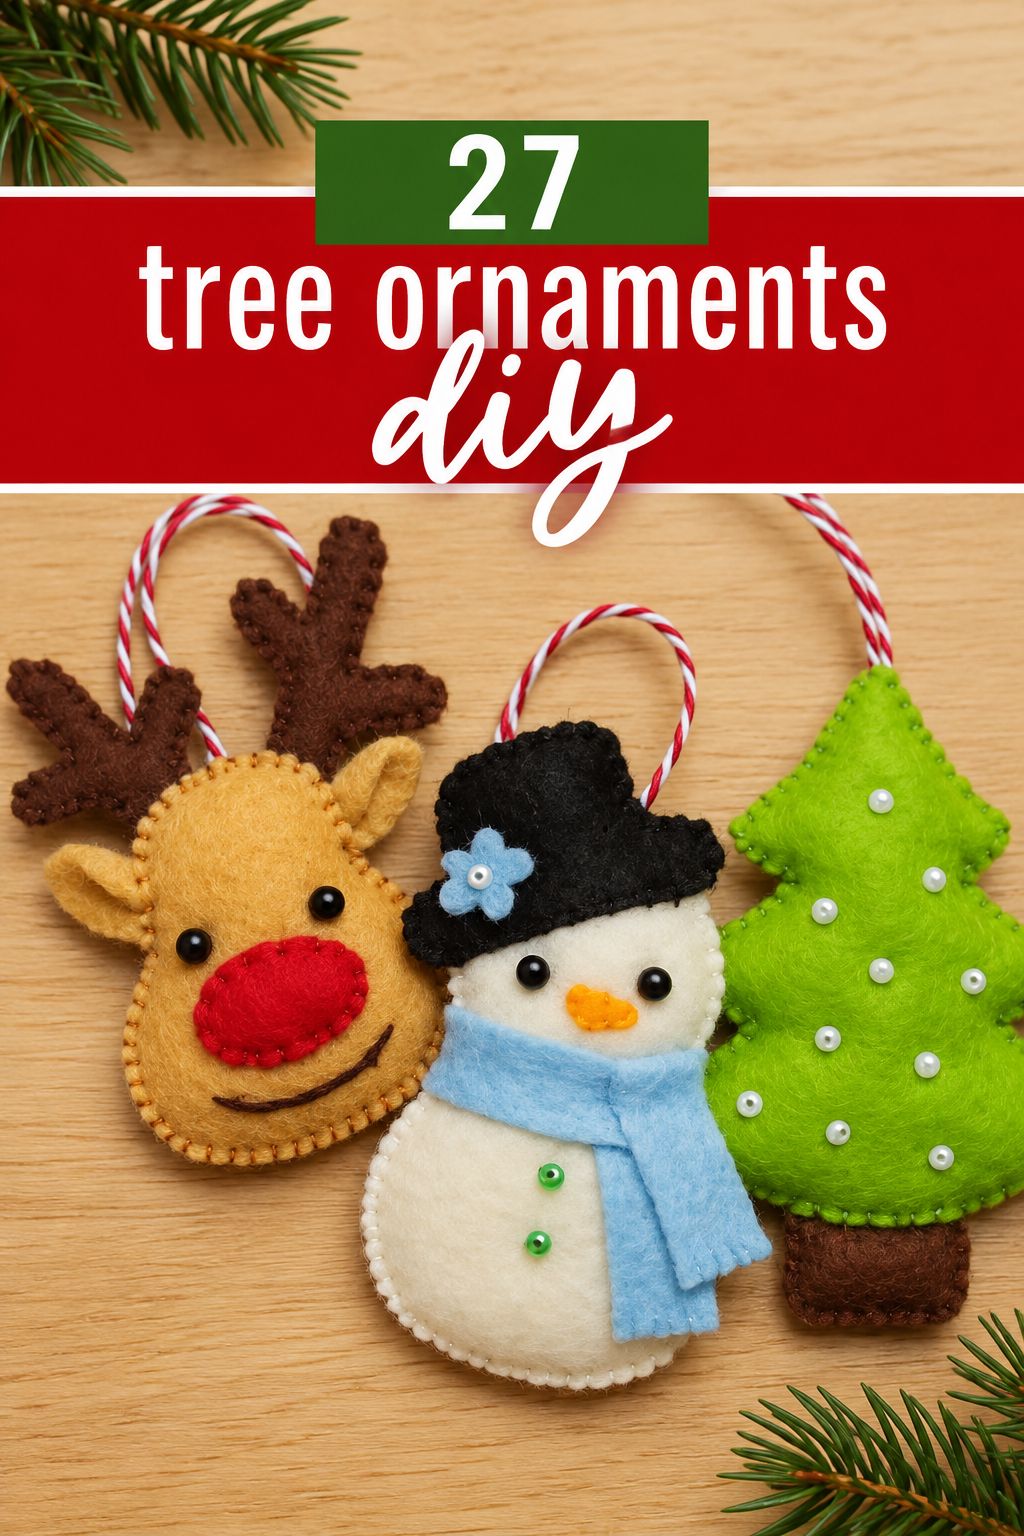
Little foxes, rabbits or bears cut from felt and layered with stitching or glue make a woodland set. You can trace printed animal pictures onto felt to make your own pattern. Cut the pieces small for the tree, and use sharp scissors for clean ears and tails.
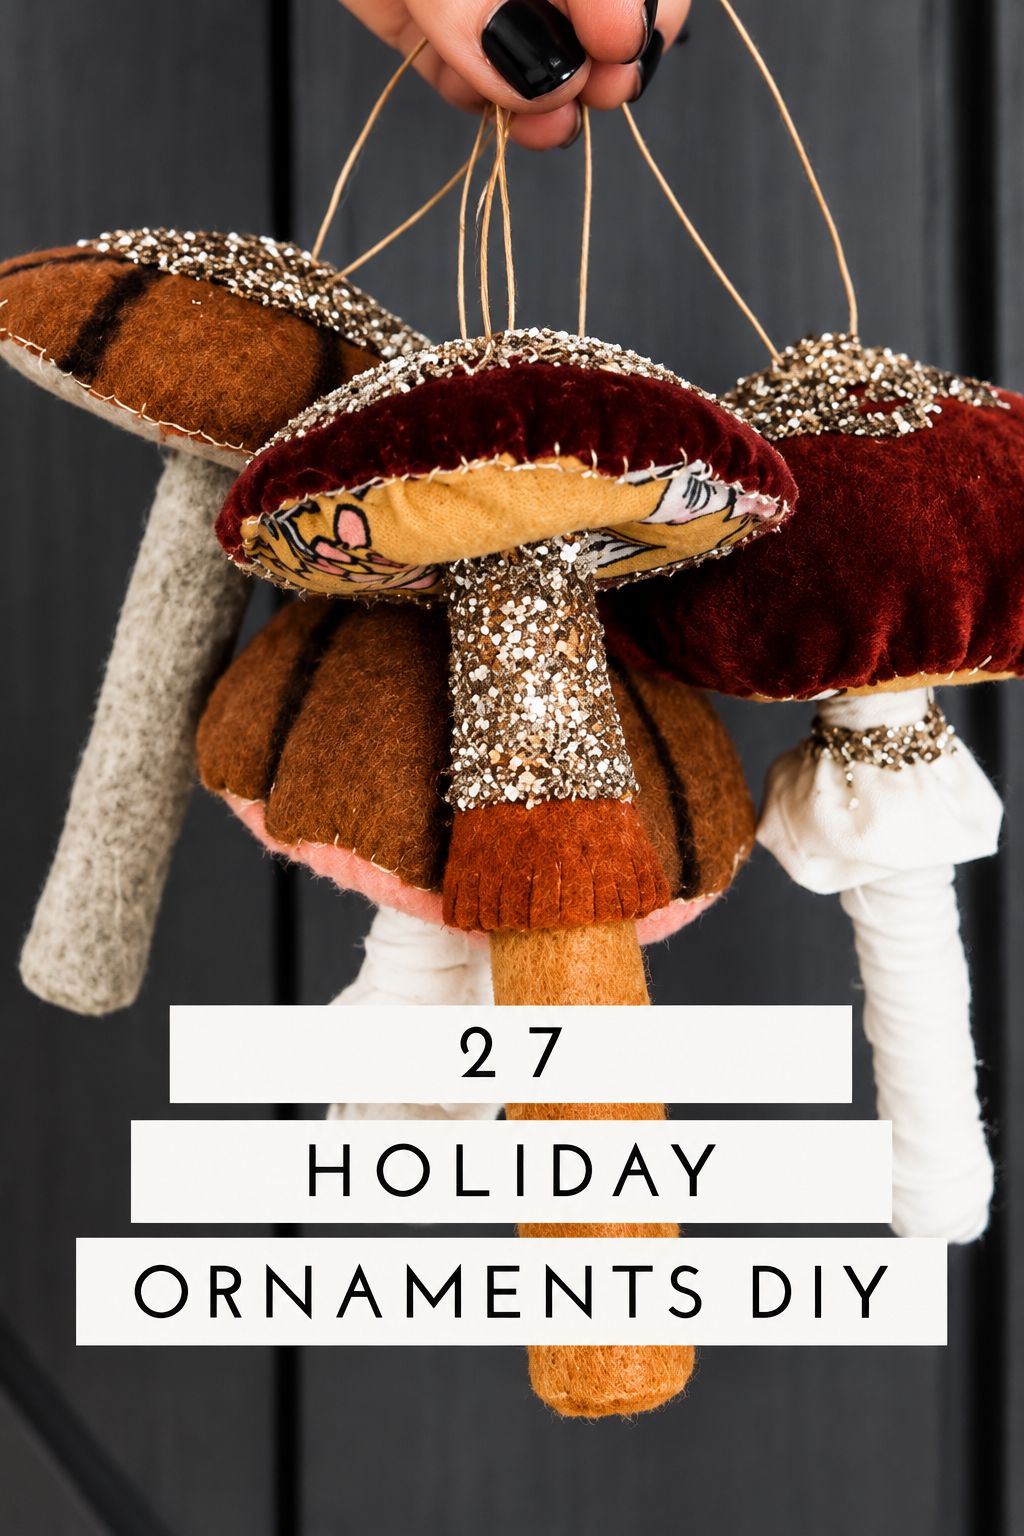
Fabric Mushroom Ornaments
Fabric scraps sewn into a rounded cap and a stem make mushroom ornaments for a woodland tree. They use up small leftovers and sit well beside natural ornaments. They need basic hand sewing, so they suit someone who can already thread a needle. Stuff lightly so the mushroom keeps its shape but still hangs light.
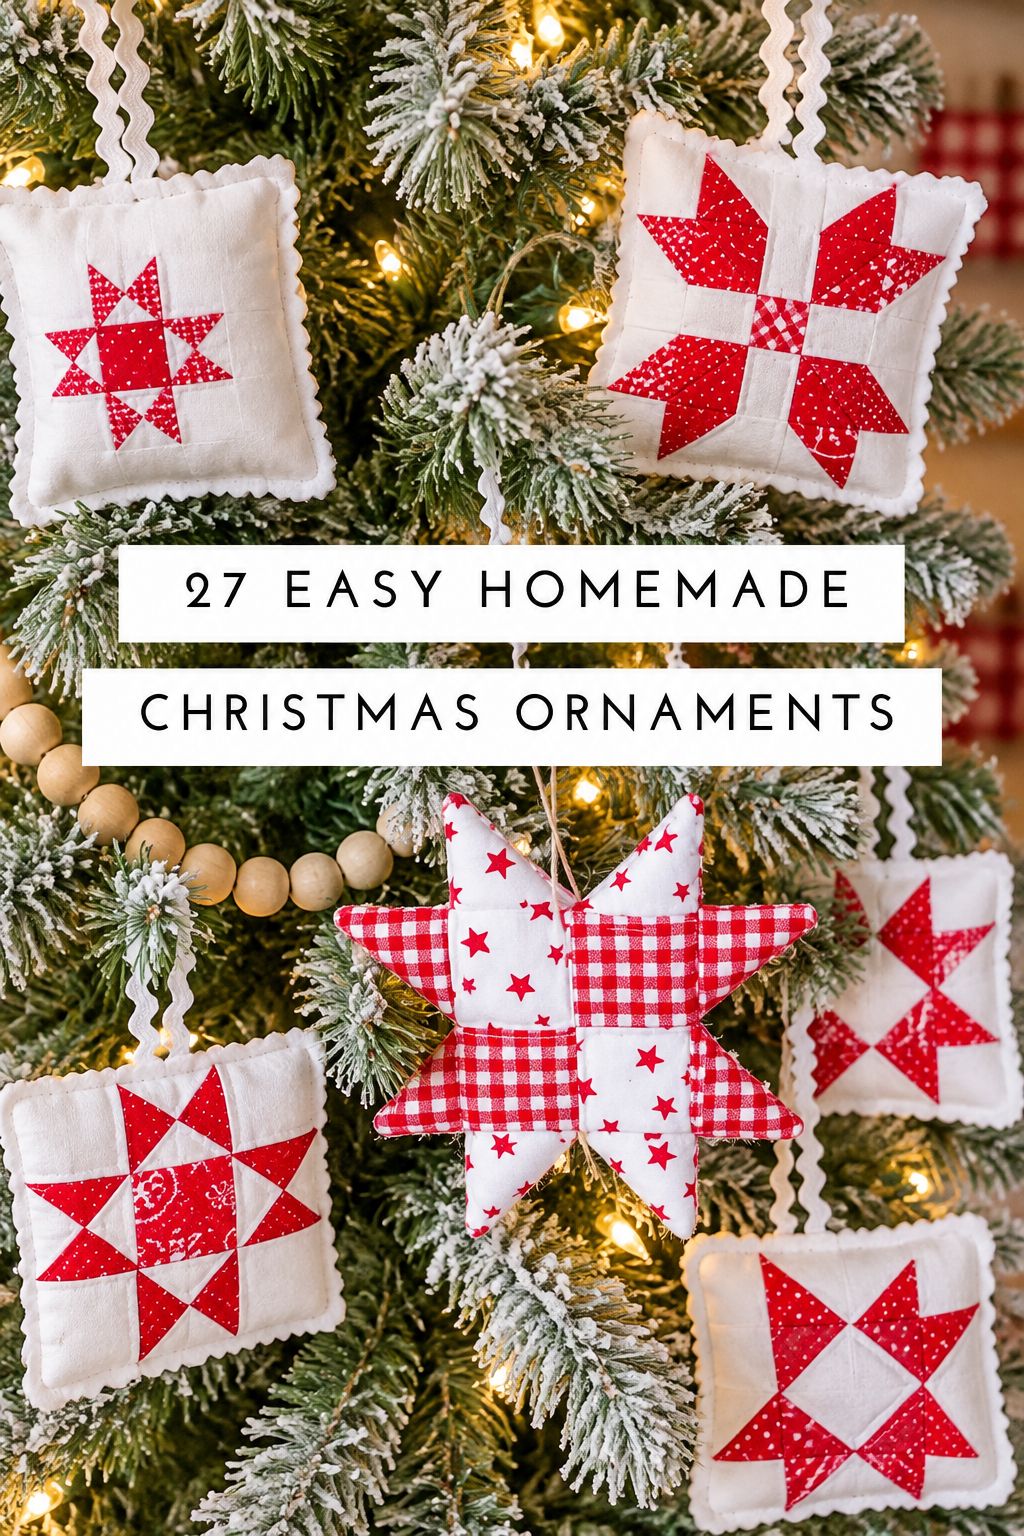
No-Sew Fabric Stars
No-sew stars are fabric wrapped and glued around a star form instead of stitched. You get a soft, patterned ornament with only scissors and glue. Choose a thin fabric, or the corners get bulky.
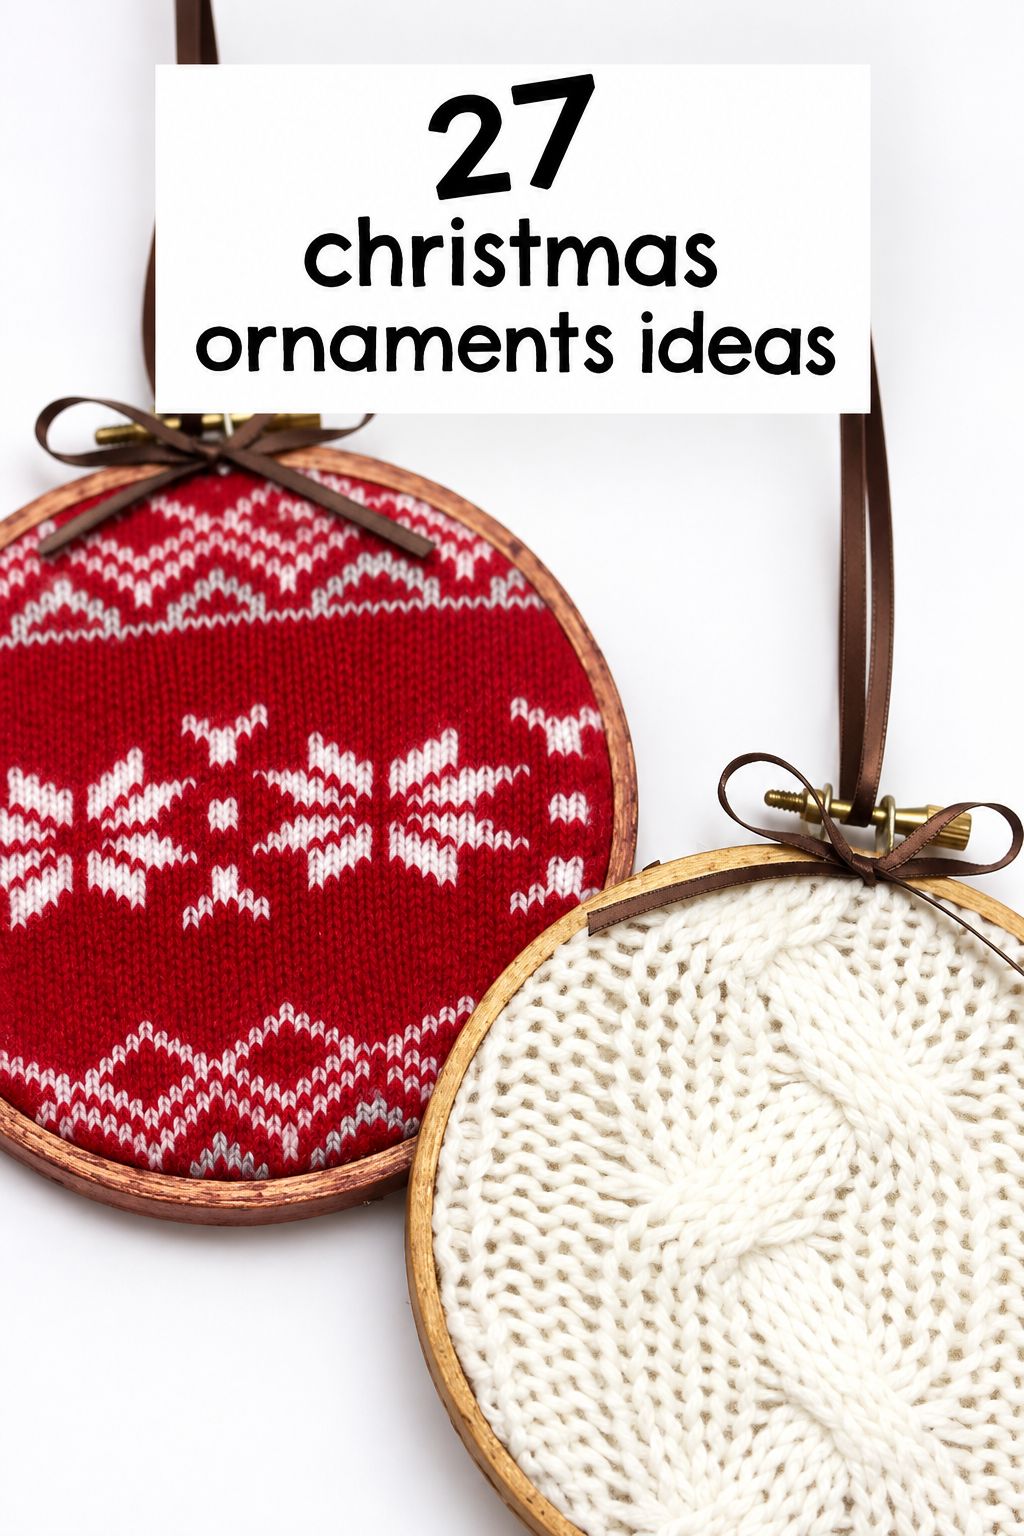
Sweater Hoop Ornaments
A small embroidery hoop stretched with a scrap of sweater knit becomes an instant cozy ornament. It works best when you have an old sweater you are ready to cut. Pull the knit smooth and glue the extra to the back so it doesn’t sag.
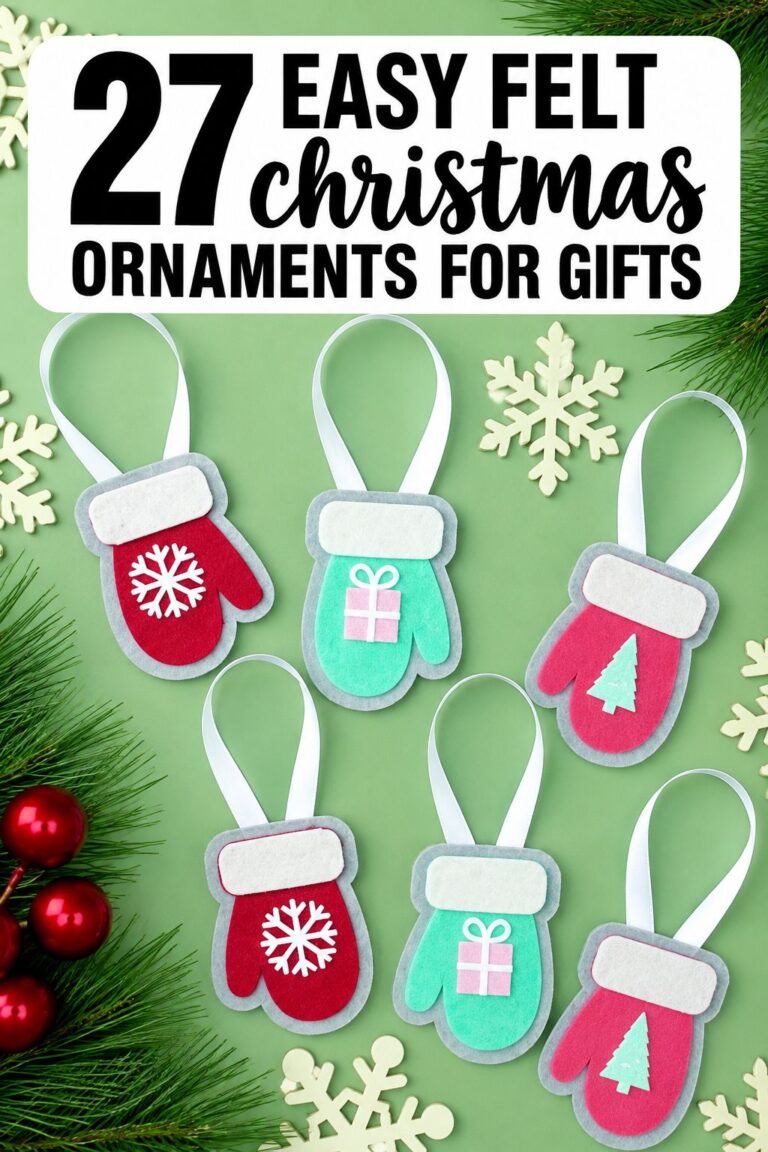
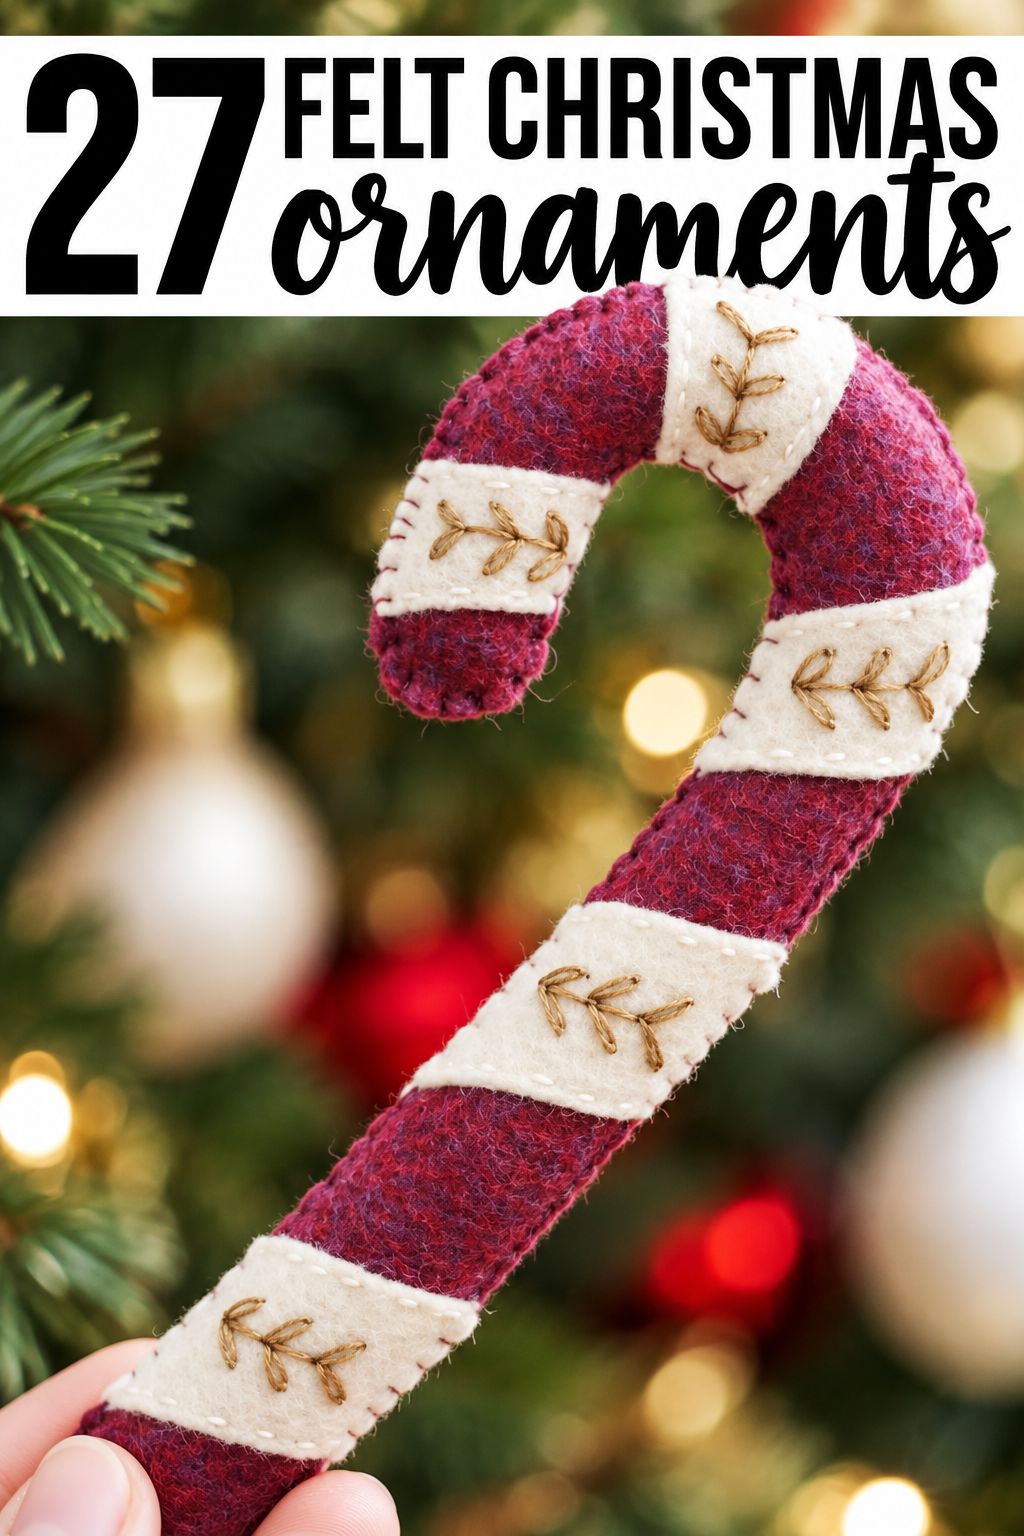
We sorted the felt projects into categories and named the method for each: hand sewing, embroidery, glue-only, or kit. That lets you choose by how much stitching you’re willing to do. A Swedish-style woven heart doubles as a Valentine’s Day piece. The gnome needs a Cricut-type cutting machine. The mushroom comes as a ready-made kit.
See our felt ornaments guide →
Crochet Ornaments
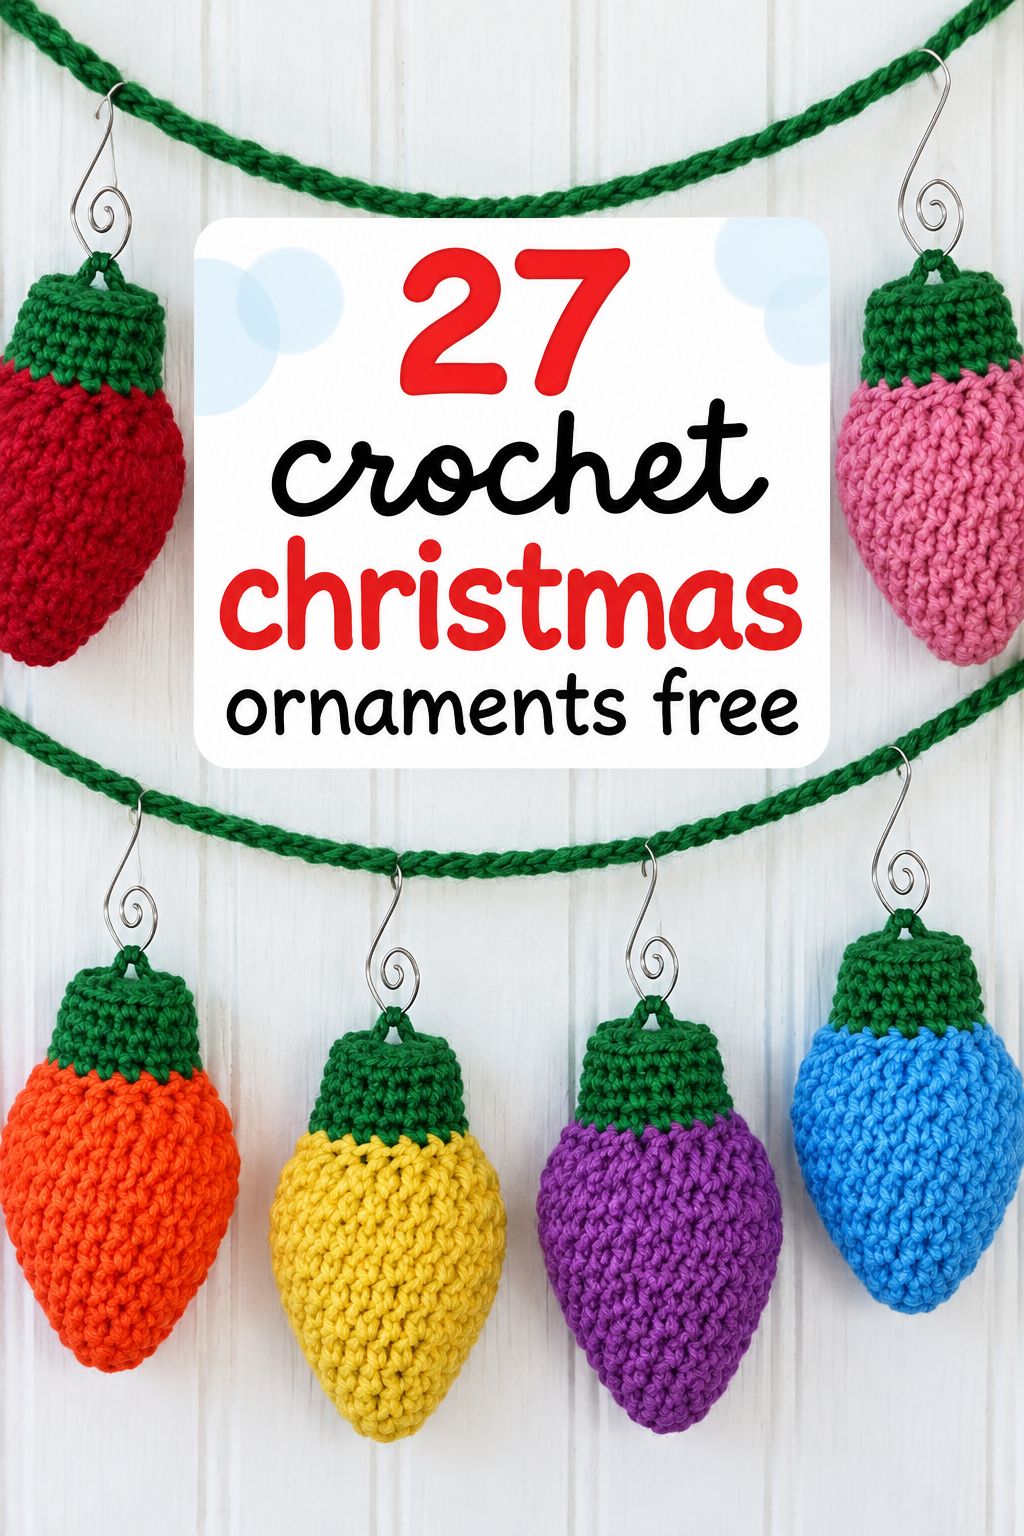
Most of these crochet patterns are free, and we grouped them into themed sections like classic shapes, little trees, and cozy scenes. The Puff Stitch Christmas Tree gets its texture from several loops pulled through one spot. The Mini Santa Hat works as an ornament or a gift topper. The snow globe is tutorial-only, with no written pattern.
See our crochet ornaments guide →
Paper Ornaments
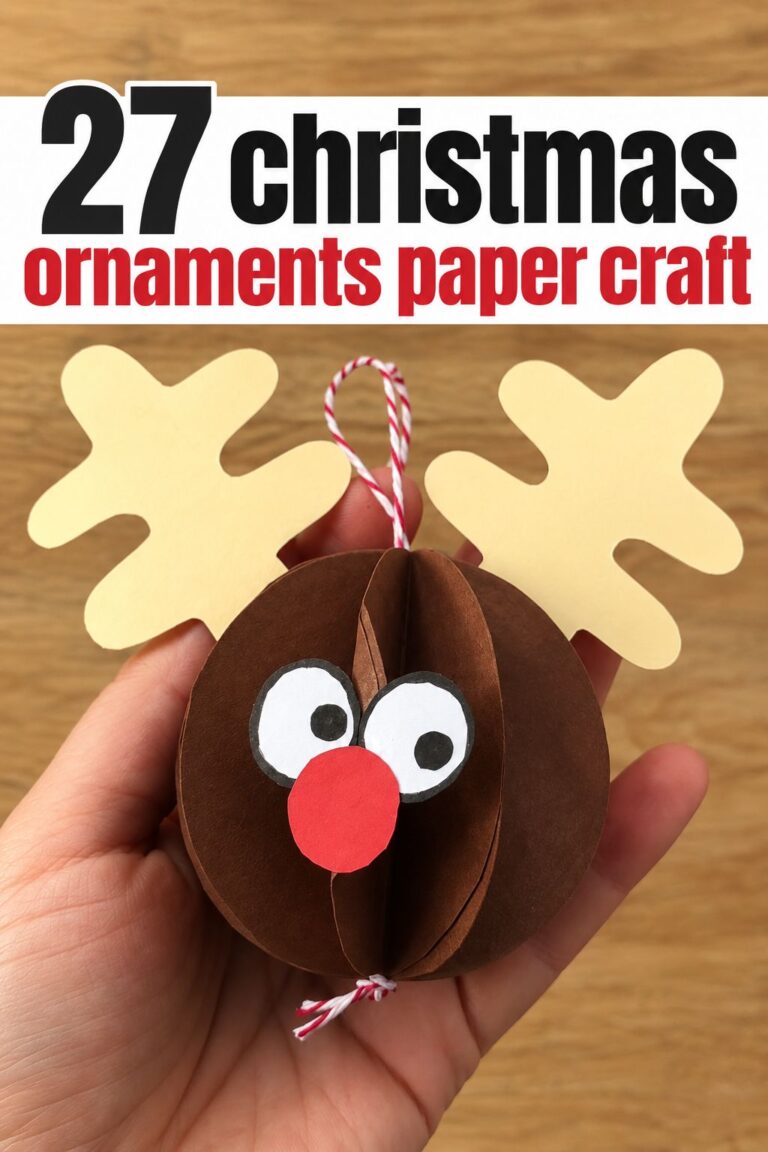
Paper ornaments cost little, pack flat, and give a whole table of kids or friends something to do at once. Waldorf Stars win this group for me, because a few folds of thin paper fill a branch with color. 3D Paper Star Ornaments need sharp, careful creases, so if fiddly folding tries your patience, leave them for a calmer evening.
Waldorf Stars
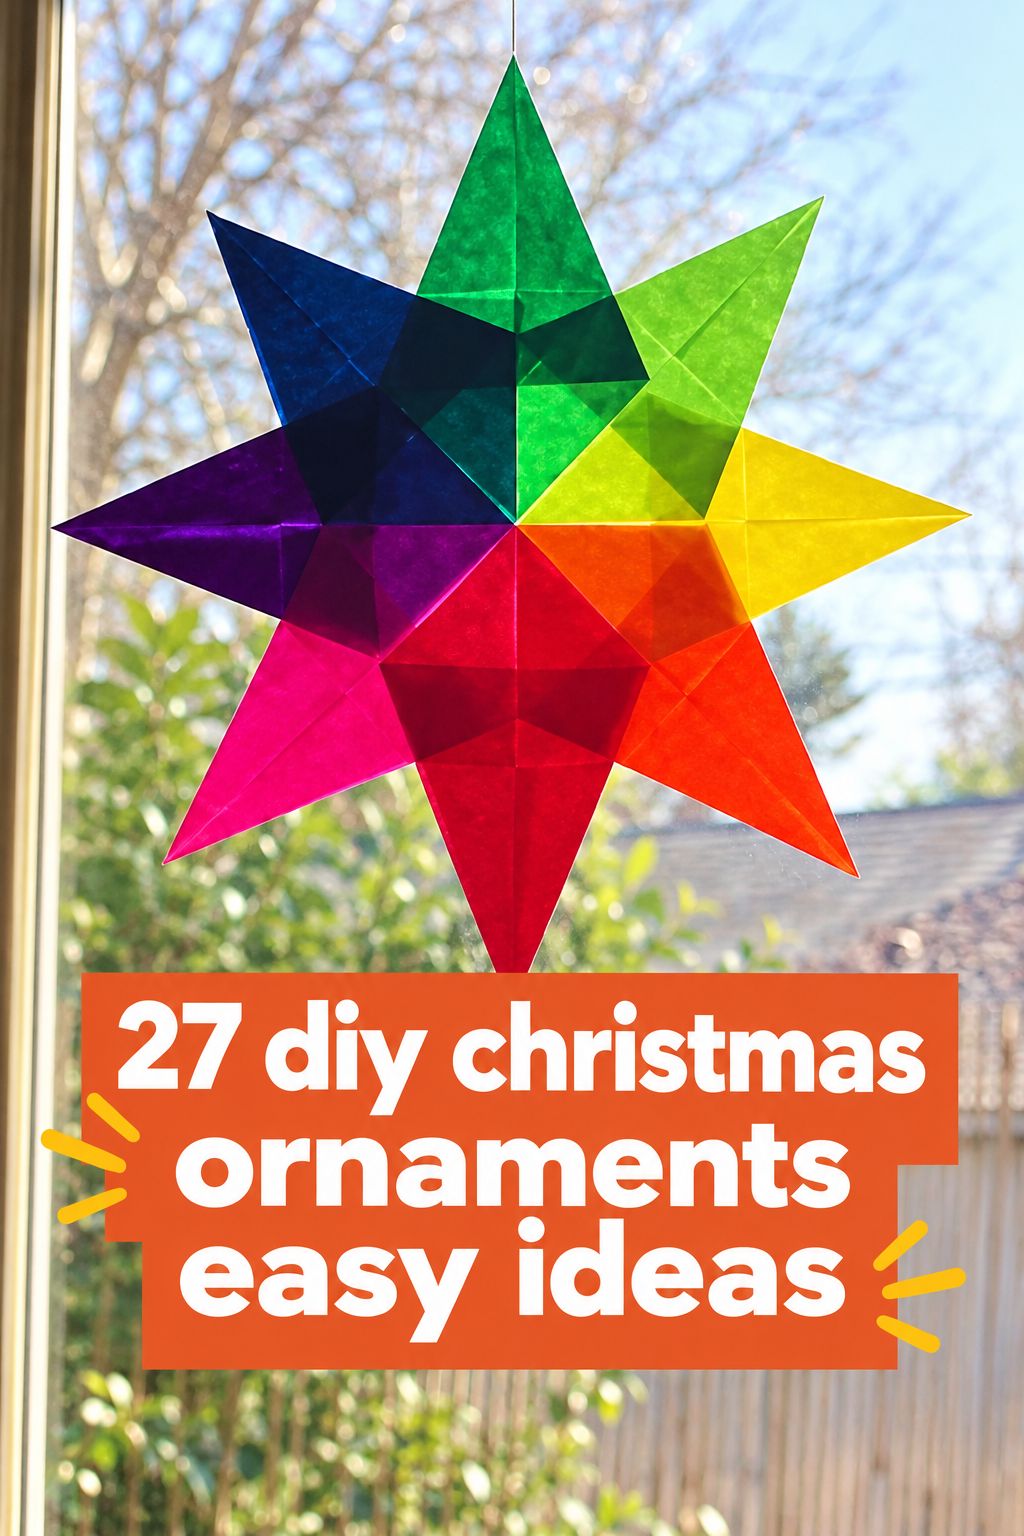
A Waldorf star is a folded paper star linked to Waldorf schools. It is usually made from thin, see-through paper, so light shows through the layers. You fold small pointed pieces, lock them together into a star, then add string to hang. Make them in different sizes for depth on the tree.
Paper Candle Ornaments
A rolled paper tube becomes the candle body, and a flattened metallic mini cupcake liner becomes the shiny collar at the top. Small flames cut from gold and orange metallic paper finish it. You cut a small slit in the top of the tube to seat the liner, then tape a twine loop to the back for hanging.
Letter to Santa Scroll Ornaments
A tiny paper scroll tied with twine tucks into a clear ornament or hangs on its own. Kids can write a short wish, or their name and the year, which turns it into a keepsake for grandparents. Roll the paper tight so it slides in without tearing.
3D Paper Star Ornaments
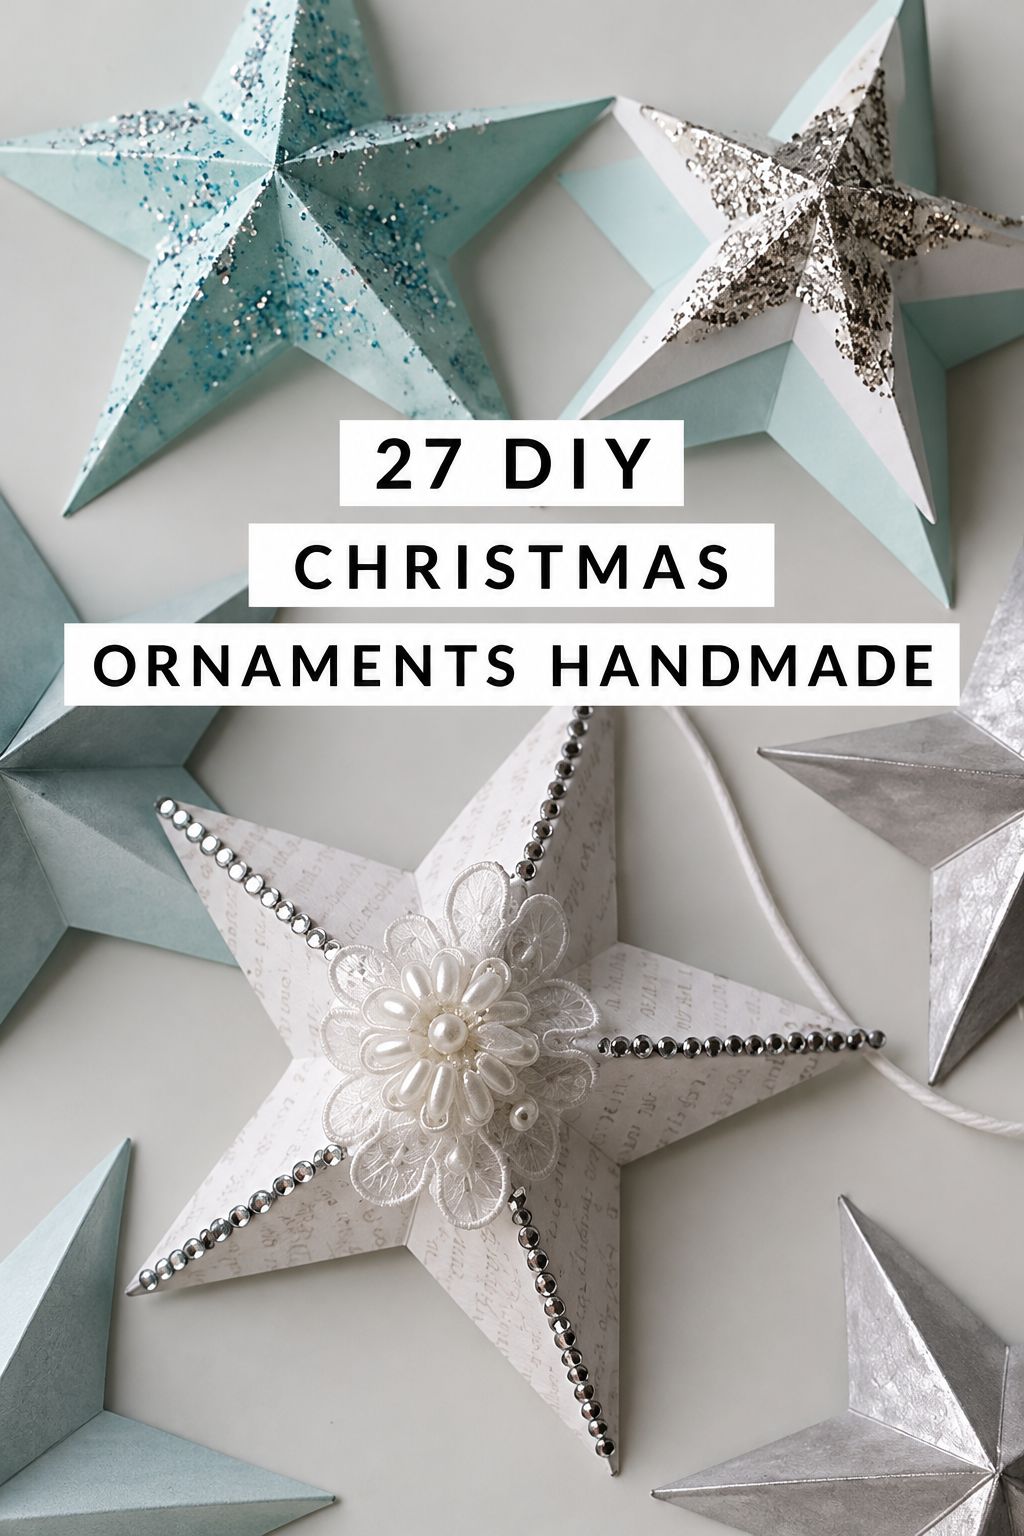
Folded and glued paper points build a puffed star that catches light from every side. White paper looks snowy with almost no extra supplies. Crease sharply and let the glue set before hanging so the points stay crisp.
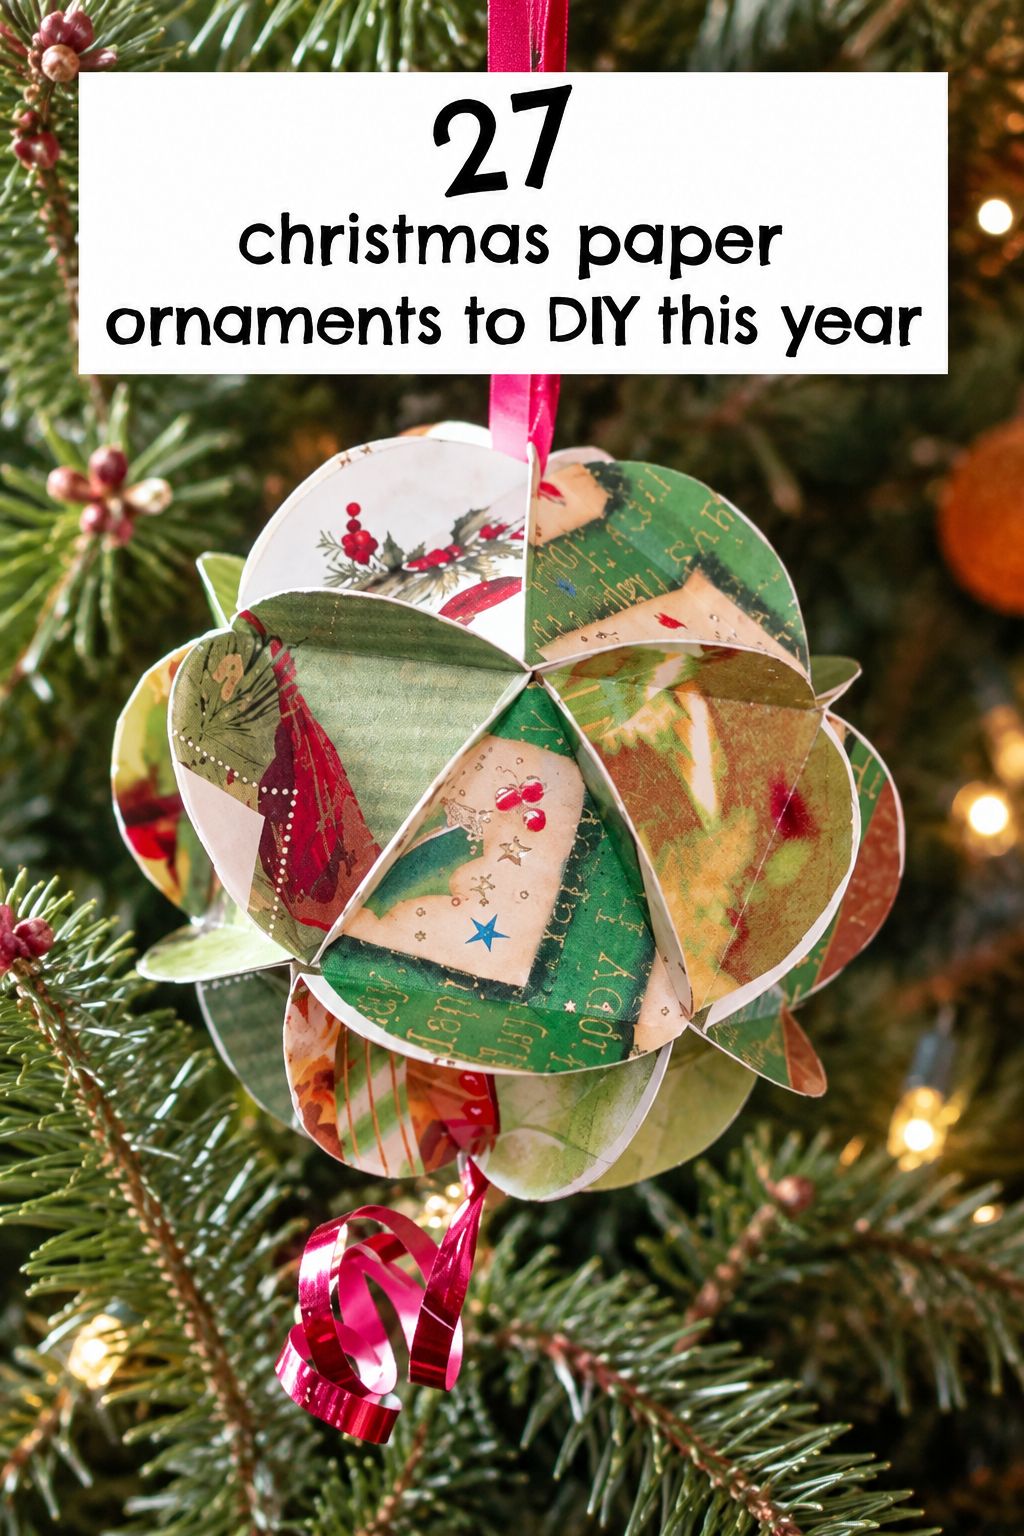
We sorted the paper projects by type and listed the supplies and difficulty for each, so you can see the effort before you buy anything. A traditional Moravian waxed paper star is woven from folded strips and dipped in wax. A modular origami star ball is built from identical folded pieces. The wedding invitation ornament uses old invitations or save-the-dates with fake snow inside a clear ornament.
See our paper ornaments guide →
Clear Glass and Fillable Ornaments
With a clear ornament, half the job is done before you start: you only choose what goes inside or on the glass. Epsom Salt Snowy Ornaments are the easy yes here, because a wintry look comes from one bag of bath salt. Alcohol Ink Ornaments are ornament crafts for adults only, so keep them away from the kitchen table, the kids and the pets.
Alcohol Ink Ornaments
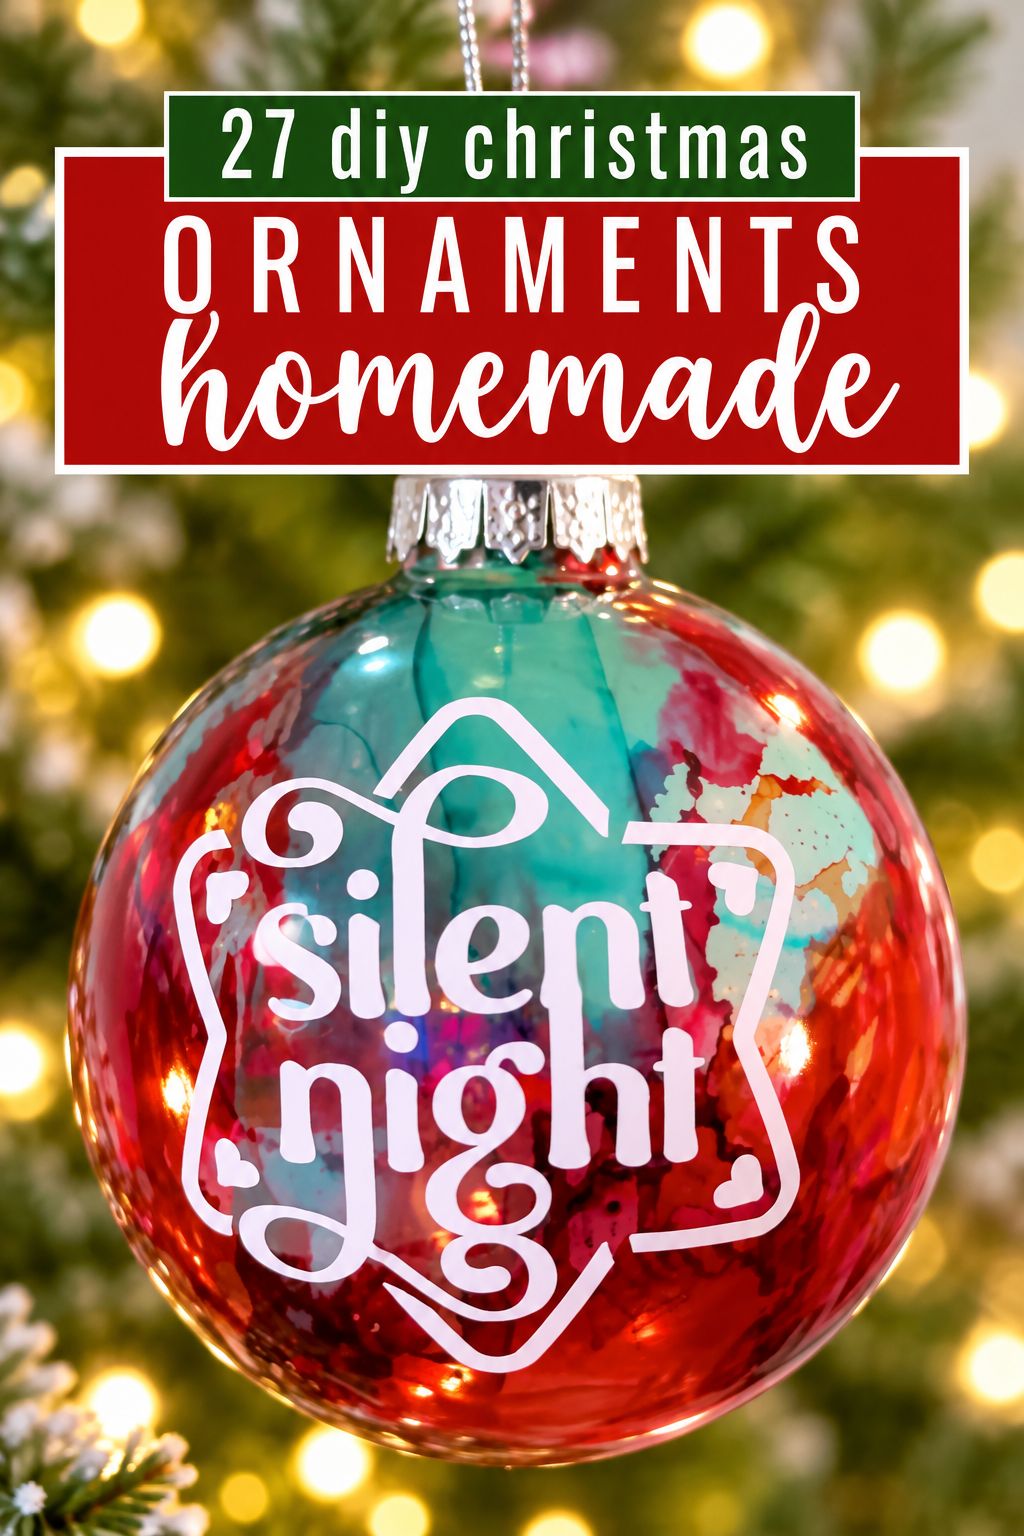
Alcohol ink is a thin, very bright craft ink made with alcohol instead of water, so it flows and blends on slick surfaces like glass. Swirled inside or painted on the outside of a clear ornament, it gives a stained-glass look. The color is rich, but the ink is messy, so work in a ventilated spot. Cover your table and wear gloves before you open the bottles.
Epsom Salt Snowy Ornaments
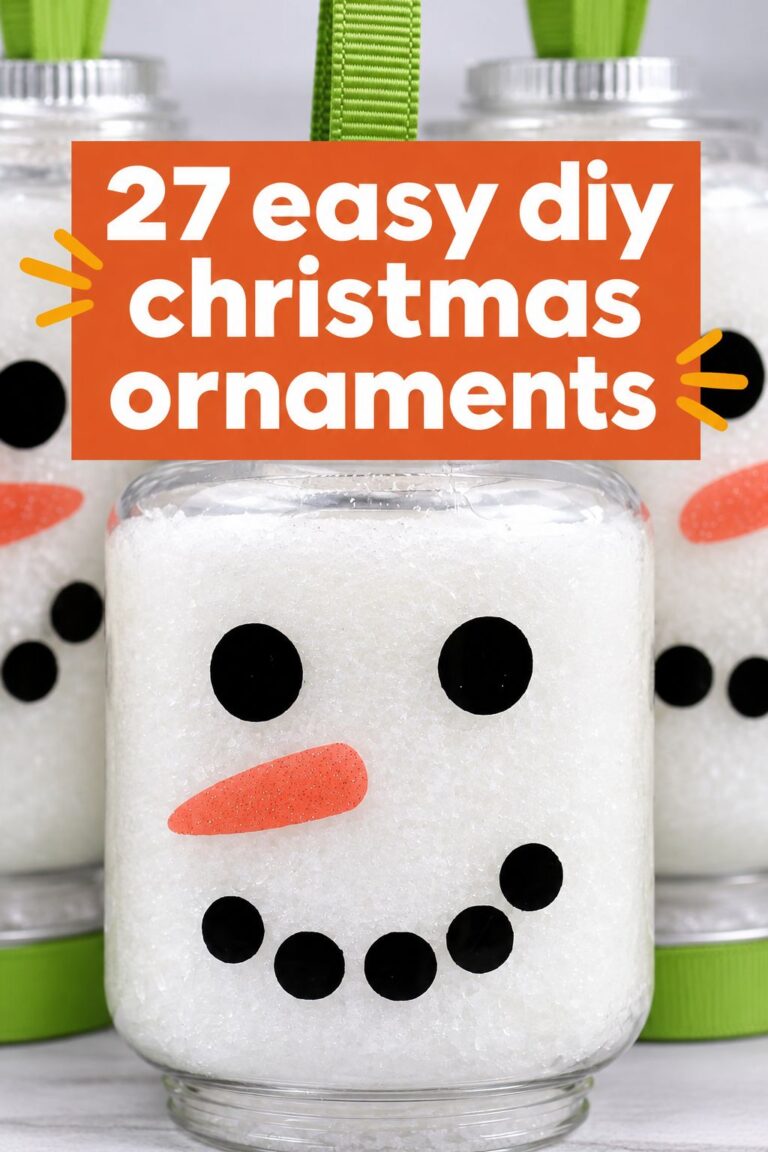
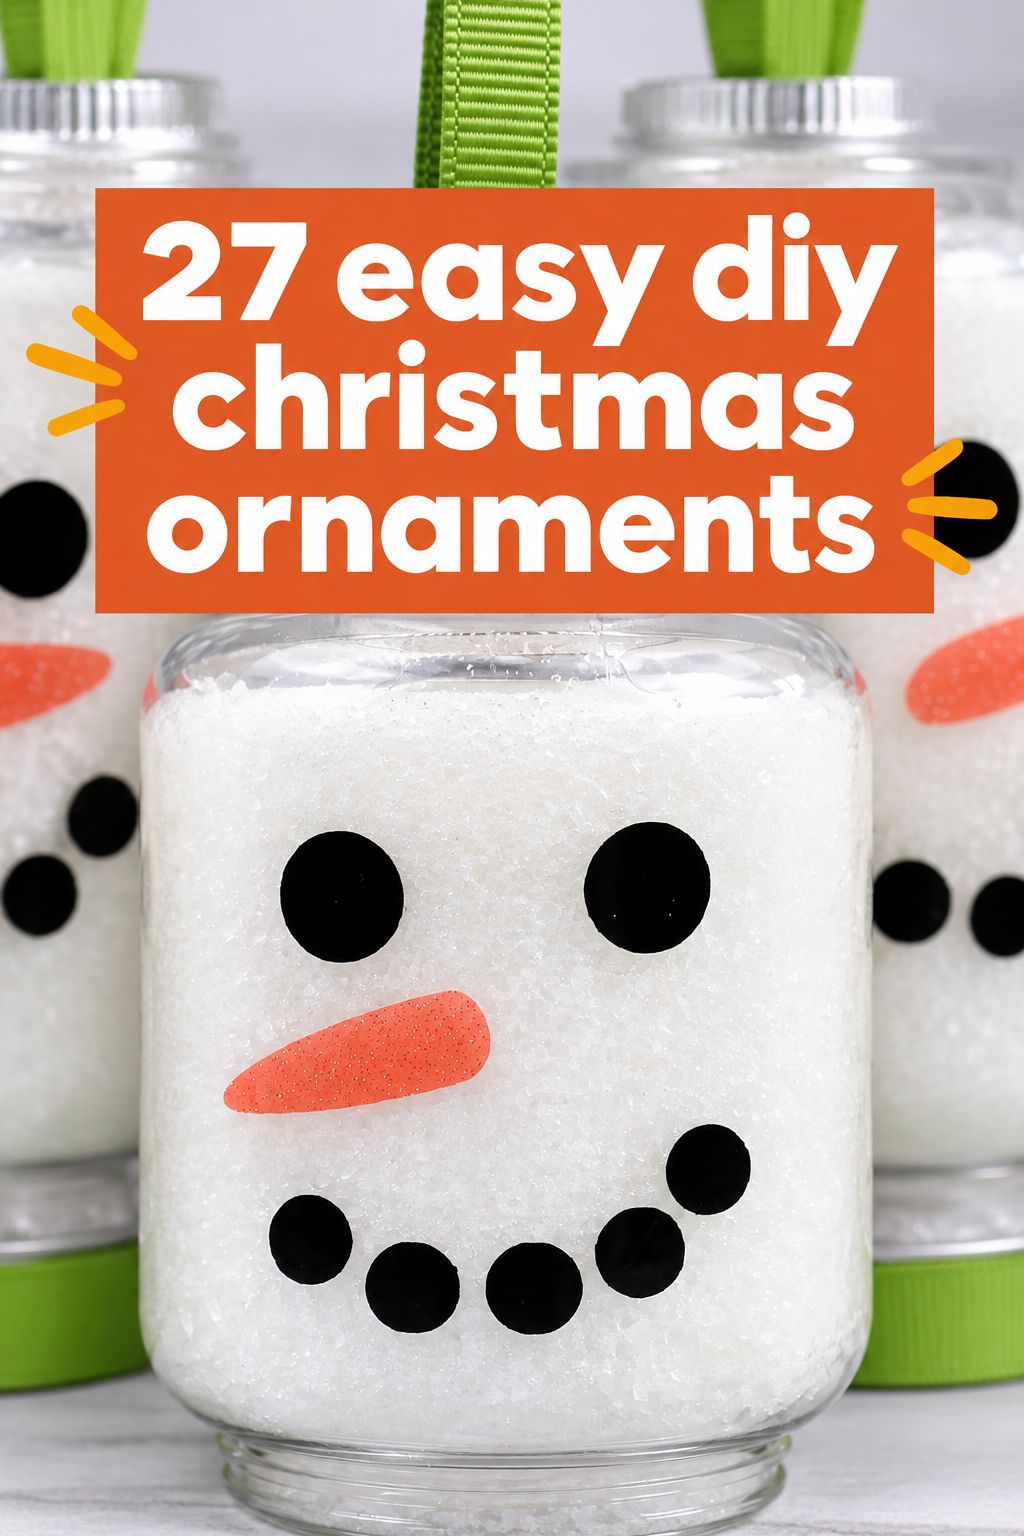
Epsom salt is the coarse white bath salt sold for soaking, and its crystals look like snow. Inside a clear ornament, it gives a frosted, snowy look that pairs well with a twine bow. Add a small pinch at a time so you don’t overfill and block the hanger.
Gold Leaf Ornaments
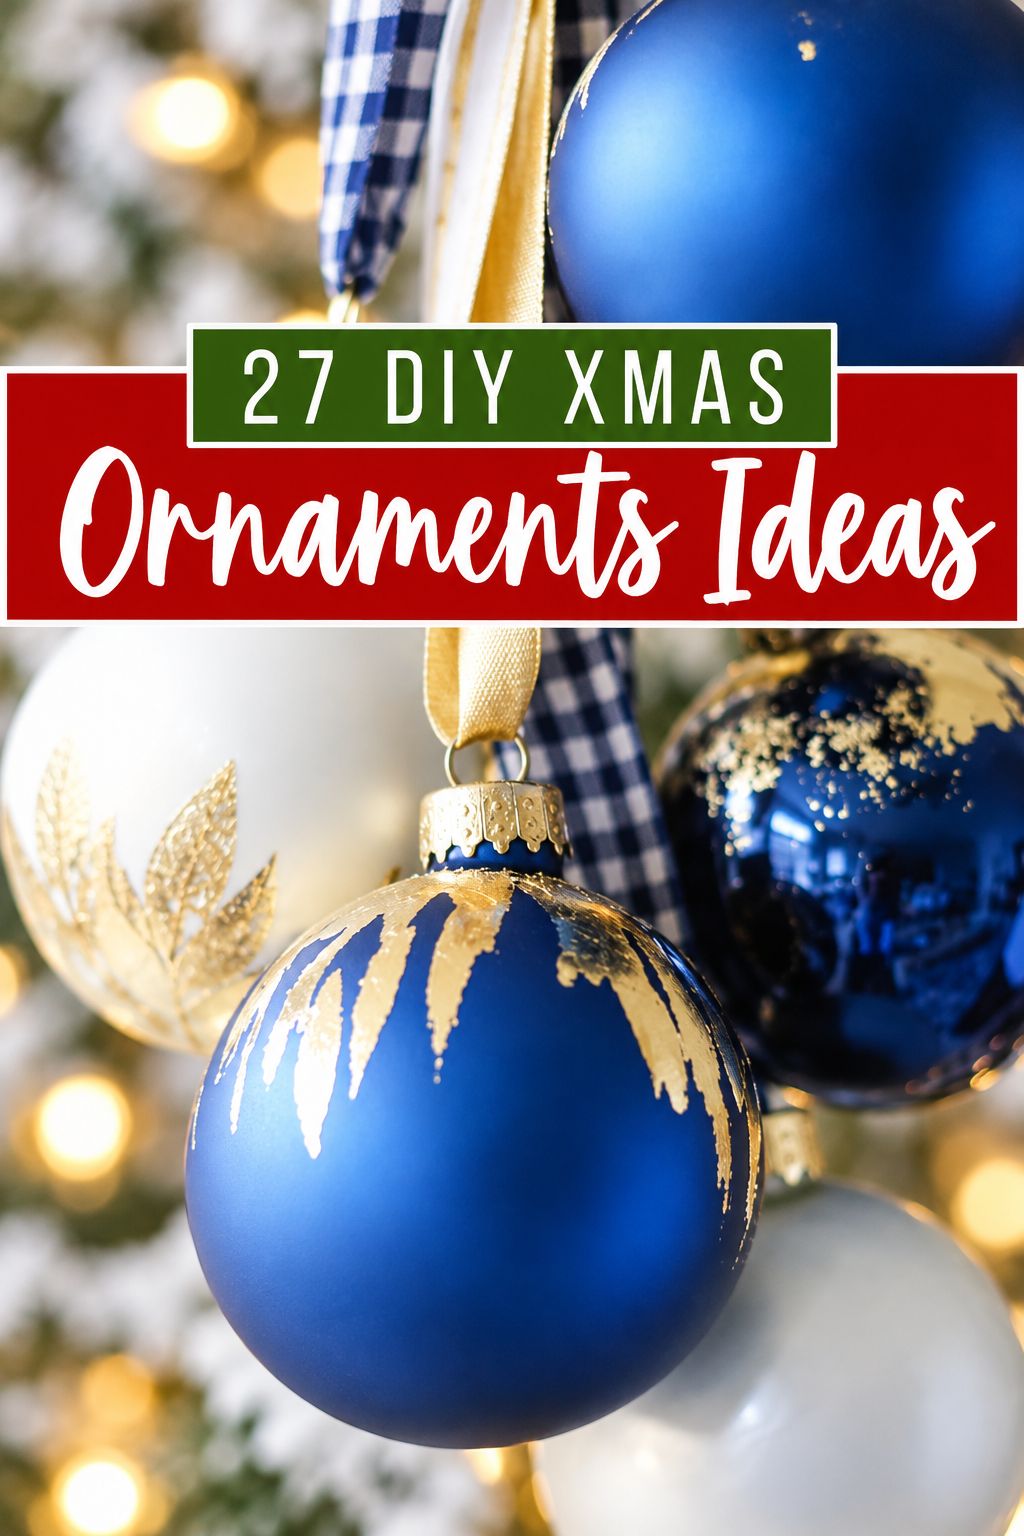
Gold leaf is metal hammered into sheets so thin that they tear and drift if you breathe near them. Tucked inside a clear ornament, the flakes catch the tree lights and can look far fancier than the effort behind them. Work away from fans and open windows, and save gold leaf for steady adult hands. Close the cap firmly so loose flakes stay inside in storage.
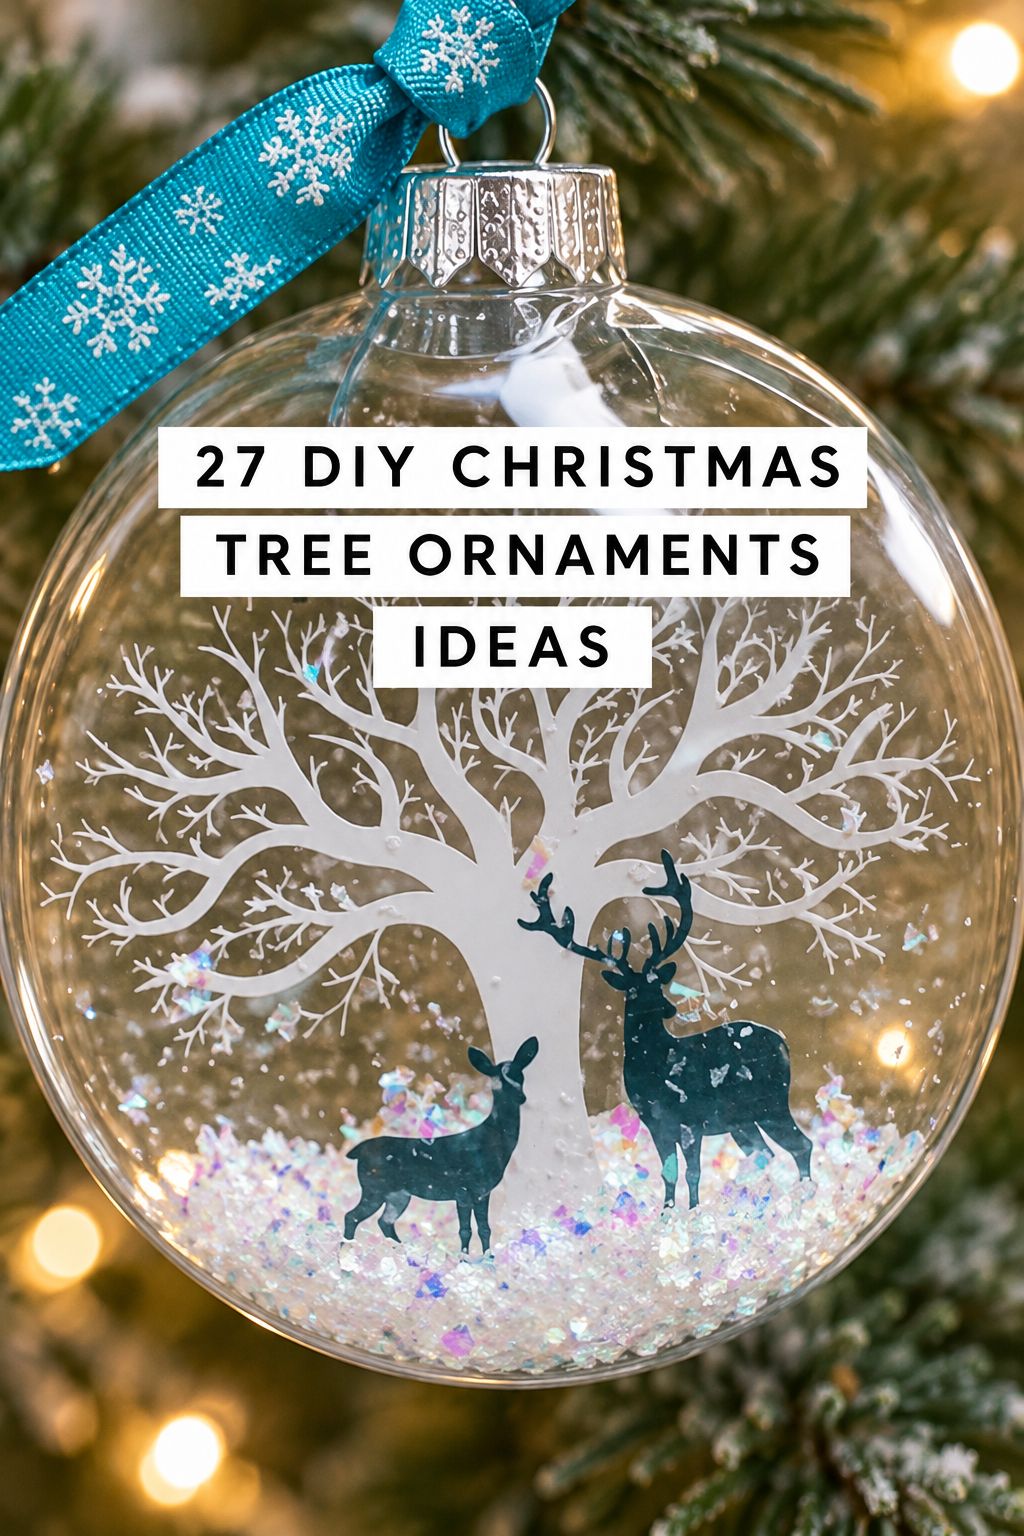
Fillable Woodland Scene Ornaments
Clear fillable ornaments from the dollar store become tiny terrariums with evergreen clippings, faux snow and small woodland cutouts. You can theme them to match your tree. Use a light, dry fill so the ornament hangs balanced.
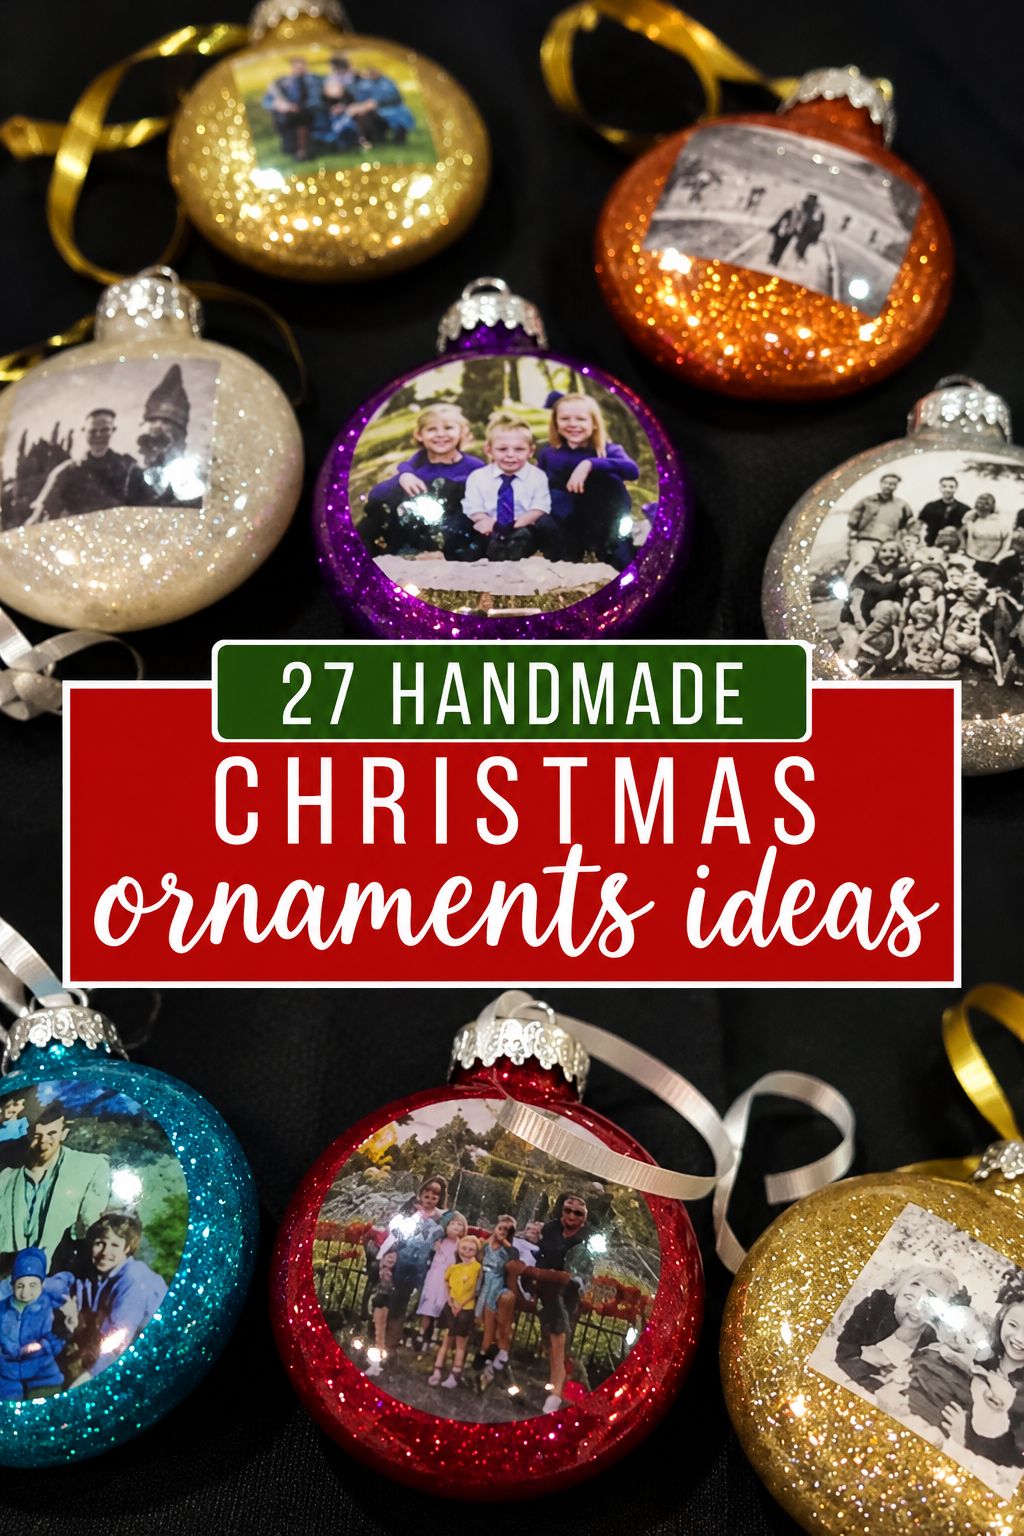
Fillable Photo Ornaments
A cropped photo, curled and slipped inside a clear ornament, turns into a keepsake gift. It suits grandparents and new parents who want family faces on the tree. Print the photo slightly small so it curves without creasing.
Bead, Wood and Wire Ornaments
Beads, wood and wire hold up well in a storage box, so these ornaments come out again next year. Beaded Snowflake Ornaments are where I would spend an evening, since a jar of leftover beads and some wire is most of the shopping list. Wood-Burned Birch Slice Ornaments need a wood burner, so leave them unless you already own one.
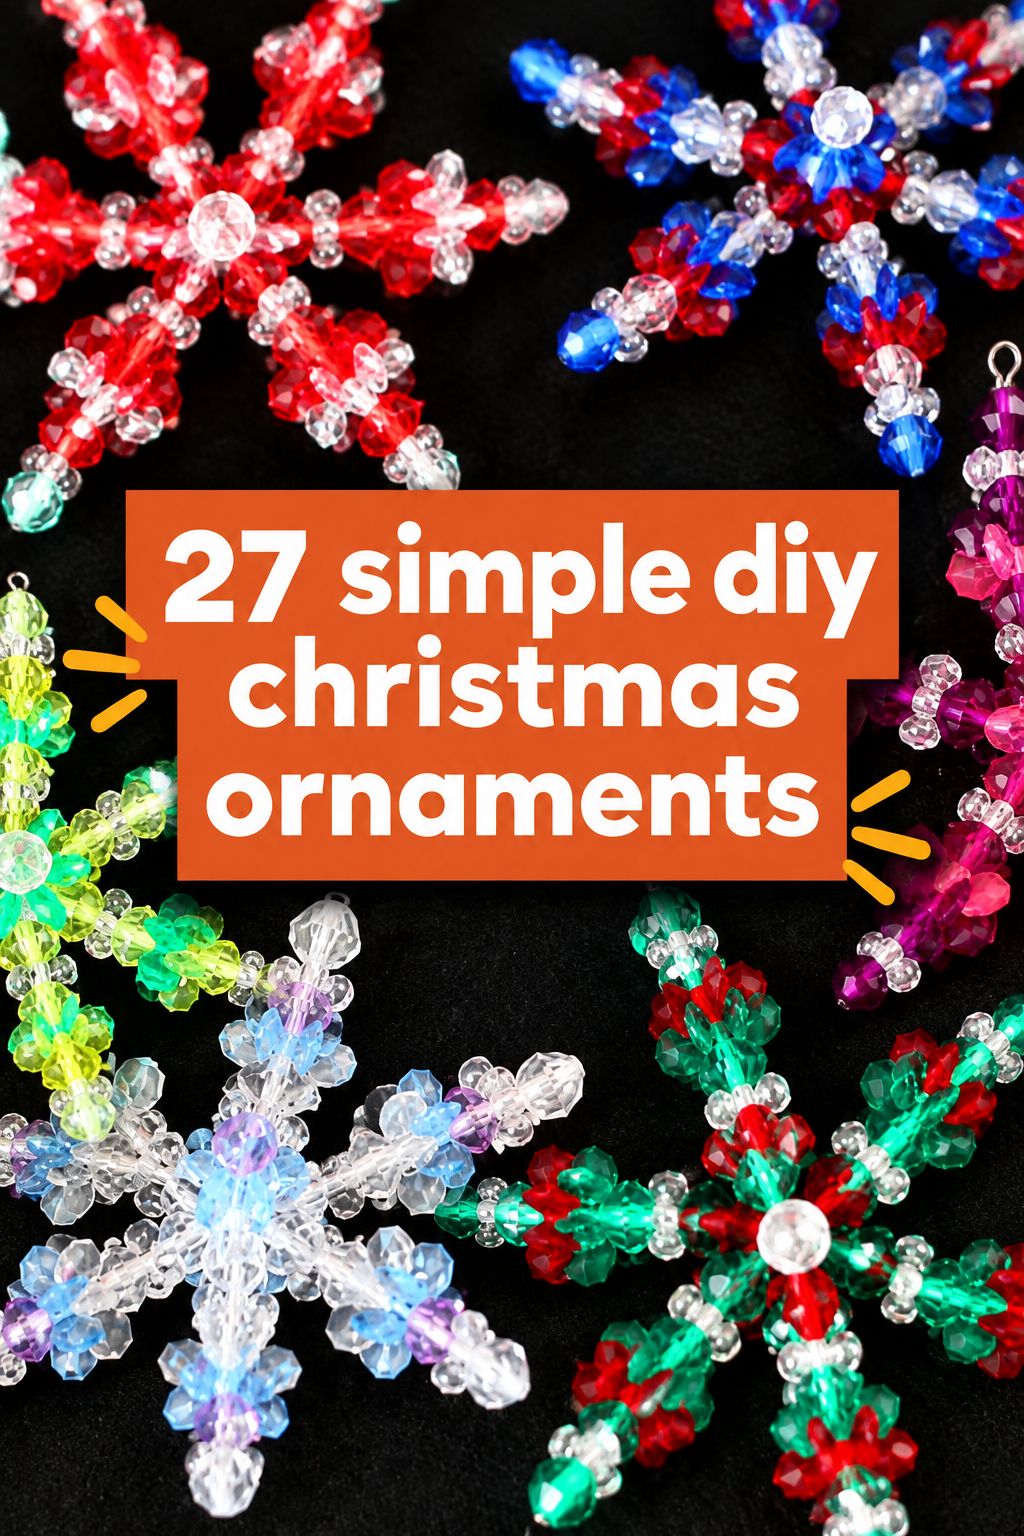
Beaded Snowflake Ornaments
Beads threaded on wire form a snowflake that catches the light. You shape the wire first, then add beads in a repeating pattern. Pull the wire with even tension so the points stay the same length.
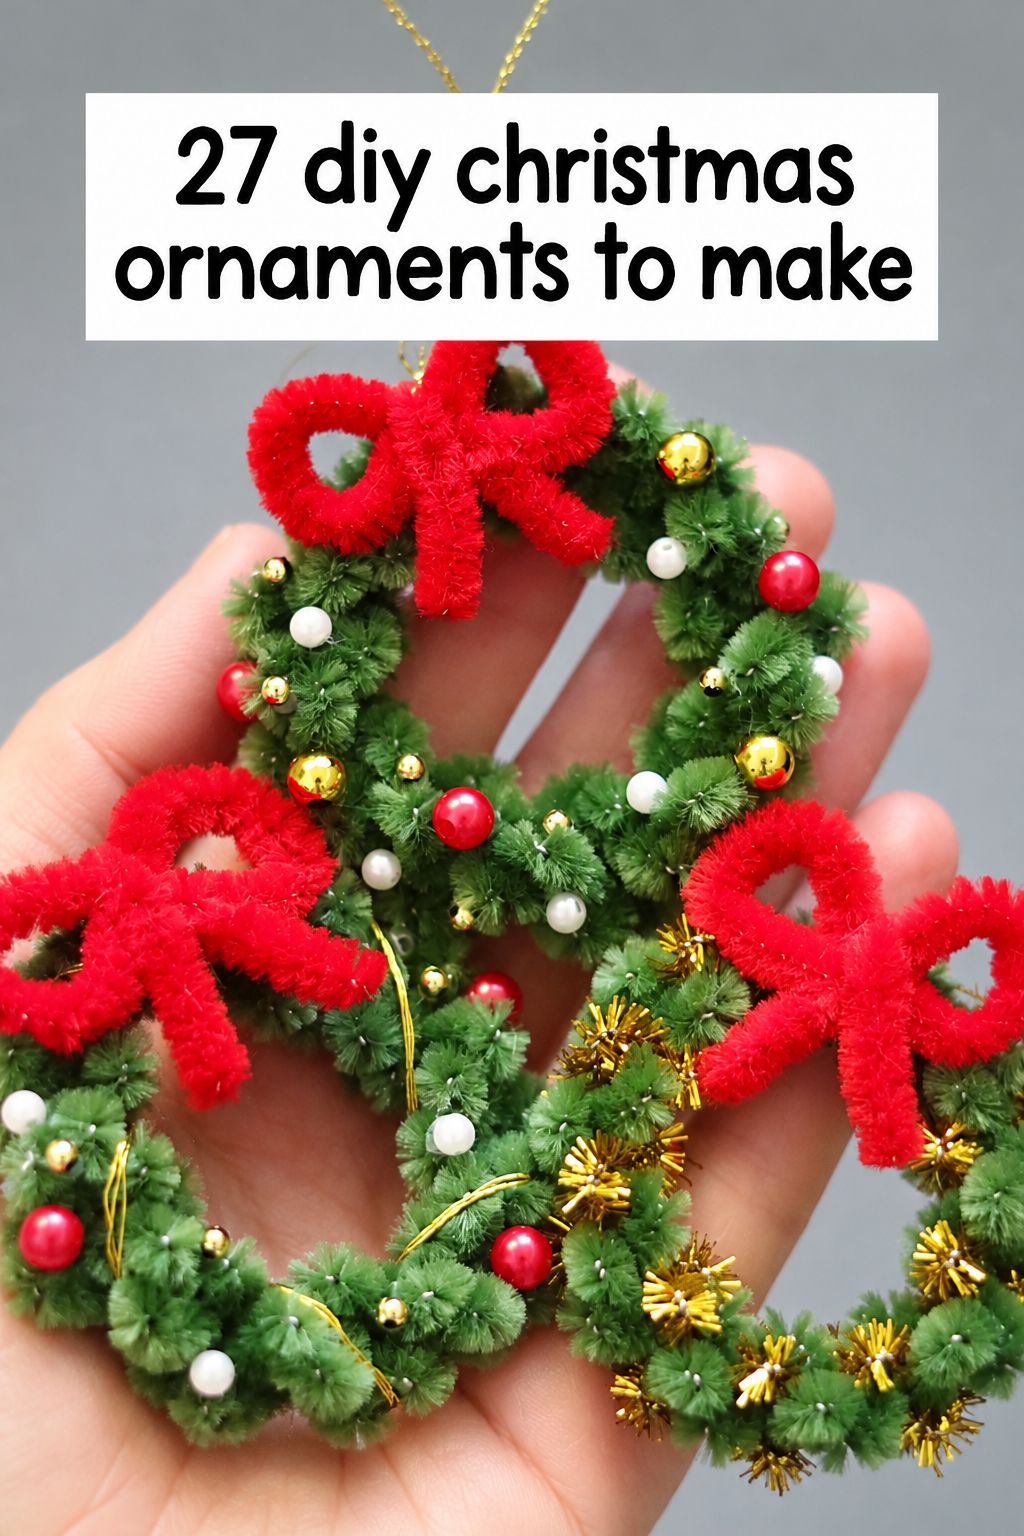
Pipe Cleaner Beaded Wreaths
Pipe cleaners twisted into a small circle and strung with beads make a wreath ornament that suits little hands. The pipe cleaner holds its shape, so kids can thread beads without wire tools. Twist the ends tight and tuck them under the beads so they don’t poke.
Birthstone Beaded Moon Ornaments
Beads threaded onto a wire crescent moon, with one bead in the color of someone’s birthstone, make a personal gift for a birthday or a new baby. The moon shape still reads well in one color. Tie the hanger at the top point so the moon hangs upright.
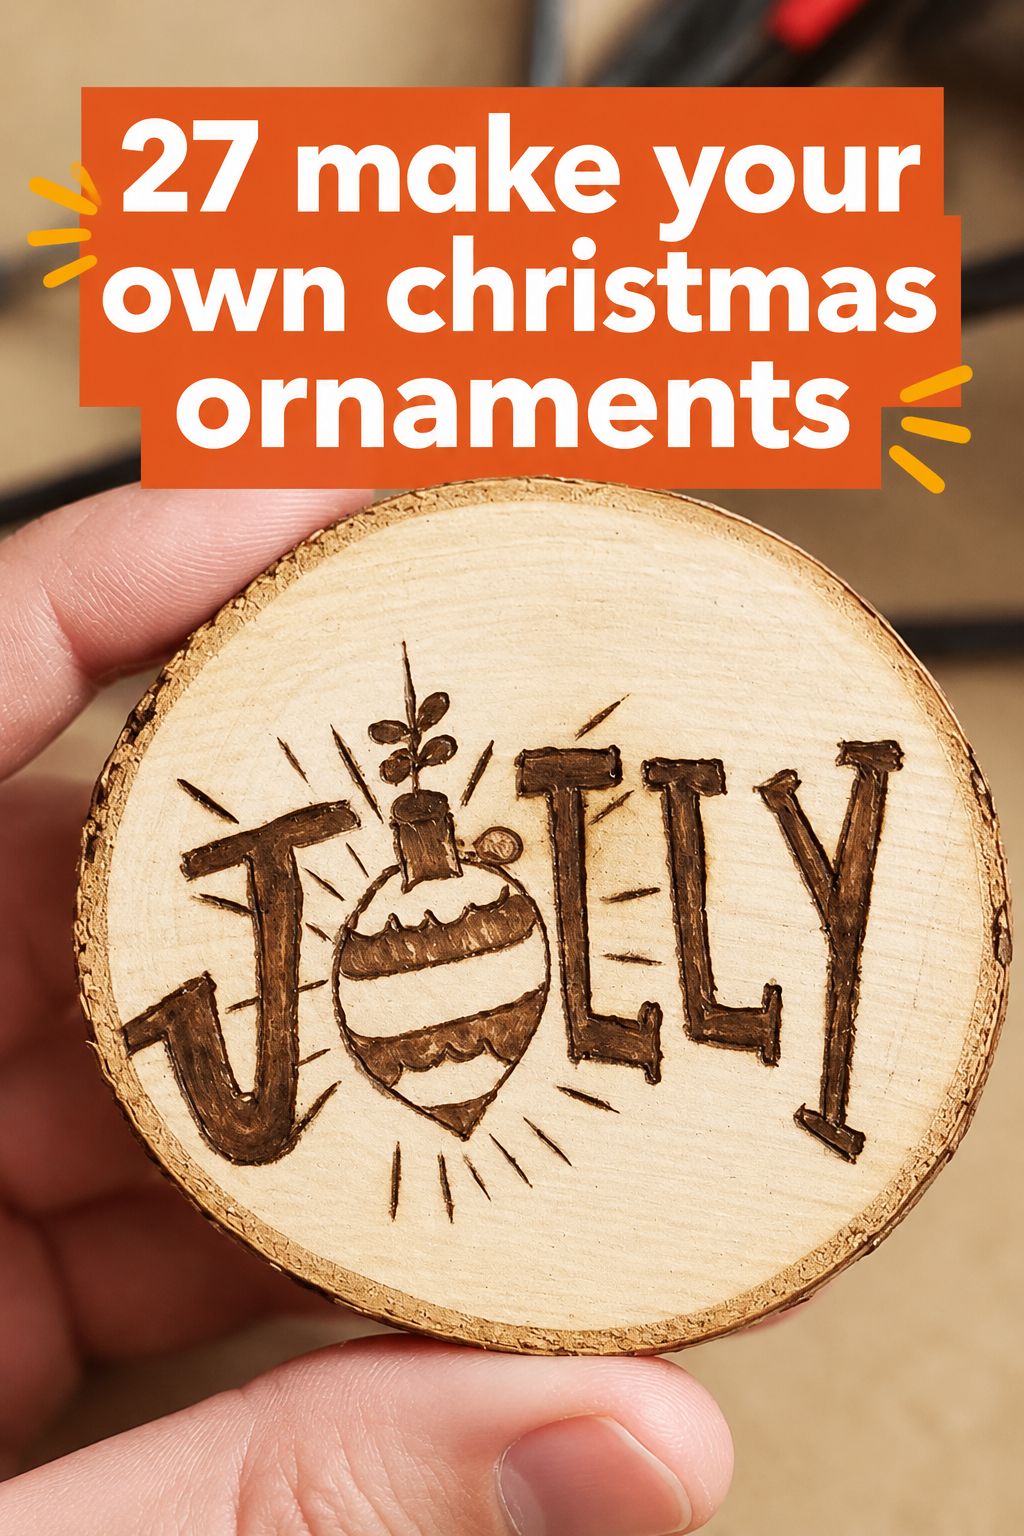
Wood-Burned Birch Slice Ornaments
A thin birch slice gets a design burned in with a wood burner, then a twine loop for hanging. Once you own the burner, each extra slice costs little beyond the wood. Work on a heat-safe surface with good air flow, and keep the burner away from kids and paper.
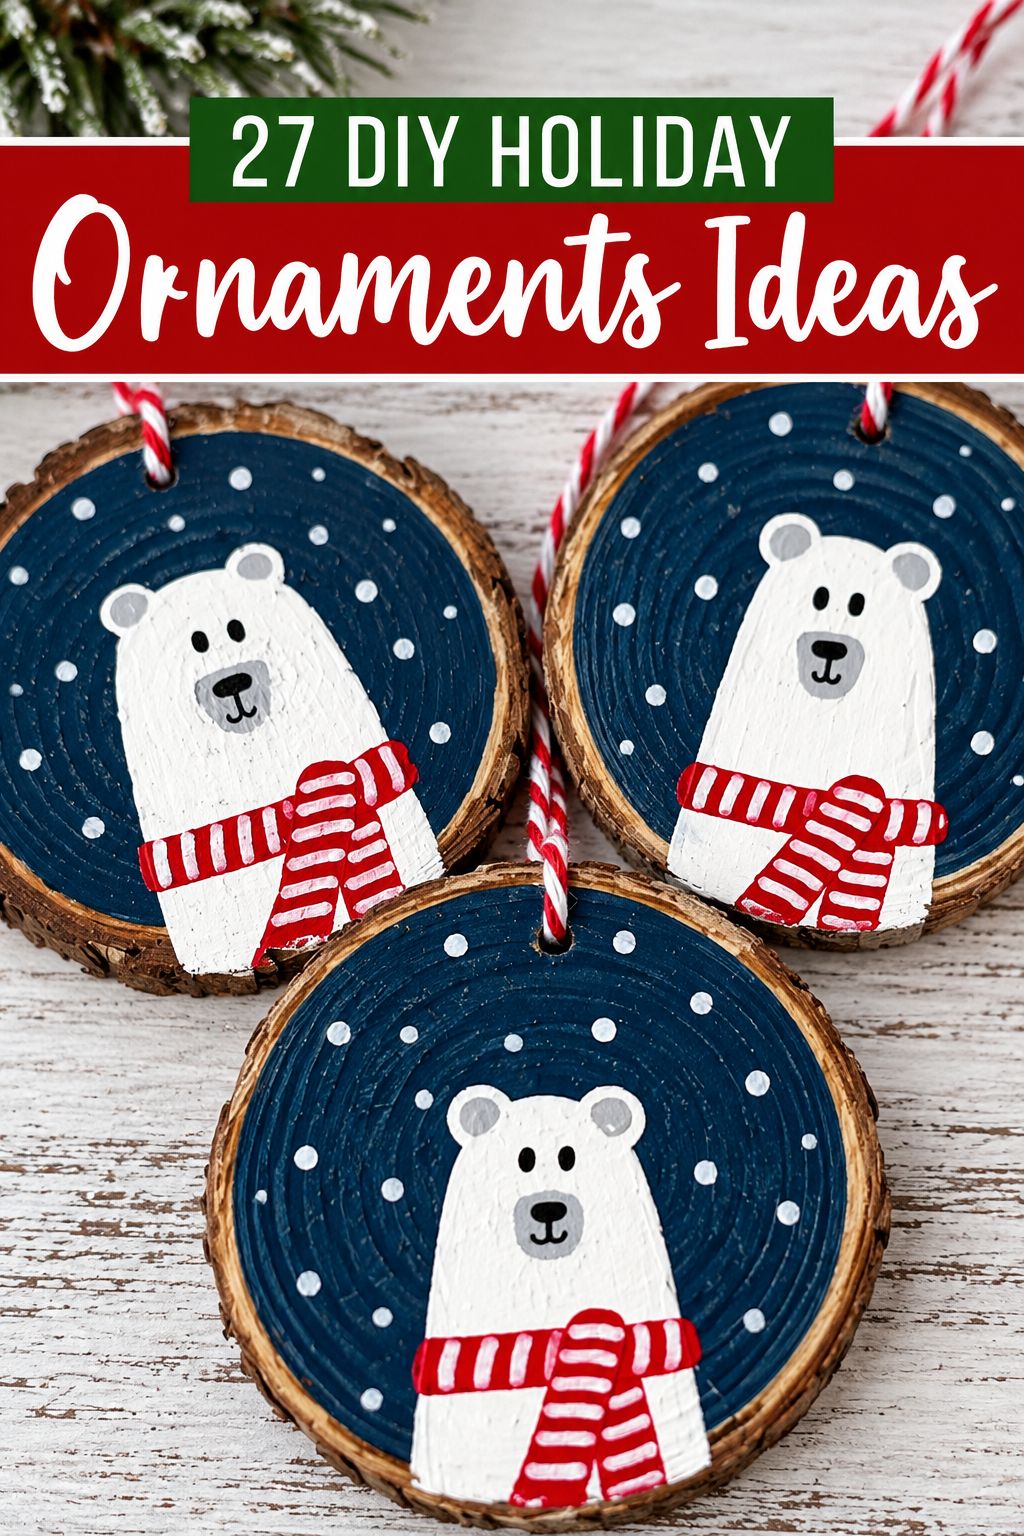
Painted Wood Slice Ornaments
This painted slice is the no-tool version of the wood-burned slice: the same round of wood, decorated with acrylic paint instead of heat. That makes it the wood ornament kids can join, and a name and year on the back turns it into a keepsake. Lightly sand and wipe the slice first so the paint goes on evenly.
Upcycled Budget Ornaments
Jar lids, egg cartons and spare game tiles get a second life here, and most of them stop looking like leftovers once they are on the tree. If the ornament is a gift, go with Twine Block Letter Ornaments, because an initial says who it is for without any extra words. Egg Carton Bell Ornaments need spray paint, which means working outdoors, so pass if you have no yard or balcony.
Mason Jar Lid Wreaths
A Mason jar screw lid wrapped fully in green twine or yarn becomes a mini wreath, finished with tiny baubles and a bow. Dab hot glue as you wrap to keep the rows tight. Tie a ribbon loop around the lid for hanging.
Cookie Cutter Ornaments
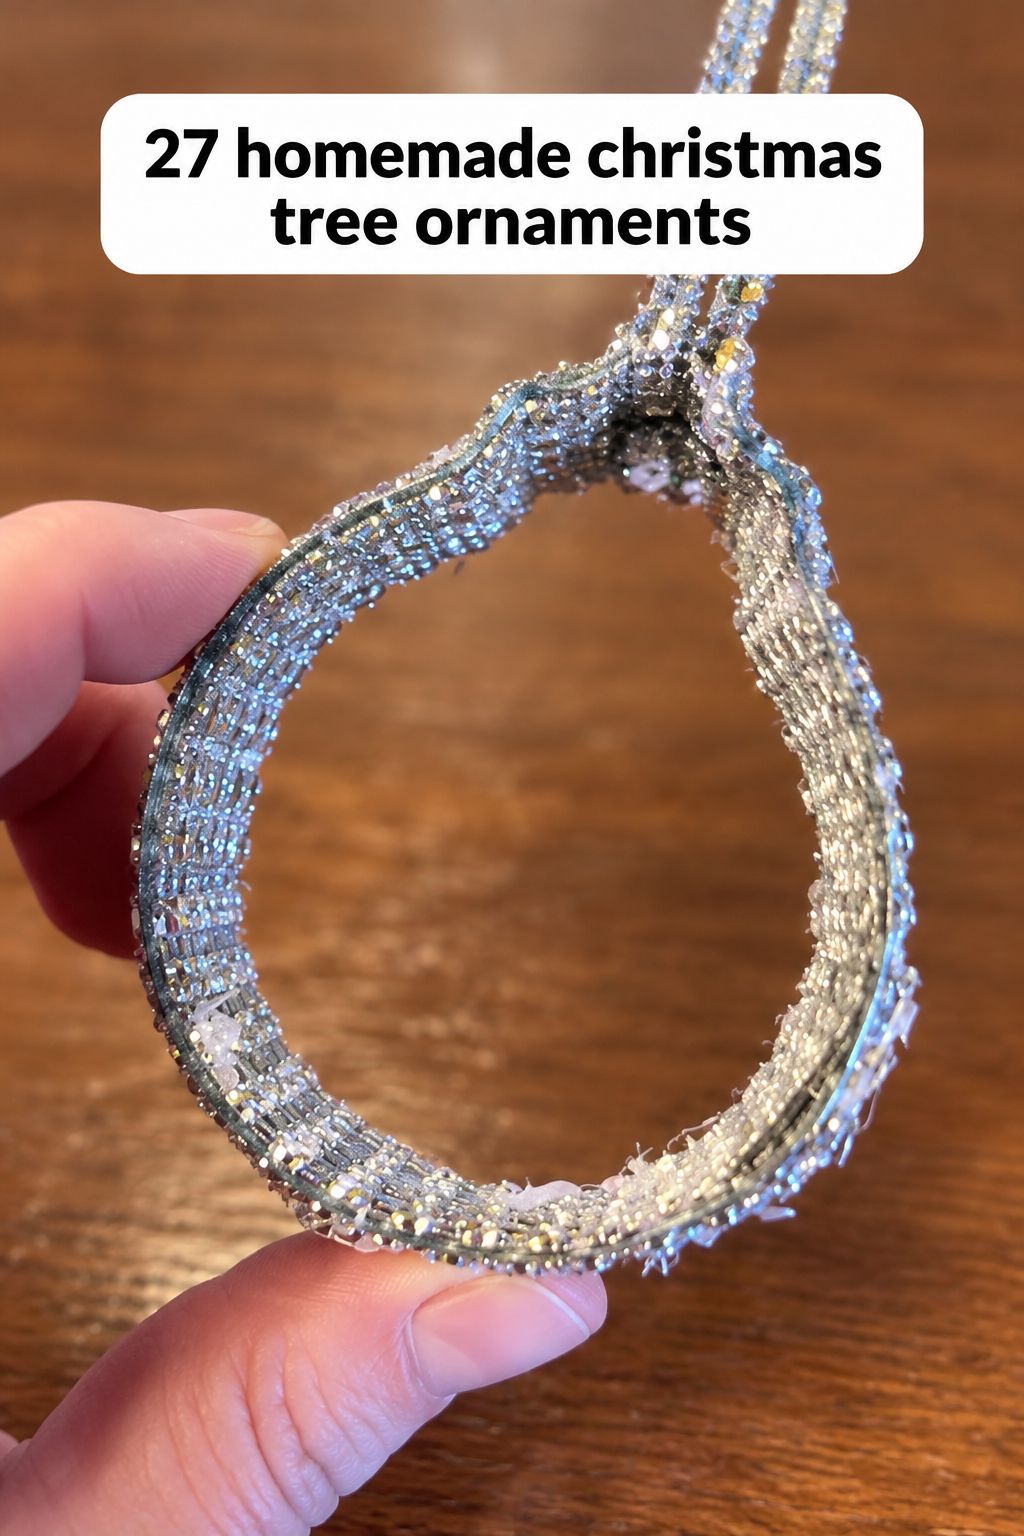
A metal cookie cutter wrapped in baker’s twine (the striped cotton string used to tie bakery boxes) gives you a ready-made ornament shape with no cutting at all. It suits the baker on your gift list, and it can double as a tag tied onto a wrapped present. Pick a simple shape like a star or a tree, since tight curves are slow to wrap. Use the twine tail as the hanger.
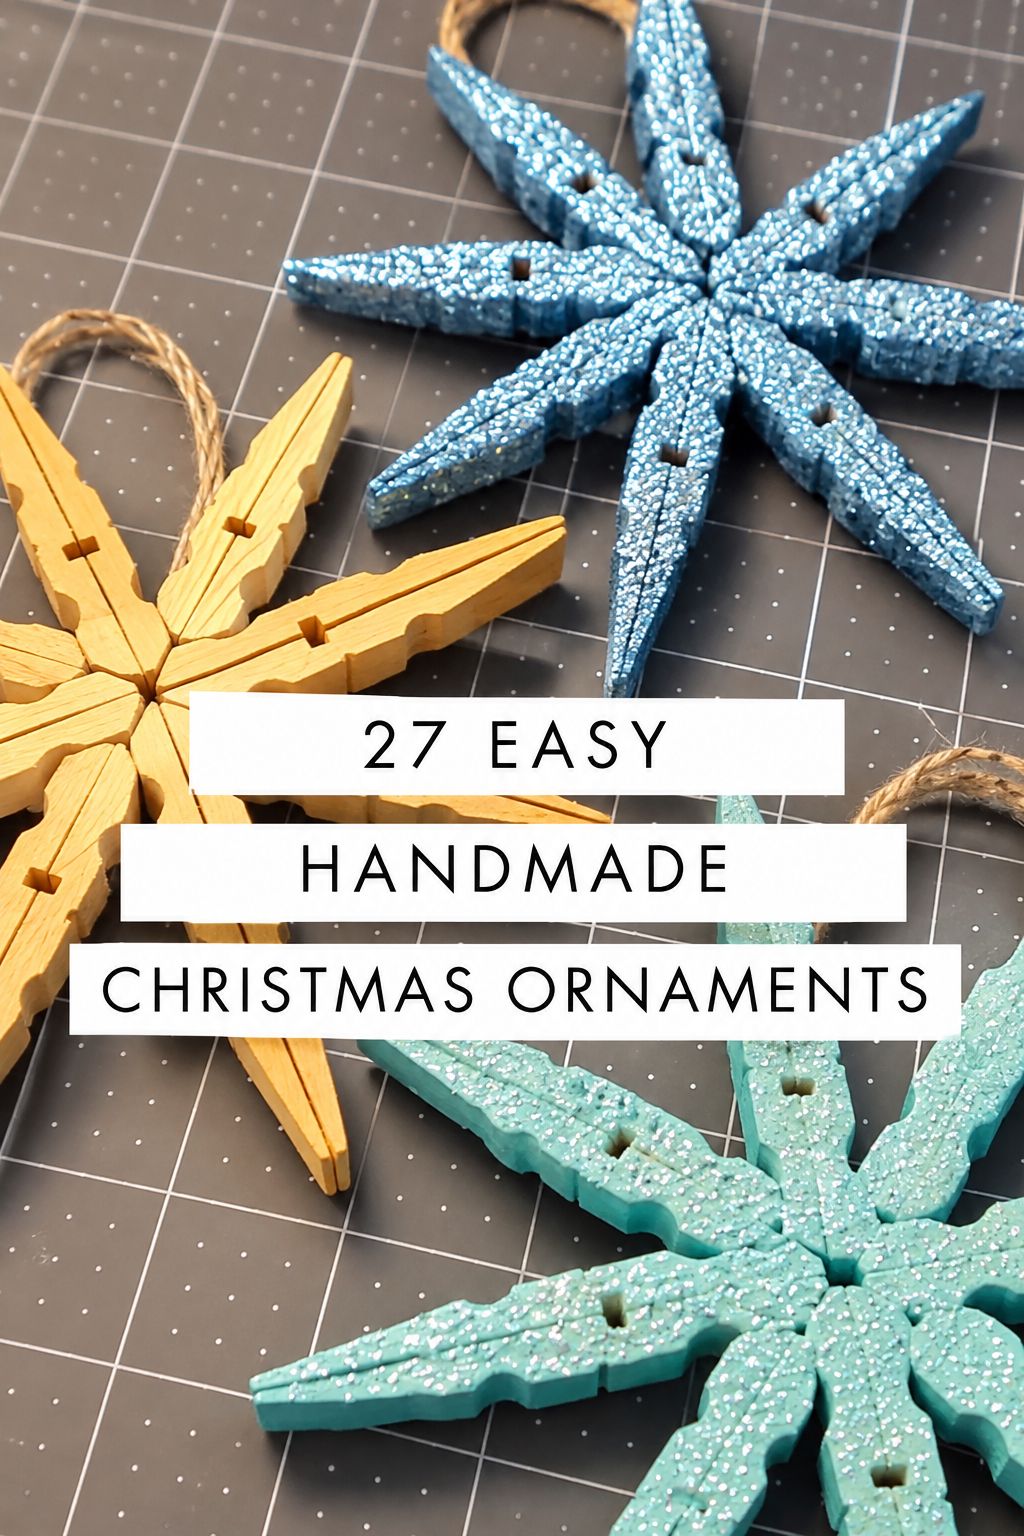
Clothespin Star Ornaments
Fourteen mini clothespins, springs removed, are glued back to back in pairs and joined into a circle that forms a star. You can leave the wood natural or paint it before gluing. Line up each glued pair evenly, or the star comes out lopsided.
Craft Stick Christmas Trees
Craft sticks cut and glued into a triangle tree get painted green and dressed with rickrack and tiny buttons or wood beads. Kids can handle the painting and trim if an adult does any cutting. Paint before you add the trim so the colors stay crisp.
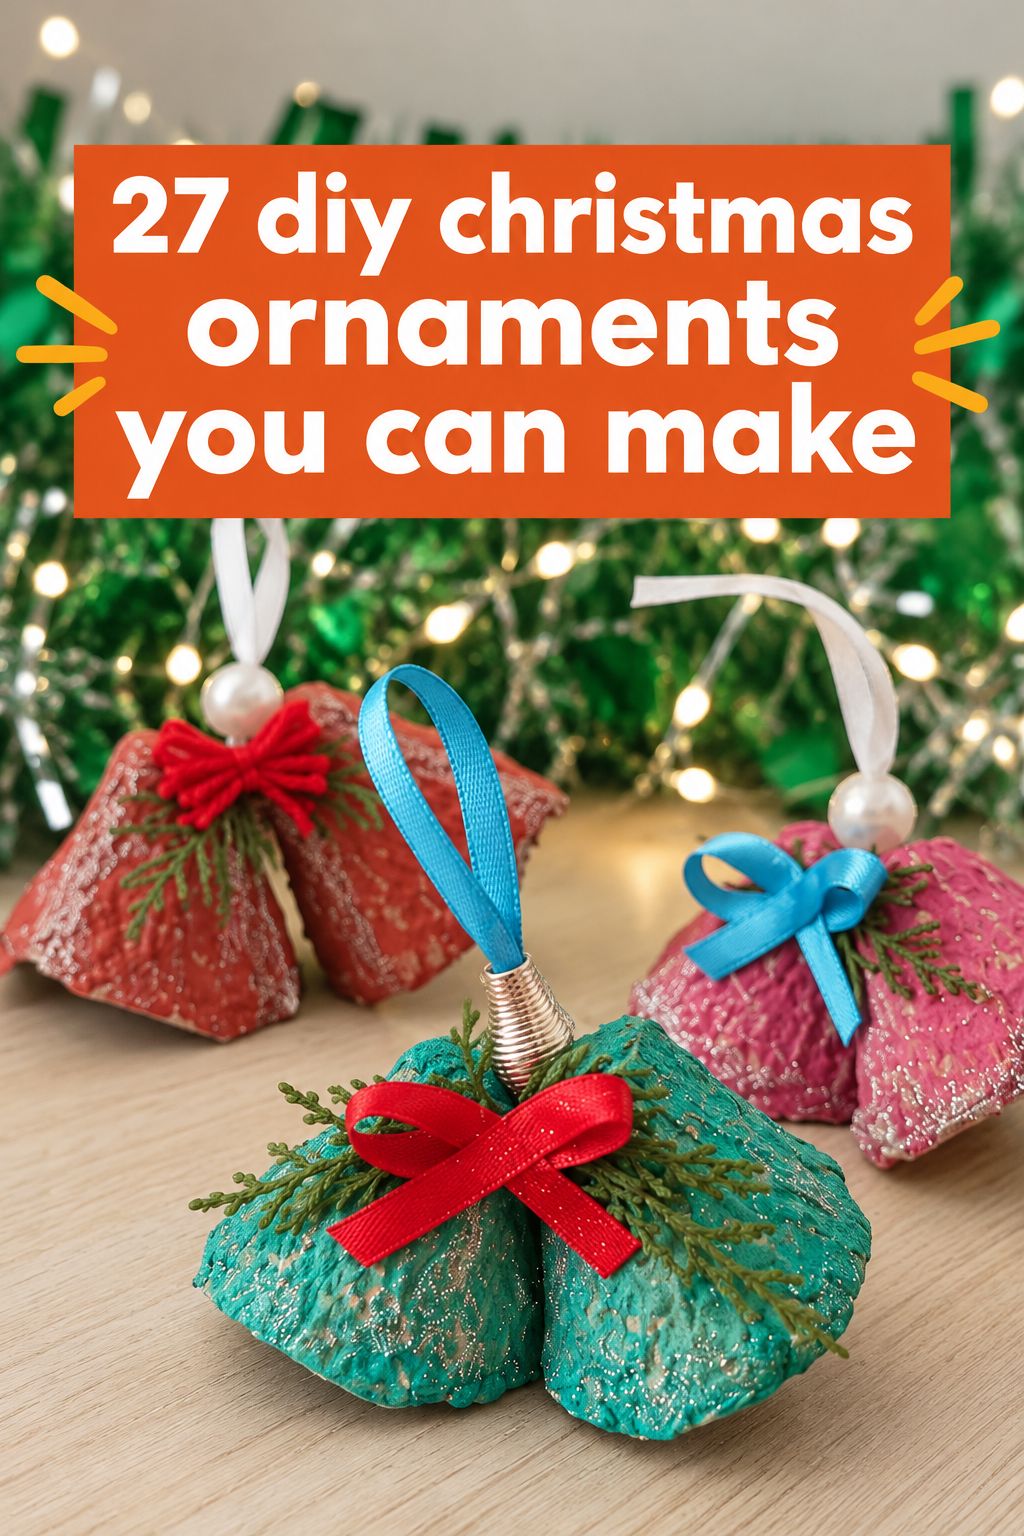
Egg Carton Bell Ornaments
Cups cut from paper egg cartons are spray painted, topped with glitter or metal leaf, and hung with a jingle bell on string through a punched hole. Let the paint and glitter dry fully before threading. Use a small bell so the carton keeps its shape.
Twine Block Letter Ornaments
Cardboard block letters wrapped fully in twine make a personal initial for a stocking or the tree. Cutting the letter cleanly with a craft knife is an adult job, and a clean edge keeps the wrapping even. Finish the back with a small line of glue to hide the cut end.
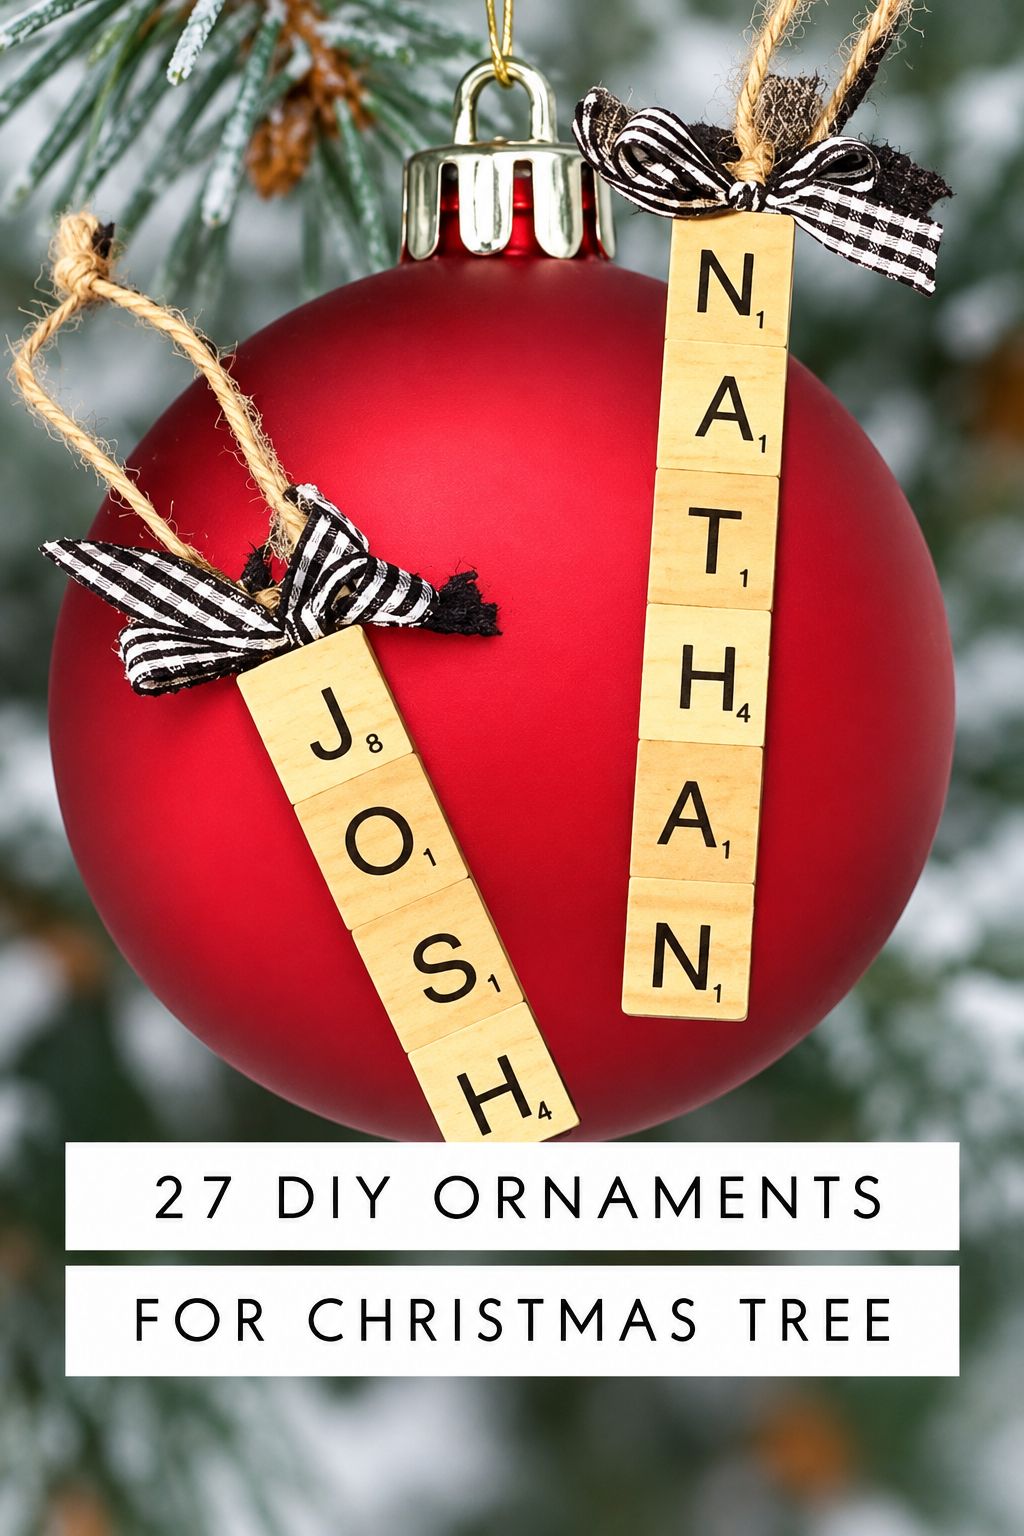
Scrabble Tile Ornaments
Scrabble tiles glued to spell a name, a word or a year and tied with twine make a word ornament. It works as a gift when you have a spare set of tiles. Choose short words so the ornament stays light enough to hang.
You don’t need a craft room to get a tree that feels personal, just a quiet evening, a hot glue gun that actually heats, and an ornament that matches your mood. Pick the one you liked while reading, lay out its few supplies before anyone sits down, and let the rest wait in the drawer until next year.
Don’t forget to pin this to your 00Uncategorized Board for later!