The gift tag is the easiest place to add a little magic to your presents. It’s small, it’s quick, and it’s the first thing anyone sees before they tear into the paper like a raccoon in a dumpster. A handmade tag says “I thought about you.” A pack of 50 from the checkout aisle says “I thought about getting this over with.”
And you don’t need to be crafty. You don’t need a Cricut, a glue gun holster, or a Pinterest board with 4,000 pins. If you can hold scissors and resist eating the cinnamon sticks, you’re qualified.
So grab some cardstock, raid your junk drawer for twine, and pour yourself something festive. We’re about to make tags so cute your family might keep them longer than the actual gifts.
Let’s get tagging.
Tags That Turn Into Ornaments
I love a tag that stays out of the recycling bin on December 26, and most of this group can hang on the tree once the paper is gone. Start with the salt dough tags. The dough is just flour, salt and water, and you paint or stamp each tag once it’s baked. Pass on the shrink plastic tags if you want hand-holding, since that video is more of a quick idea than a full how-to.
Salt Dough Tags
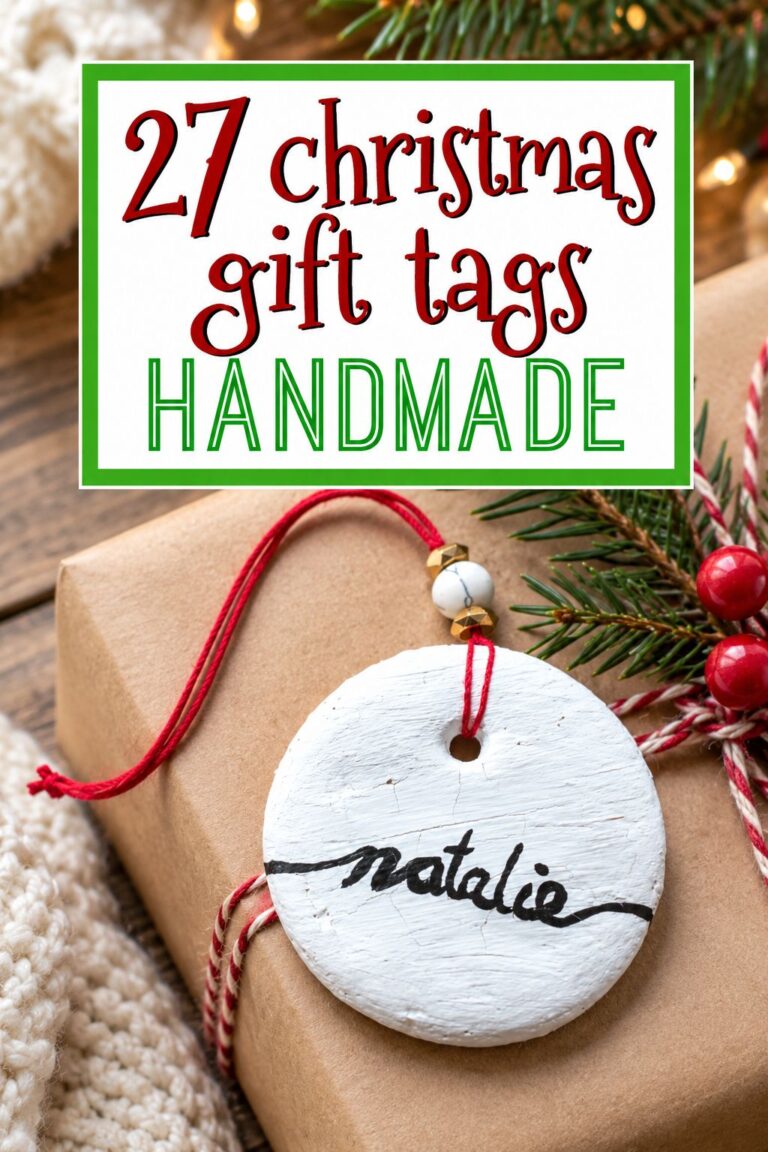
Salt dough tags are cut from flour, salt and water dough with cookie cutters, with a straw poked through for the string hole. You need an oven. The maker mixes 4 cups flour, 1 cup salt and 1.5 cups warm water, then bakes at about 300F for about an hour, until the dough is hard. Let the tags cool completely, then paint or stamp them.
Air-Dry Clay Name Tags
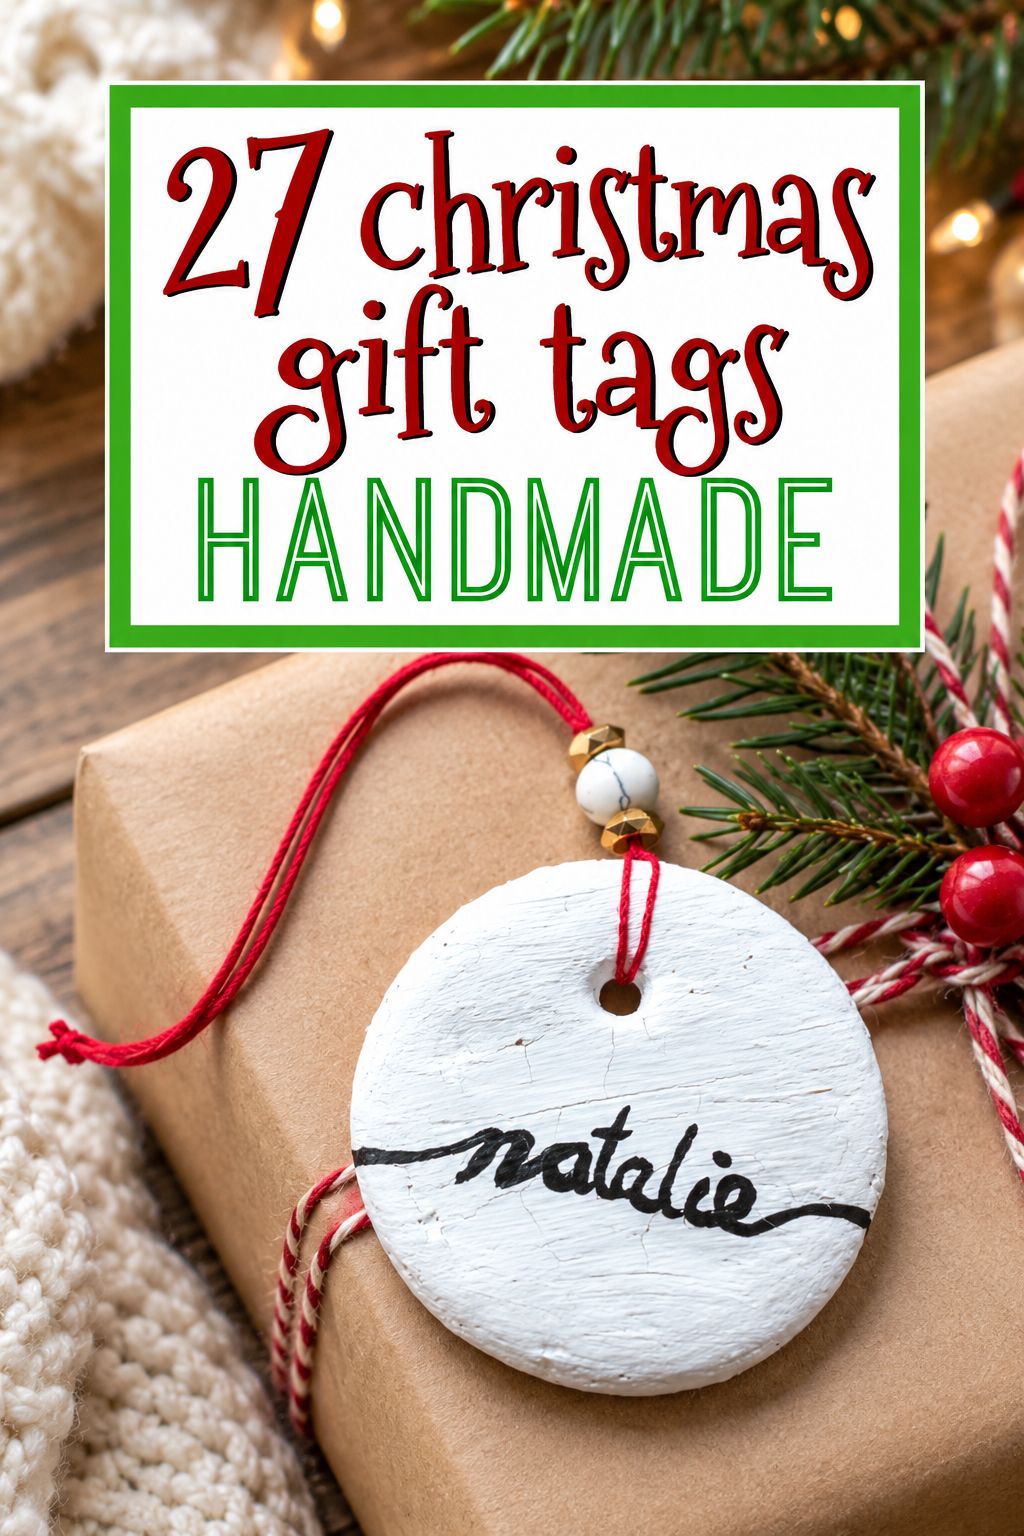
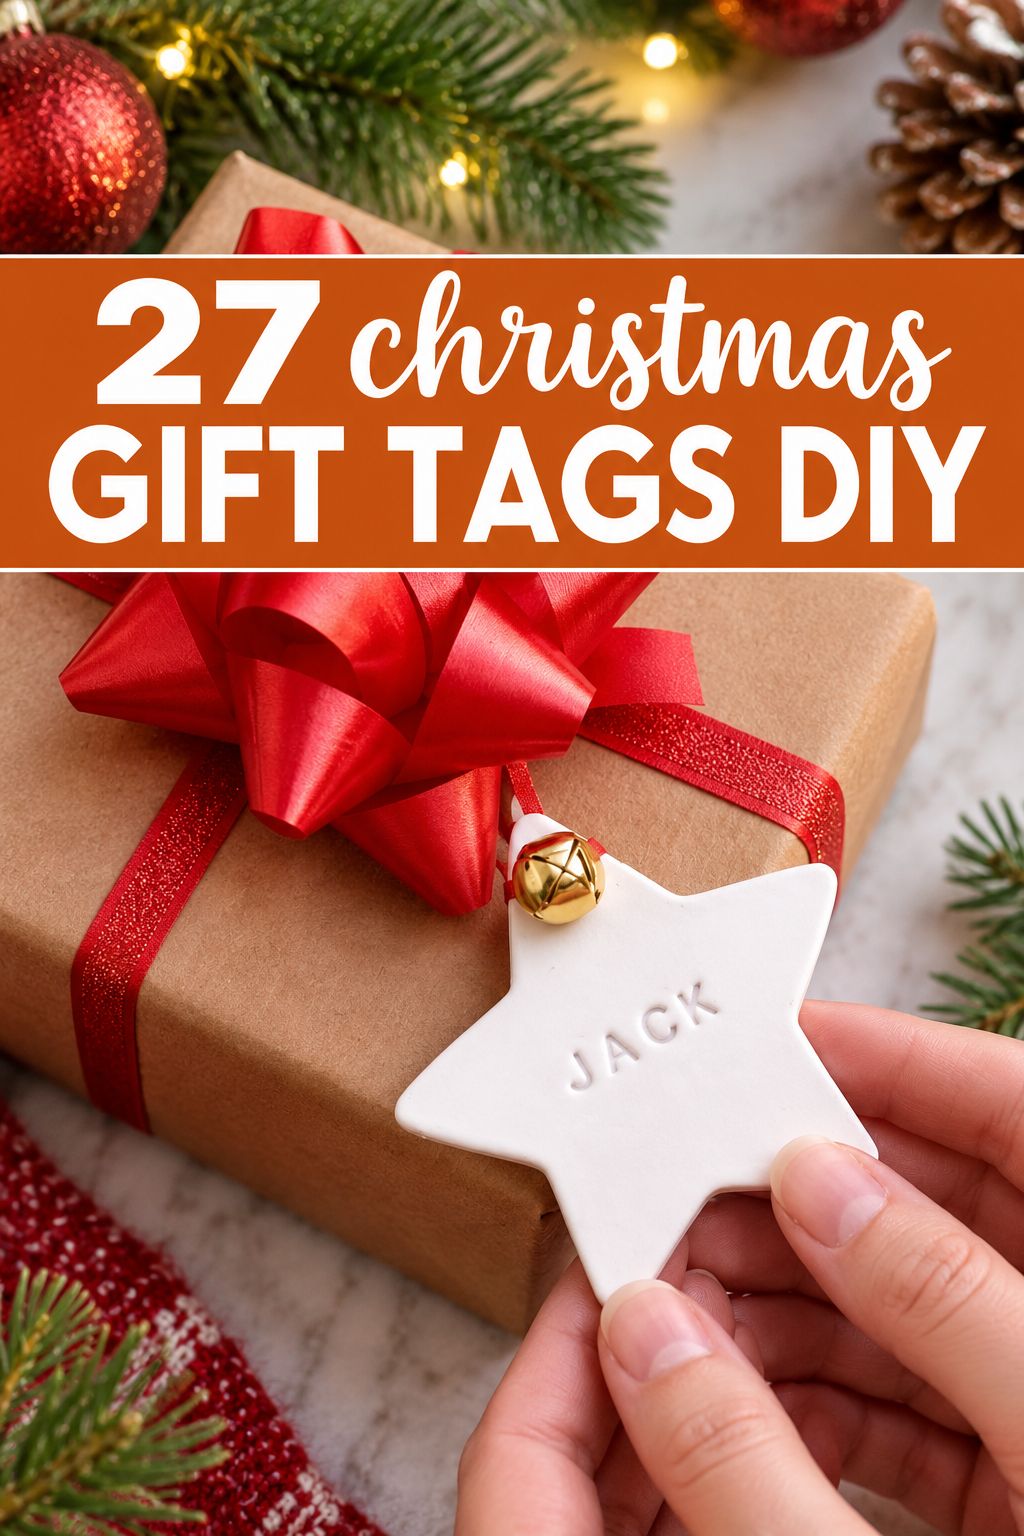
Air-dry clay is rolled flat, cut from a template and personalized with a name before it dries. It hardens on its own, so no oven is needed. Finish each one with red ribbon and a tiny jingle bell, and every gift comes with its own ornament.
Polymer Clay Nature Tags
Polymer clay is a craft clay that hardens in the oven. Here, discs of it are pressed with a pine cone, a small branch or a leaf for a woodsy pattern, then baked in a non-metal dish and sanded. The maker bakes at about 275F for 10 to 15 minutes and slightly under-bakes if the tags will go back in the oven later, but follow the directions on your clay package.
Resin Keepsake Tags
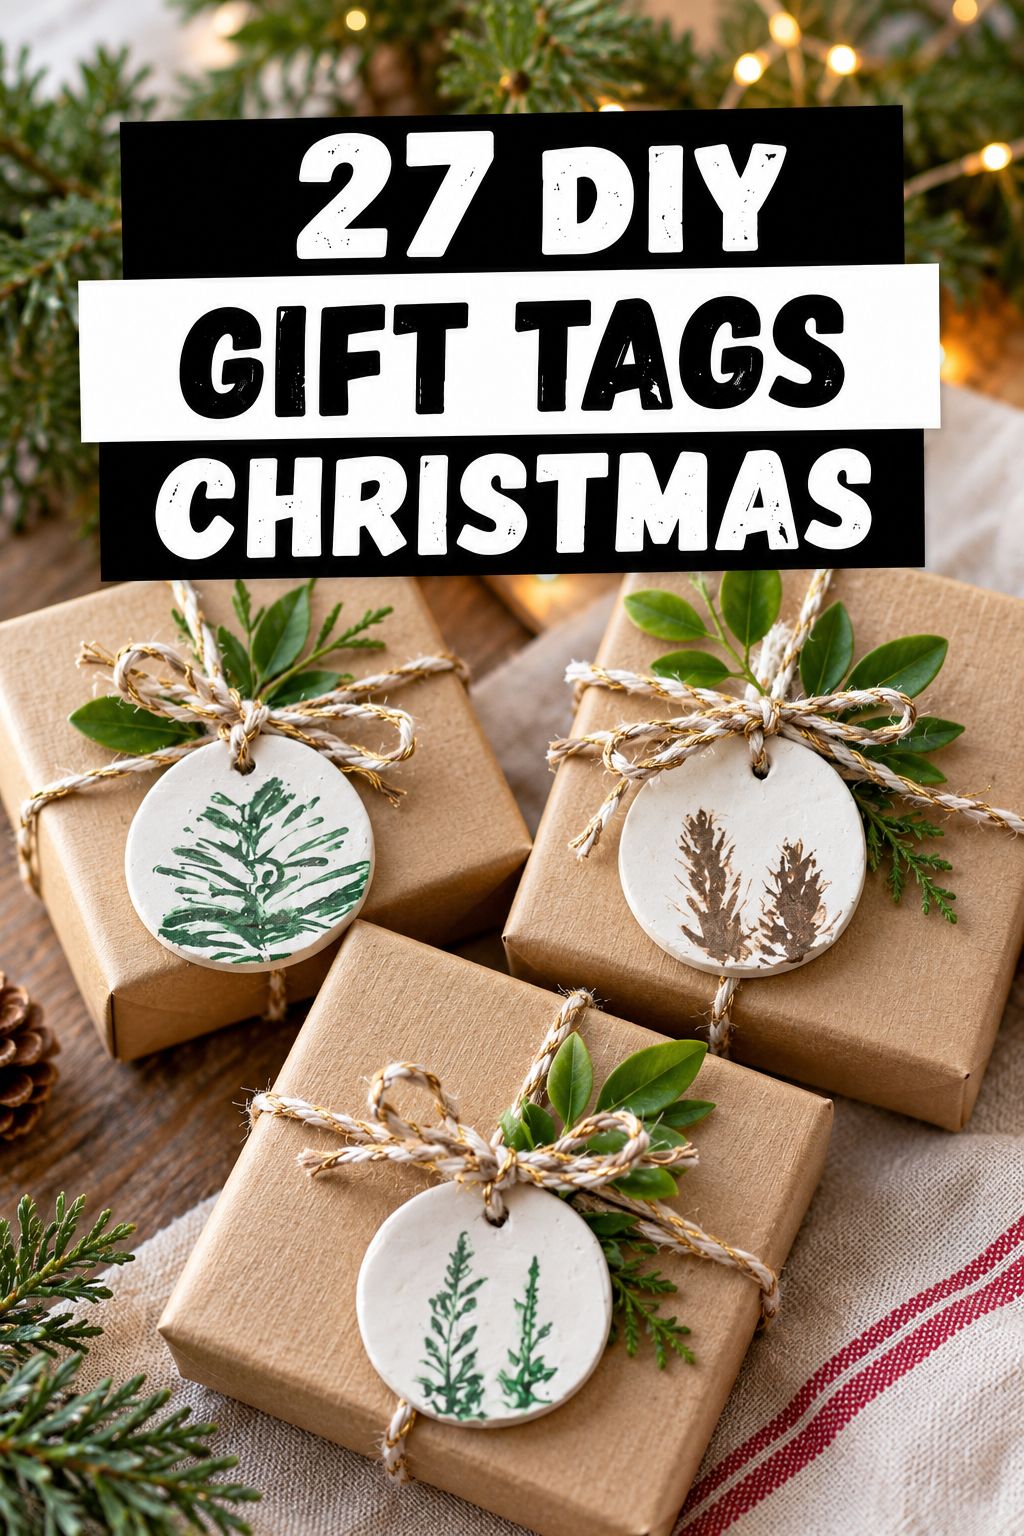
Clear epoxy resin is poured into silicone ornament molds over a small paper to-and-from tag, with a few shaker domes for fun. Write the paper tag first and let the ink dry fully before it goes into the resin. This project is gear-heavy (resin, molds, and the maker also uses a curing machine), so it makes the most sense if you already work with resin. Some people find erasable markers write on cured resin, too.
Perler Bead Tags
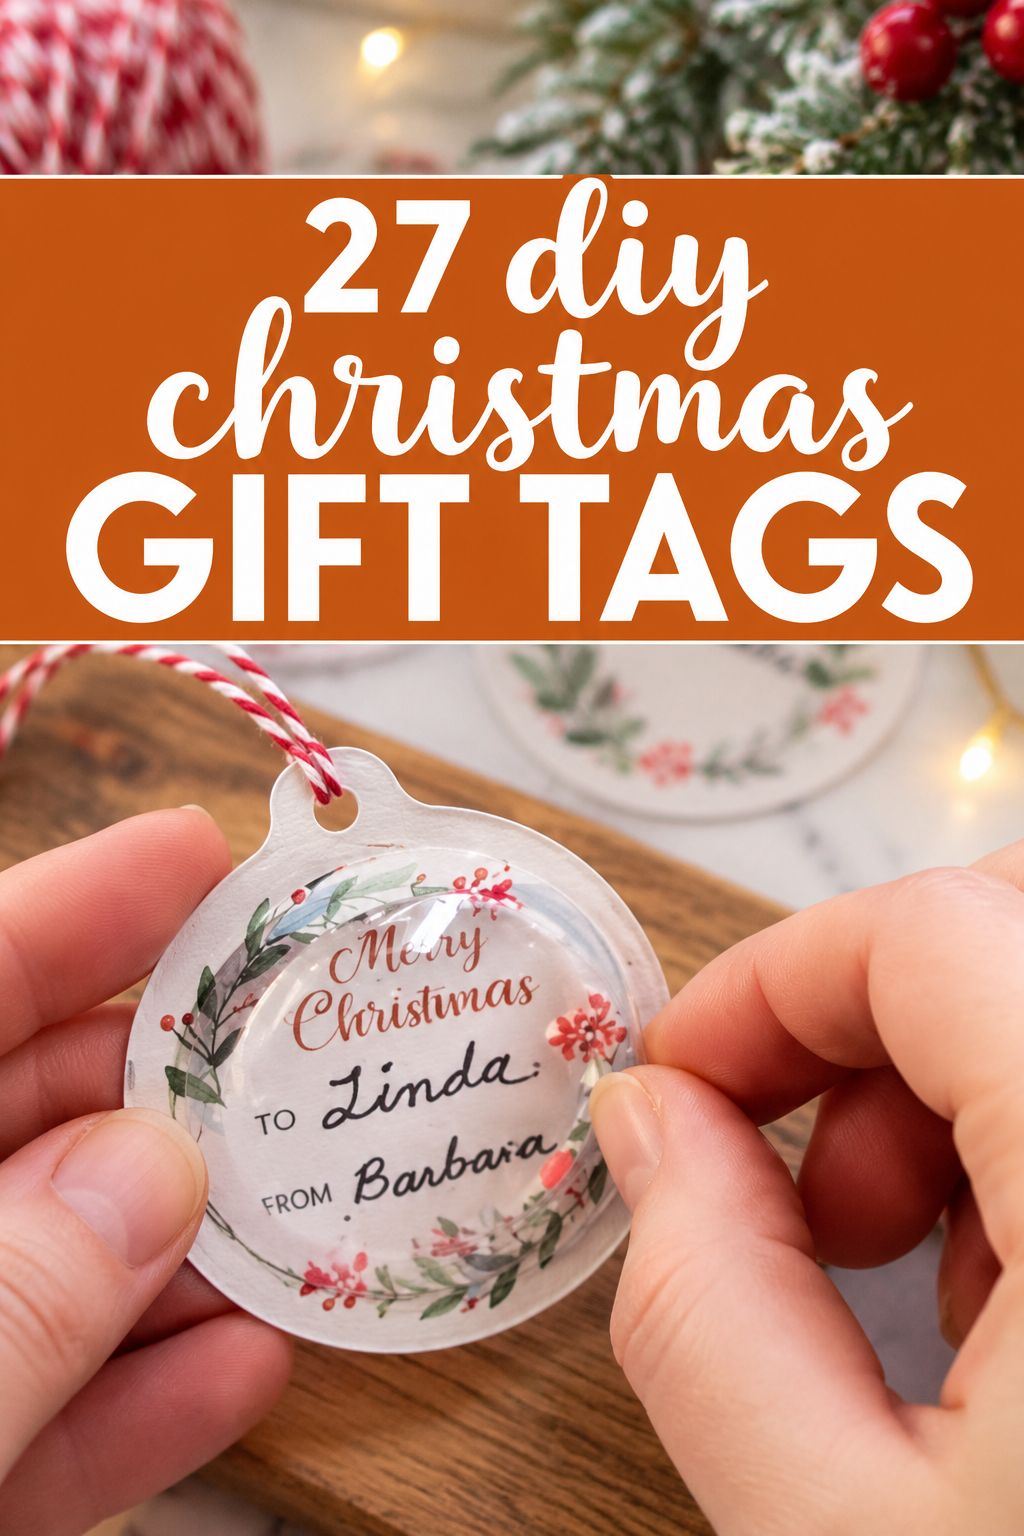
Perler beads are small plastic beads you arrange on a pegboard and fuse with an iron. Here they become three little designs, backed with cardstock so you have room for the name. If you iron too long, the string hole can close up. Reopen it gently with a pin or a plastic needle.
Shrink Plastic Tags
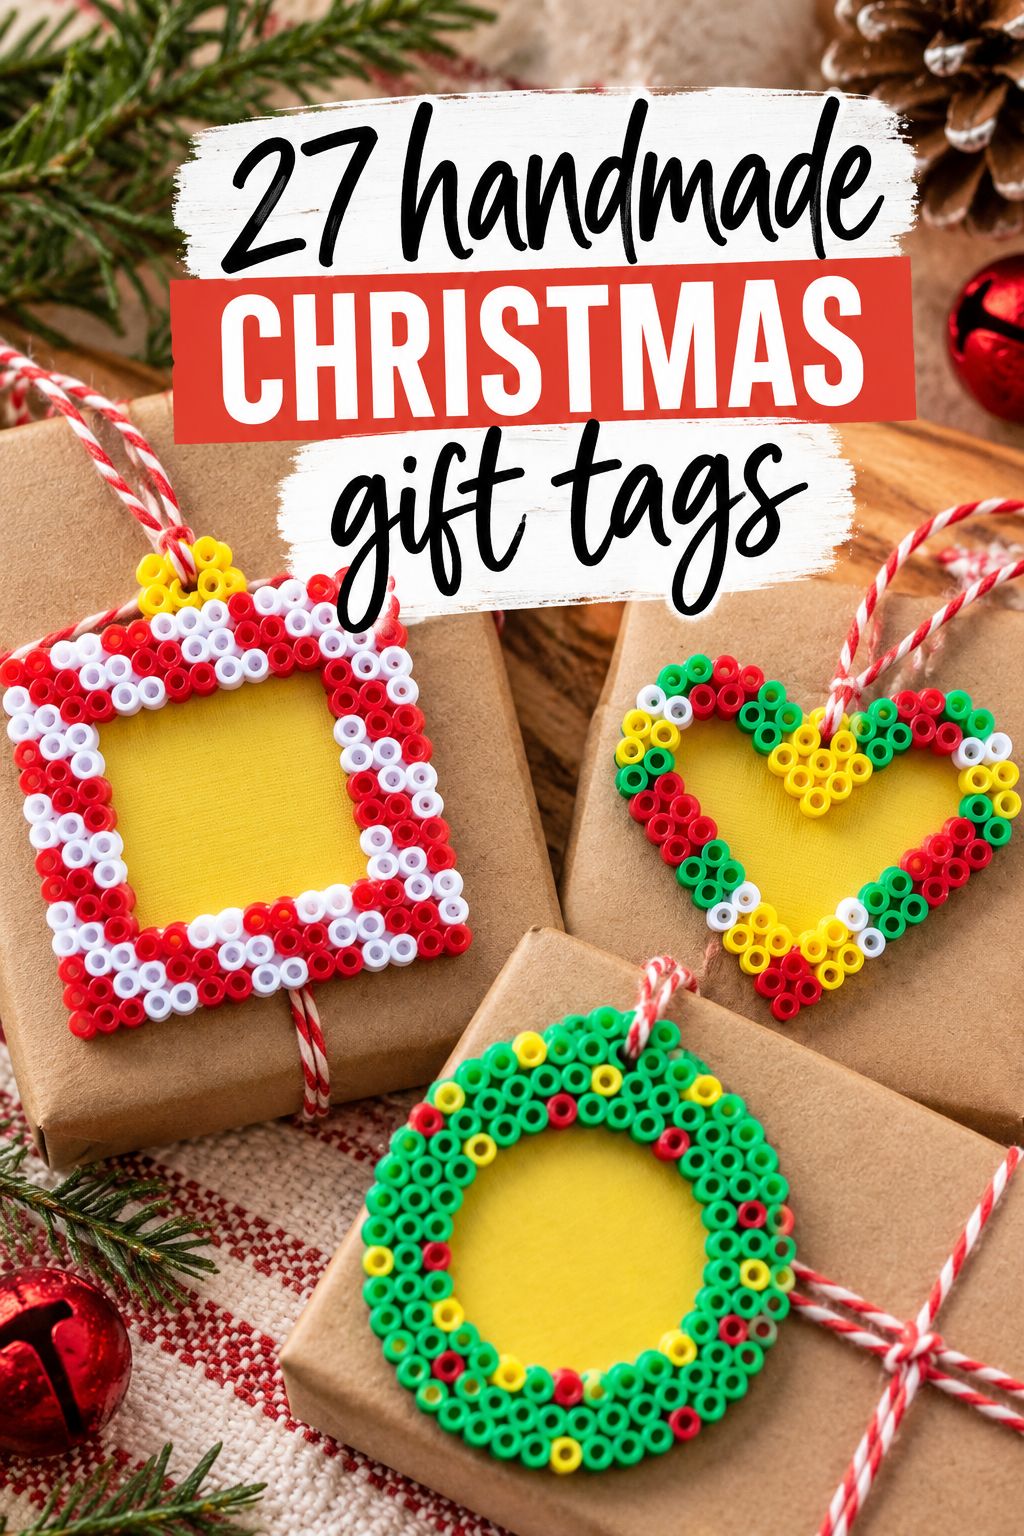
Shrink plastic is a thin plastic sheet that shrinks and thickens when you bake it. You color it, punch the hole, and bake it down into a small tag that can hang on the tree later. It needs an oven, and the heat and timing come from your shrink plastic package.
Wood and Leather Tags
Wood and leather tags feel solid, and most of them get a second job later as an ornament or a bag tag. My pick is the painted wooden ornament tags. Plain craft tags get a coat of chalk paint, the names go on the back in Sharpie, and the front stays pretty for the tree. If you don’t own a drill (or don’t want to dig one out in December), leave the wood block tags for another year.
Painted Wooden Ornament Tags
Plain wooden craft tags are painted with chalk paint and topped with paper details. Write the to and from on the back with a Sharpie, add ribbon, and the tag can go straight onto the tree once the gift is open. Mod Podge or a glue stick holds the paper pieces down.
Wood Slice Tags
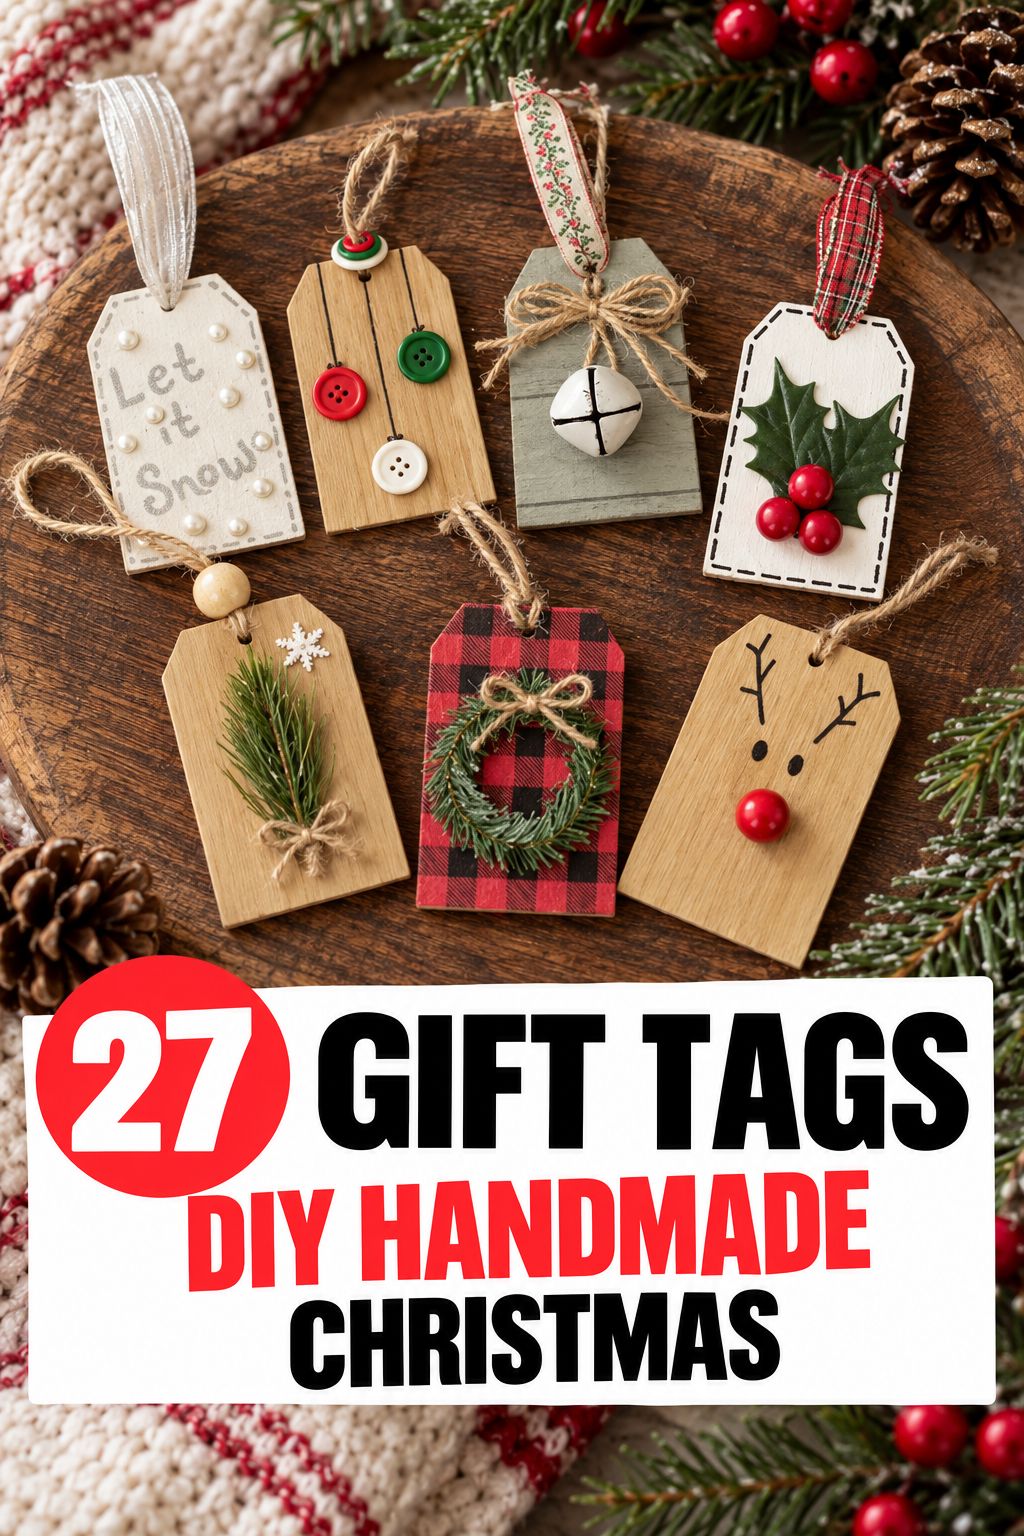
Pre-drilled wood slices are stamped with distress ink and decorated with whatever is in your craft stash. Regular markers work on the wood for names or doodles. Use them as tags, gift toppers or ornaments.
Faux Fur Gnome Tags
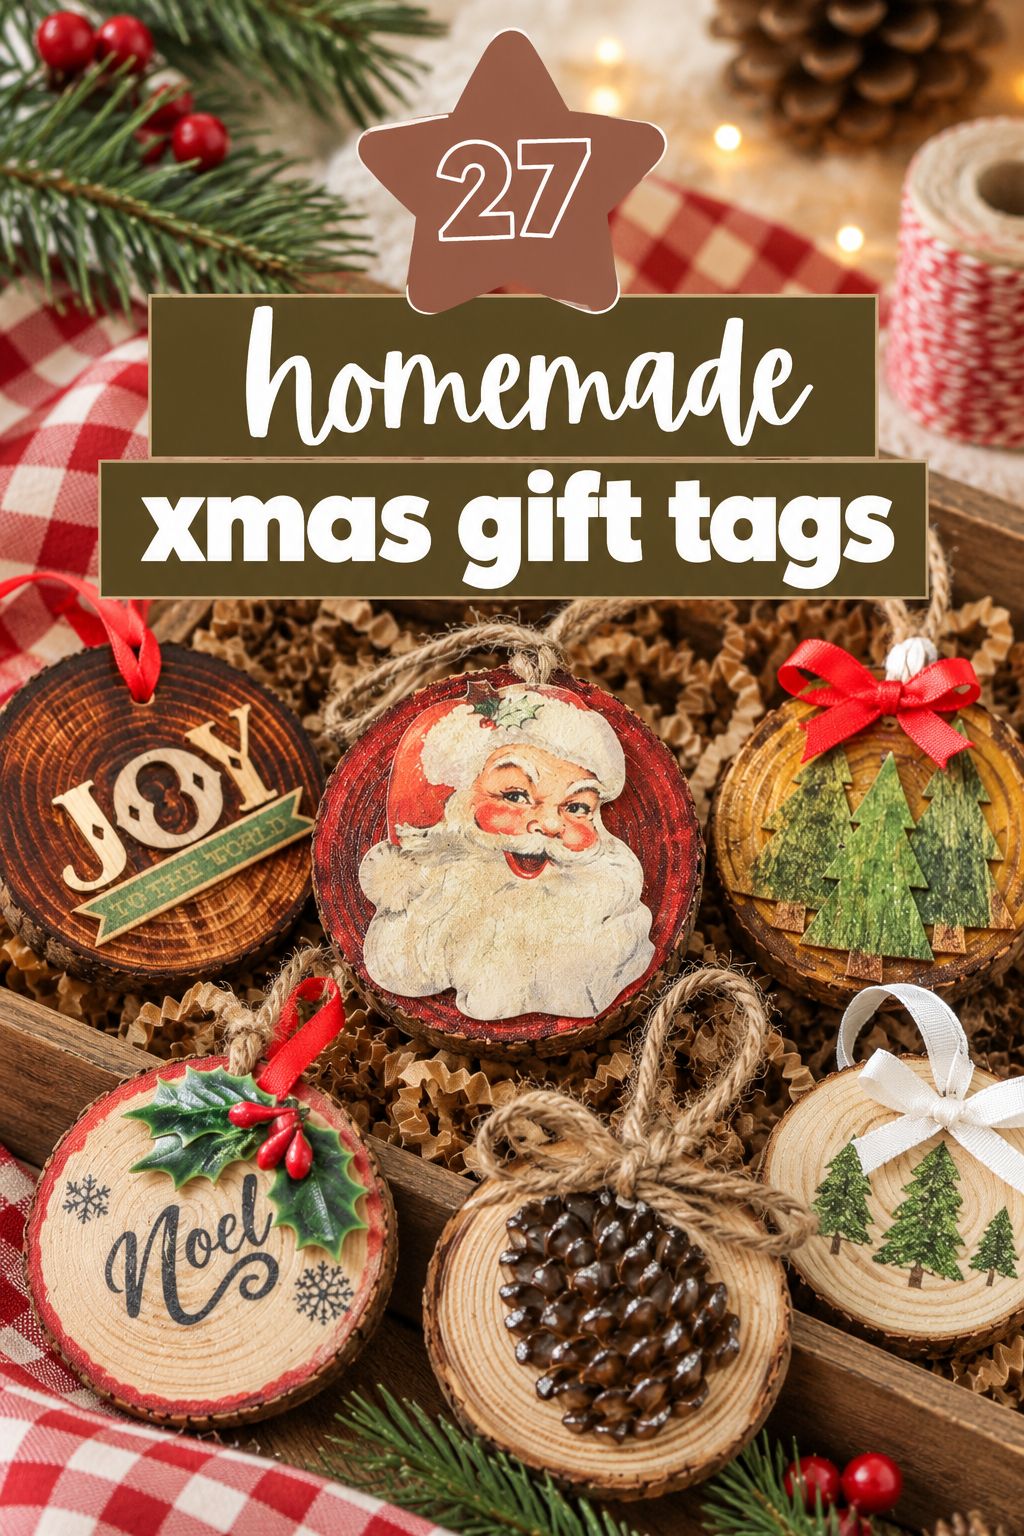
A wooden tag gets a fluffy faux-fur beard and a little gnome hat hand-cut from Dollar Tree vinyl, so no cutting machine is needed. The maker puts one together in about 10 minutes and glues down every bit of fur that could lift with handling. Test your vinyl on a spare tag first.
Wood Block Tags
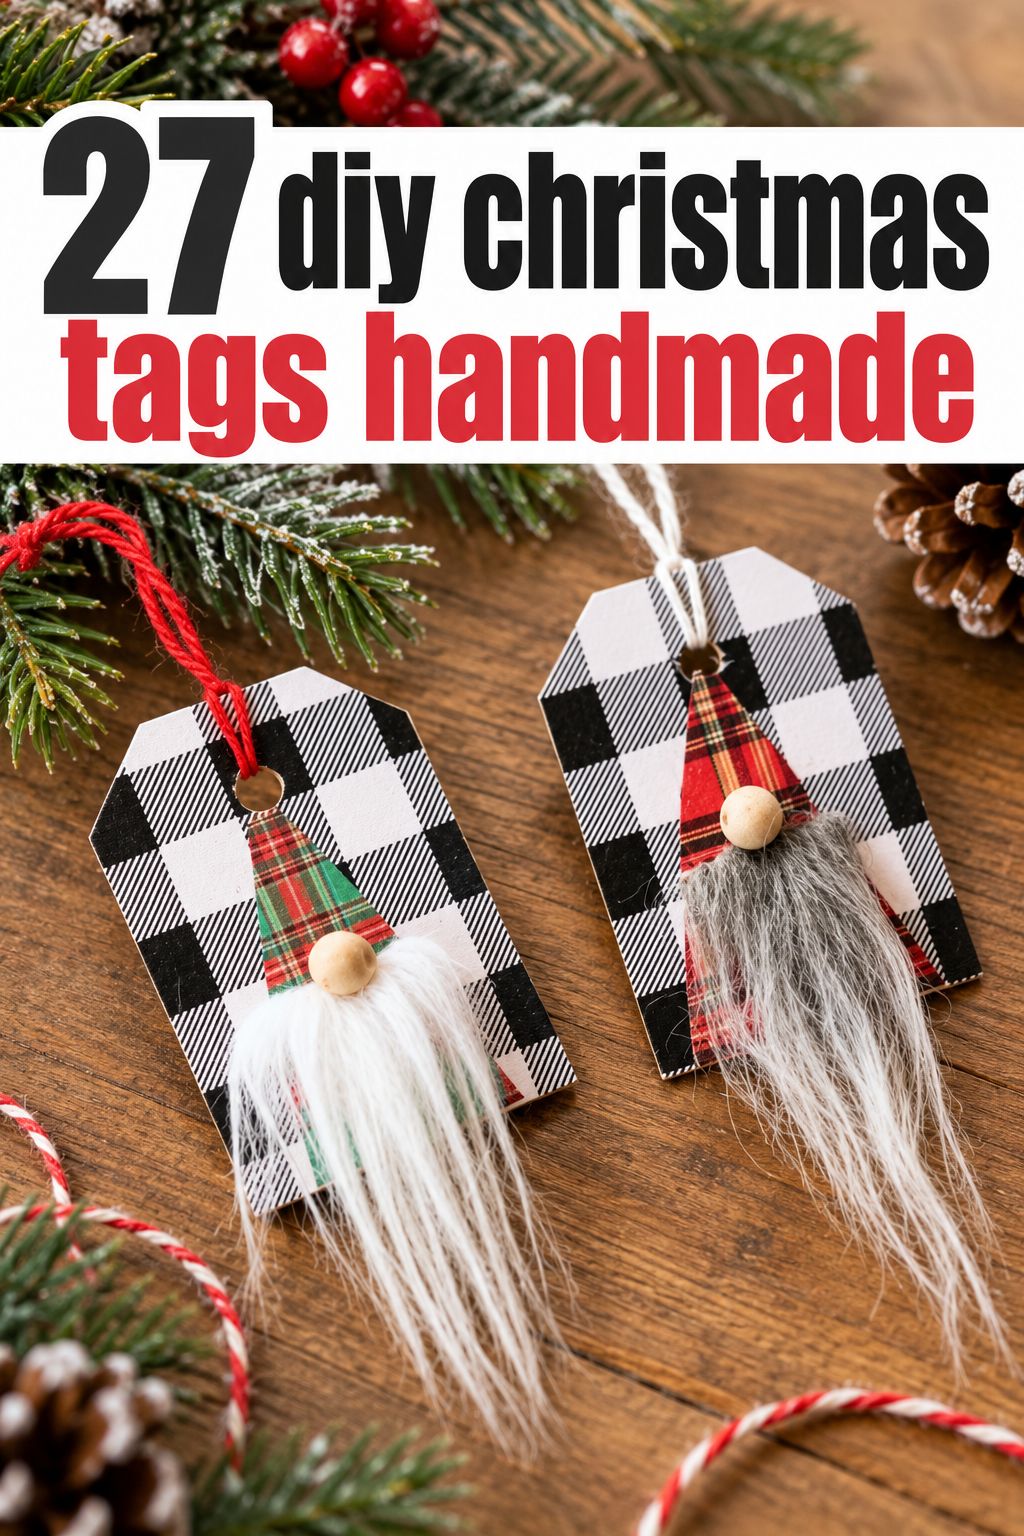
Chunky Jenga-style wood blocks are drilled through the top, painted rustic red, dry-brushed with white and lettered with Christmas words, then hung on jute twine. You need a drill for this one, and you can keep the block out as a decoration after the gift is open.
Leather Tags
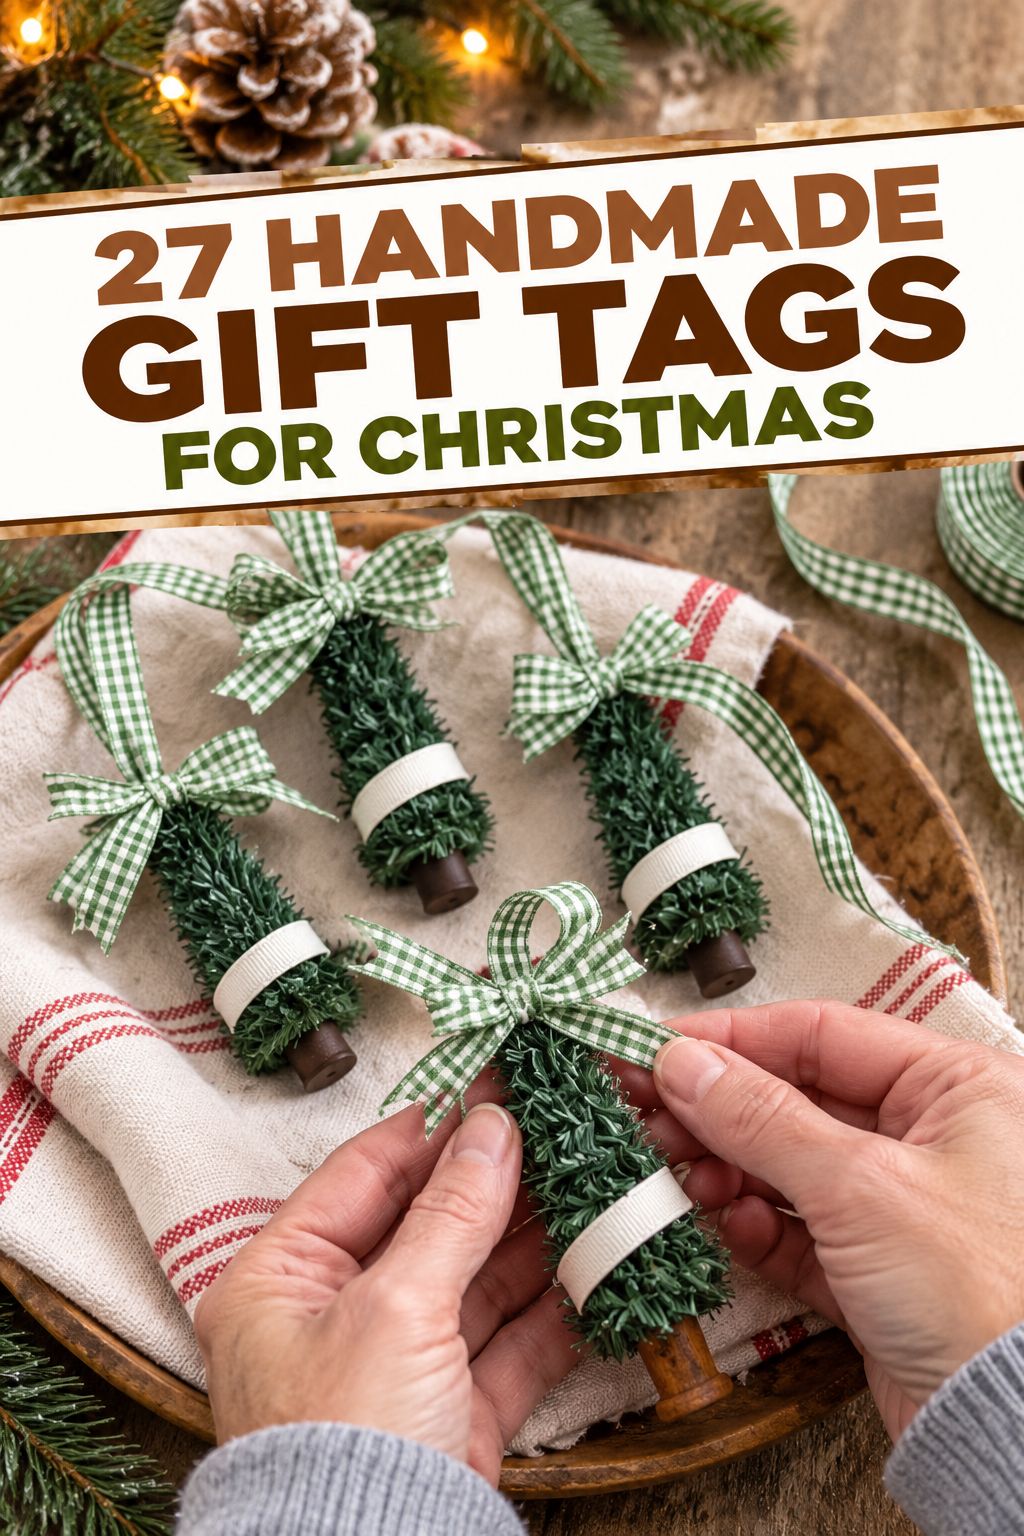
Leather or suede is cut into tag shapes with a rotary cutter and a leather hole punch, then lettered with water-based paint pens. Hang them with leather cord or suede tape. Later they can become bookmarks or luggage tags, which makes them a sweet match for a book gift.
Tags From Things You Already Have
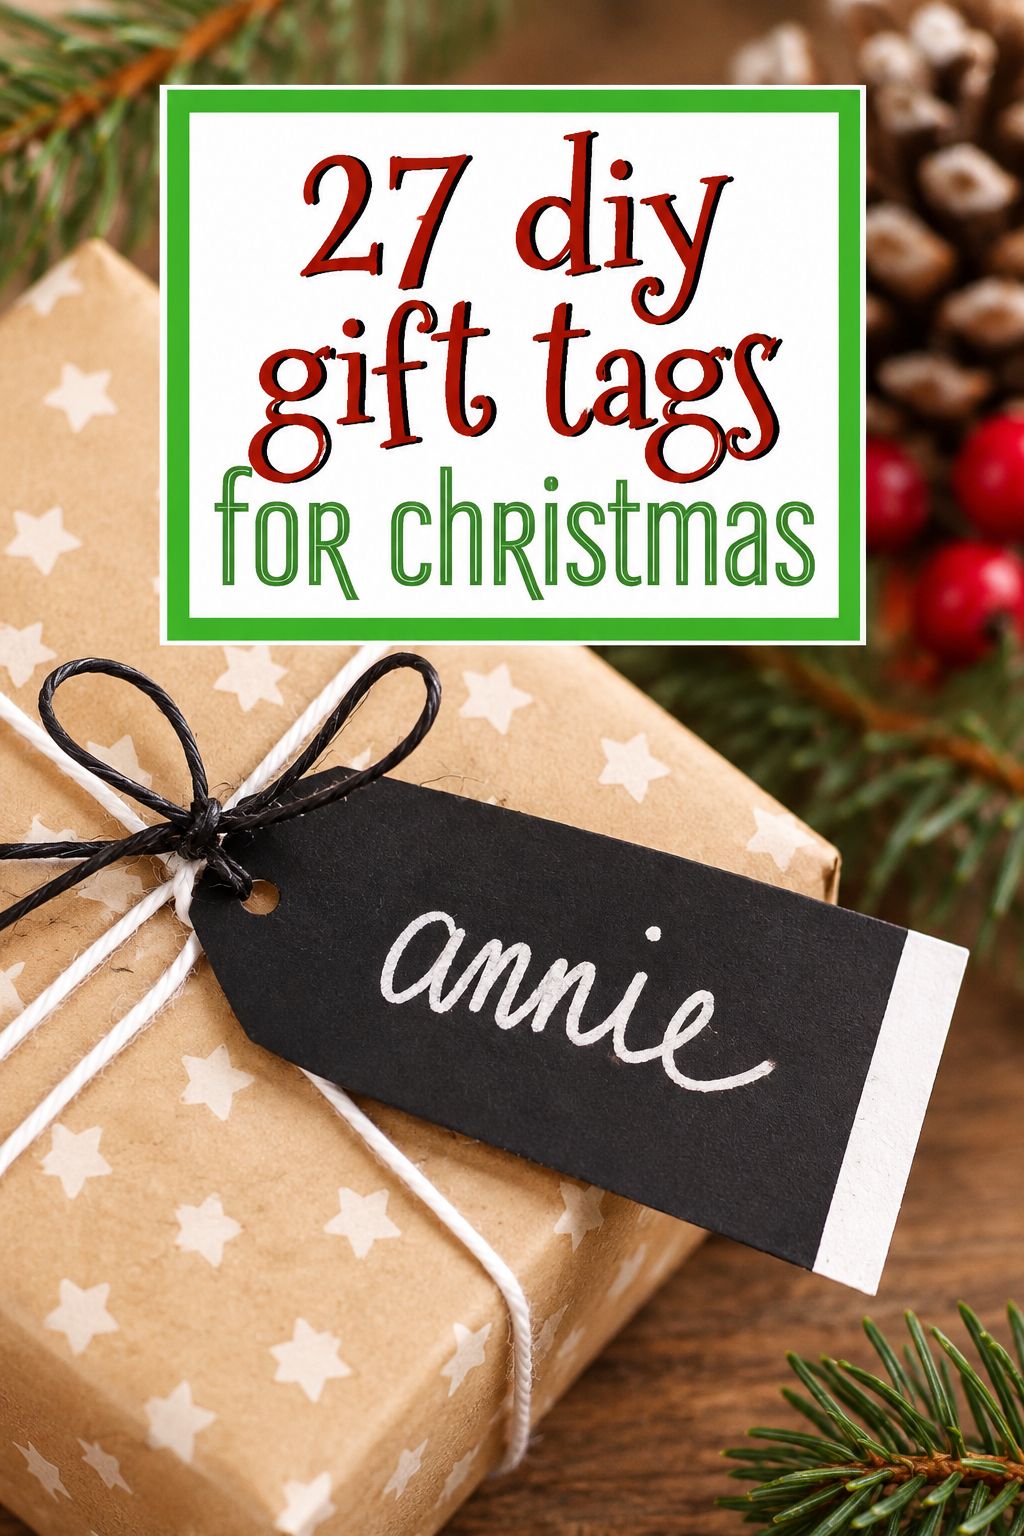
Zero-waste tags are my favorite kind of clever. These DIY Christmas gift tags come out of the recycling bin and the craft drawer, and they still look like you planned them. Make the recycled Christmas card tags first if you have a drawer of last year’s cards, since they cost next to nothing. Hold off on the fabric scrap tags if sewing isn’t your thing, because you’ll need a sewing machine.
Recycled Christmas Card Tags
Last year’s Christmas cards are trimmed into tag shapes, punched and tied with ribbon. For the writing side, use a blank part of the card or glue a blank piece of card over any printed text. Photo cards work too (little faces make funny tags next year).
Recycled Cardboard Tags
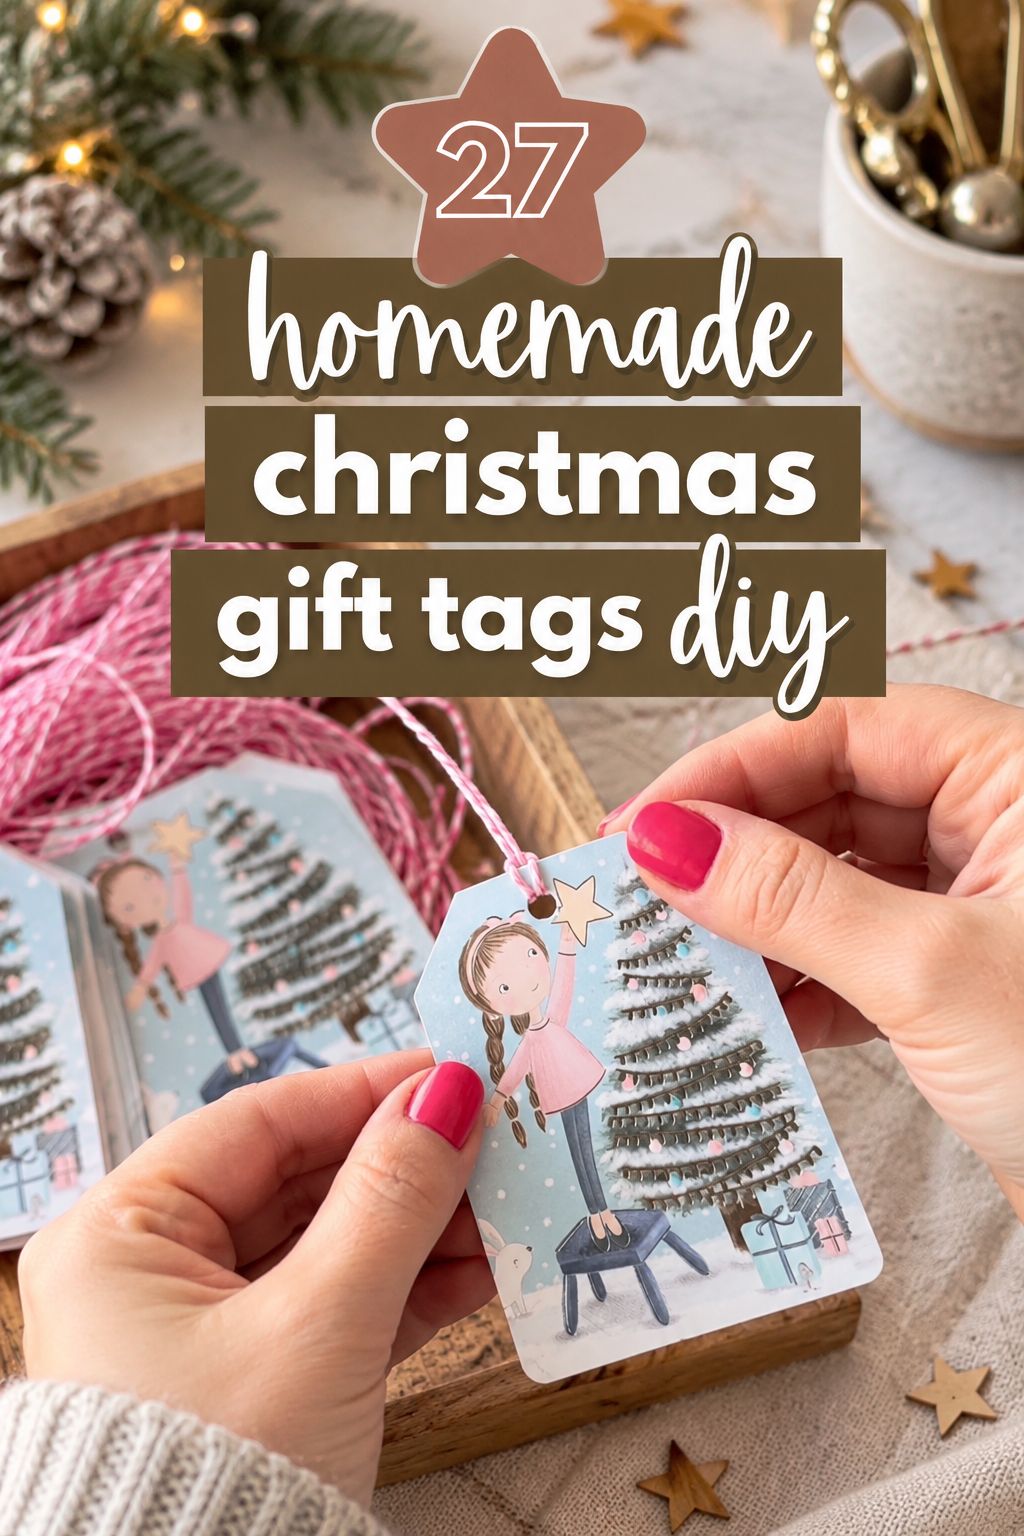
Shipping cardboard and box inserts are cut to size, painted and layered with paper, hot glue and beads. The maker spreads the hot glue thin with an old card for a neat layer. The cardboard tags double as ornaments.
Book Page Tags
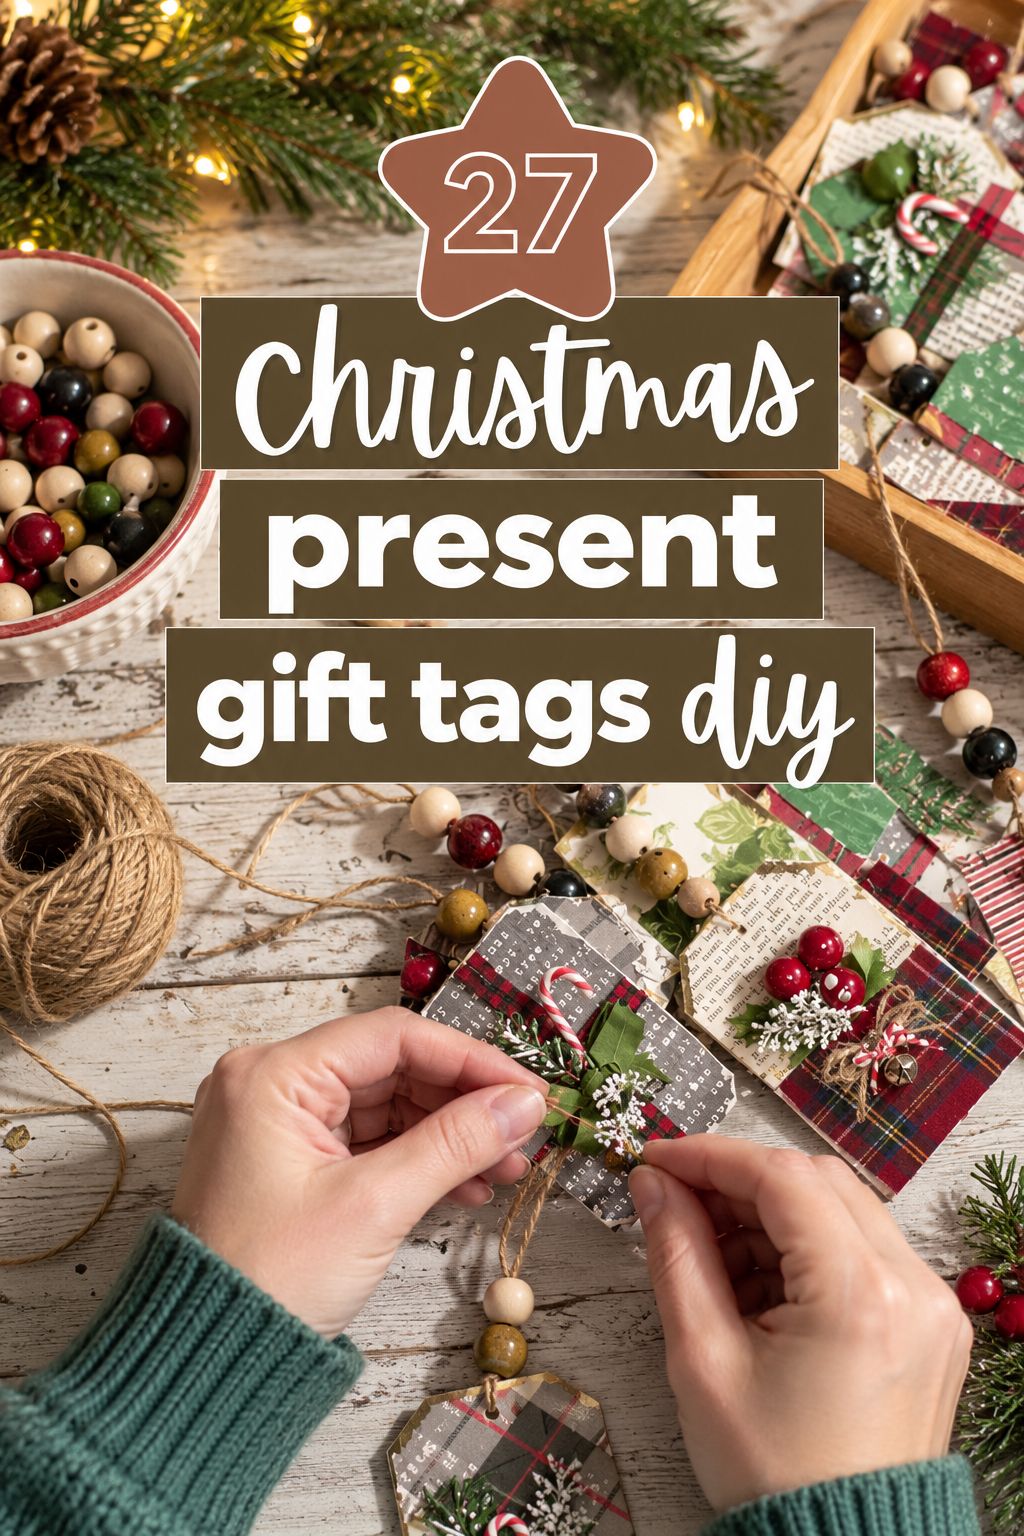
Pages from a damaged copy of A Christmas Carol become vintage-looking tags with eyelets. Use a book that’s already falling apart, not one you’d keep. The maker glues generously, a good habit for tags that get handled a lot.

Fabric Scrap Tags
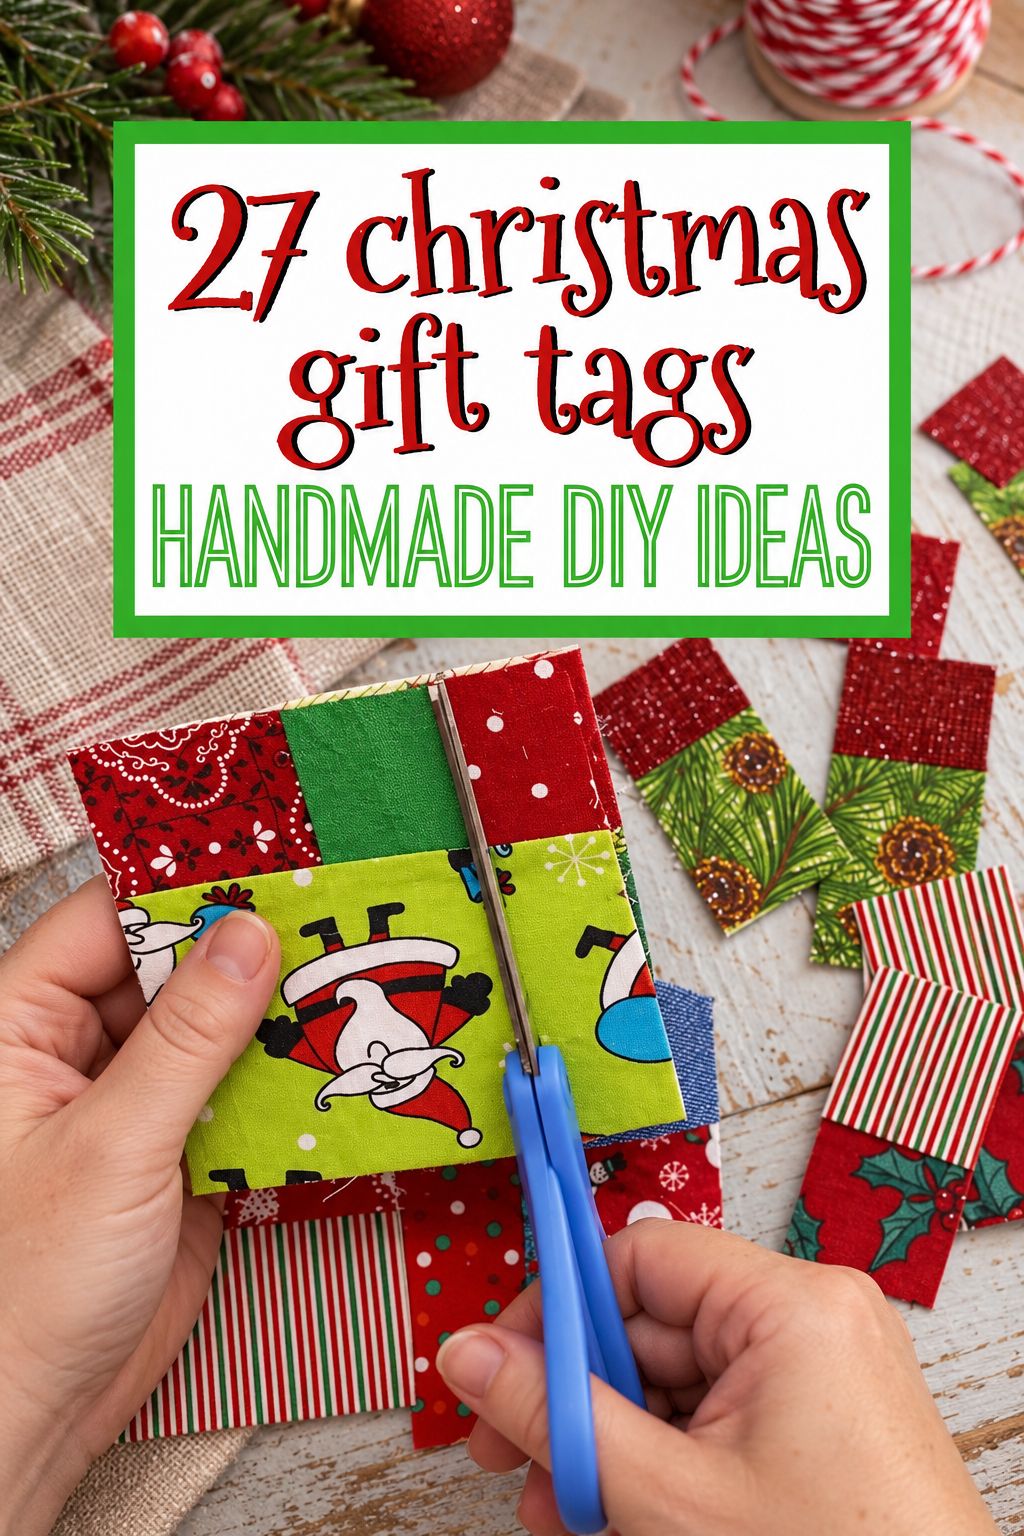
Christmas fabric scraps are sewn into little patchwork pieces and backed with file-folder card, so you have a firm surface for the names. It’s a good stash-buster for tiny prints you can’t bear to throw out. Needs a sewing machine.
Painted and Stitched Paper Tags
Paper tags mostly need paper, paint or thread, and scissors. For batch making, my vote goes to the watercolor tags: one painted sheet becomes 16 tags in under 10 minutes. Leave the calligraphy tags for another day if a pointed nib and metallic ink sound fussy right now.
Watercolor Tags
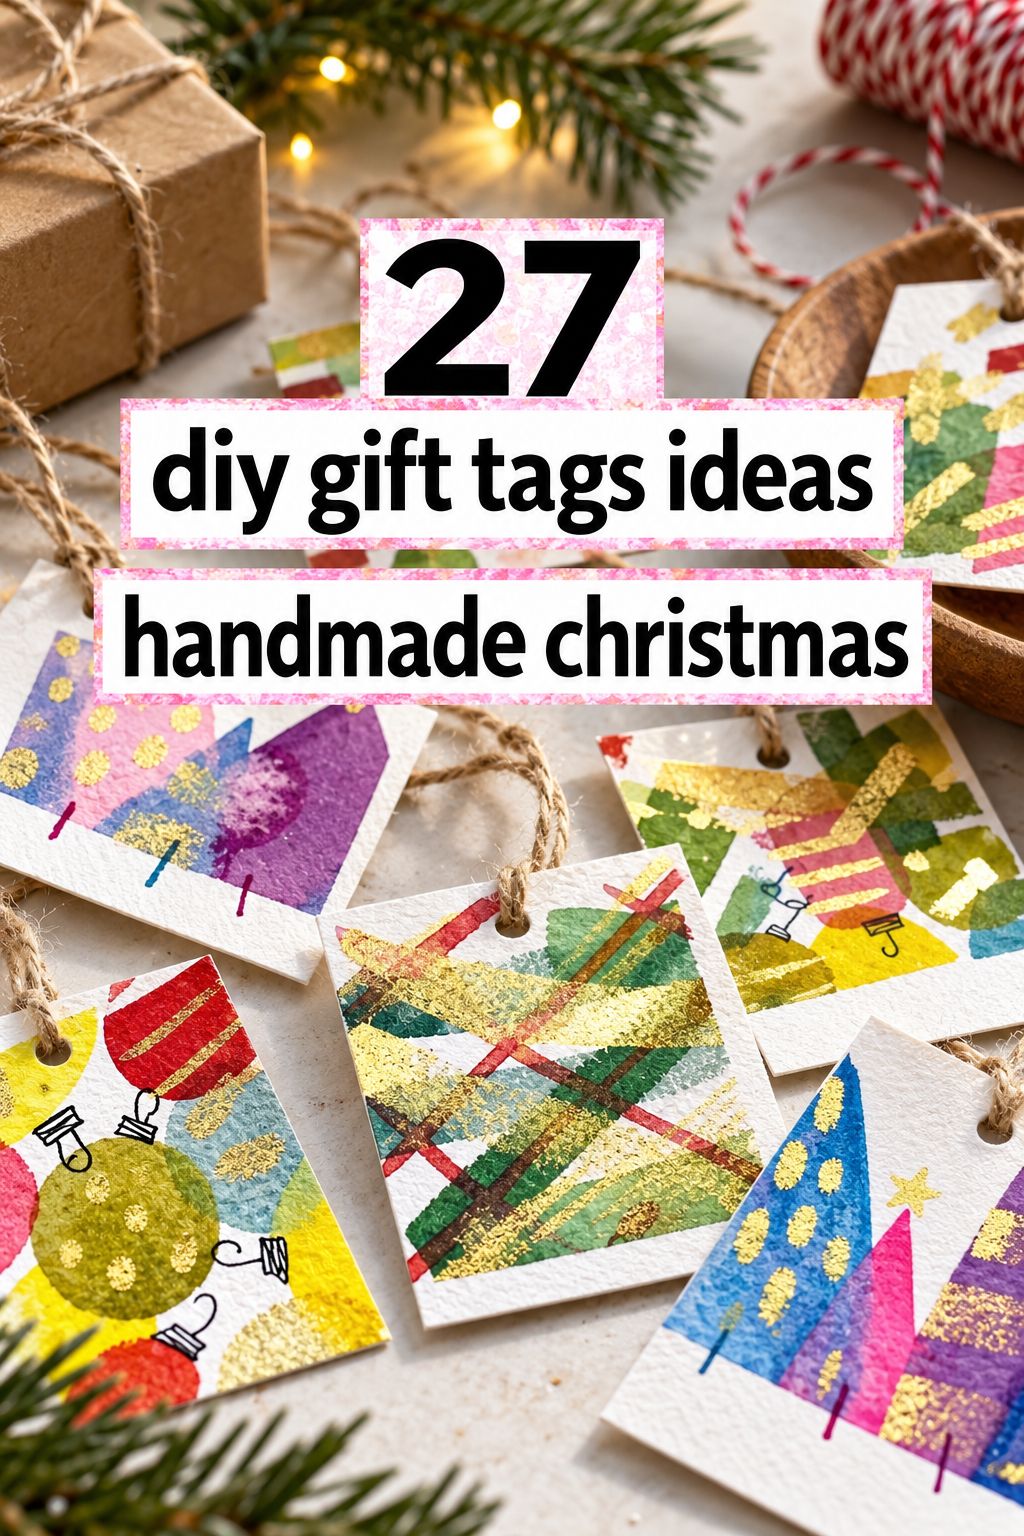
A whole sheet of watercolor paper is taped down, painted in washes, finished with gold accents, then cut into tags and punched. Press the masking tape down tight before you paint so the edges stay crisp. The maker gets 16 tags from one sheet in under 10 minutes, which is a real gift when you’re wrapping late.
Washi Tape Tree Tags
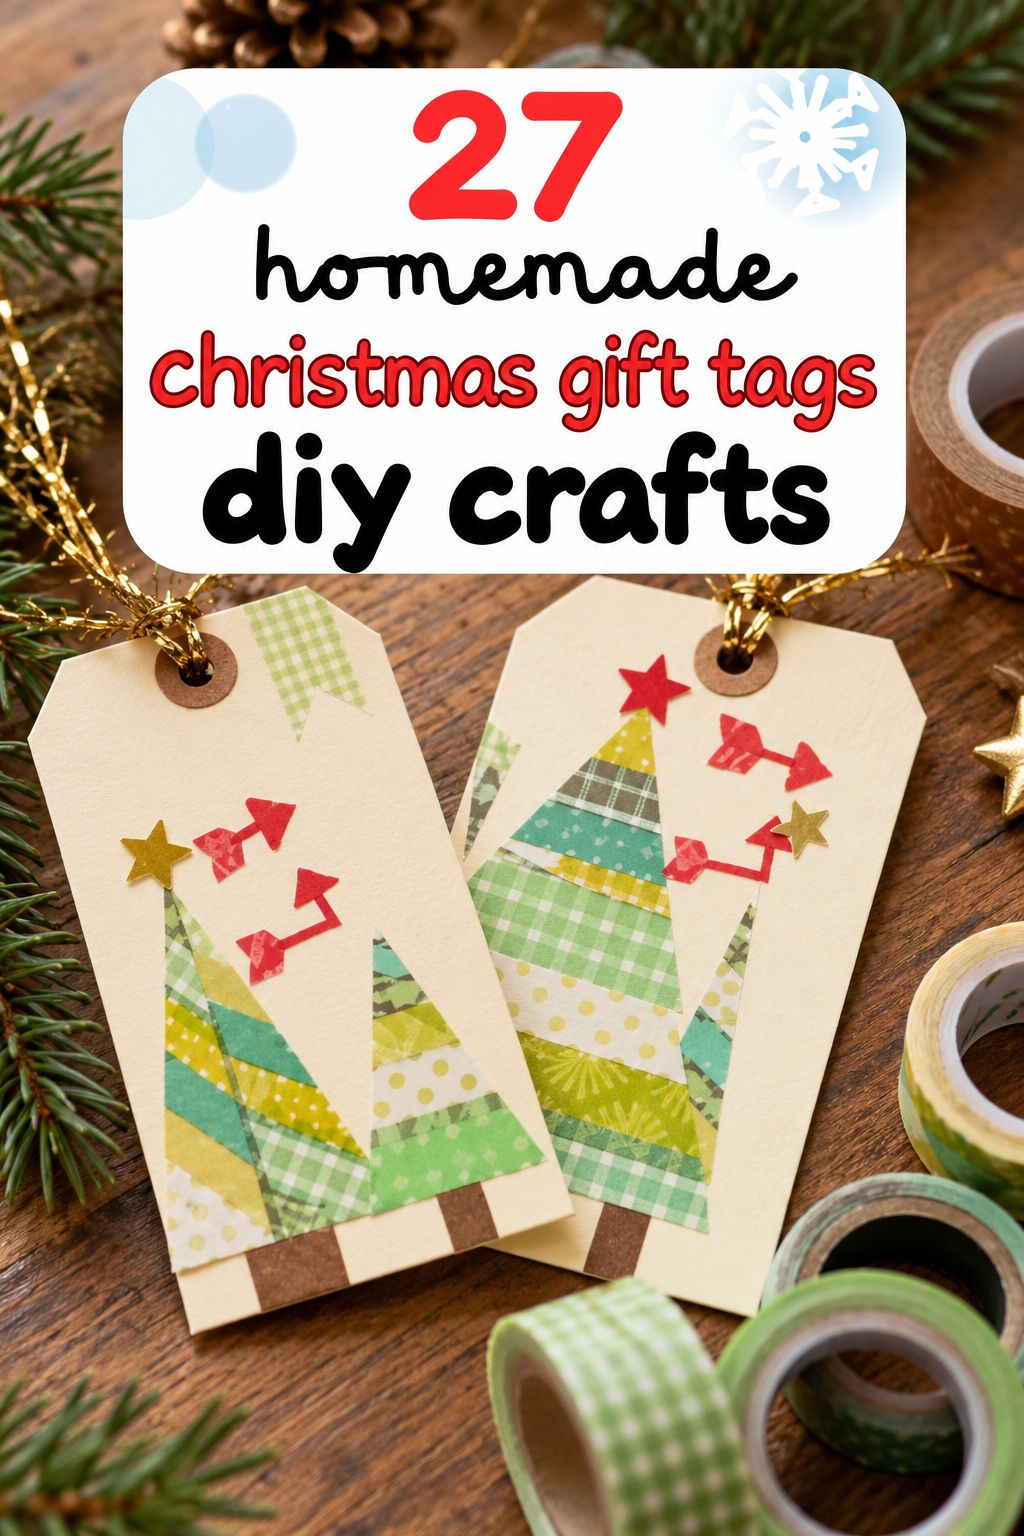
Manila tags get strips of green and gold washi tape angled into a simple tree, over a stenciled, spray-ink background. Simple and graphic. Test your pen on a spare manila tag first, because some inks bleed a little on manila.
Paper Embroidered Tags
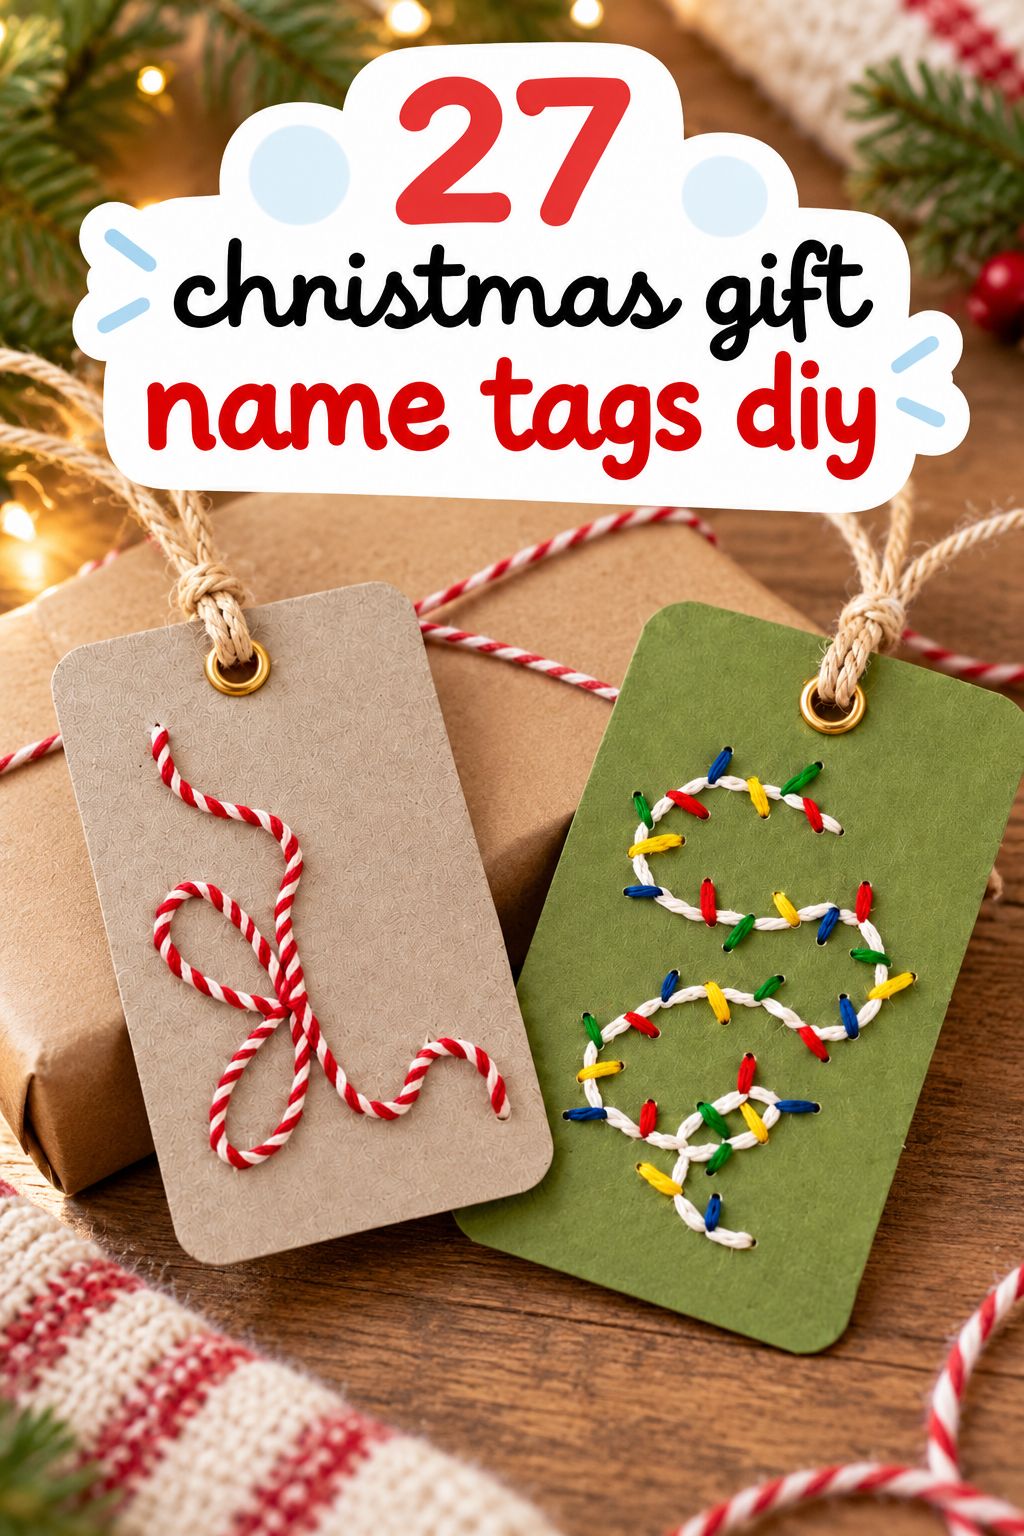
Cardstock is pierced with a needle and stitched with embroidery thread into a candy cane and a string of lights, then backed with a second layer. The backing hides the stitching and gives you a clean place for names. A nice choice if you already have embroidery thread in a drawer.
Quilled Paper Tags
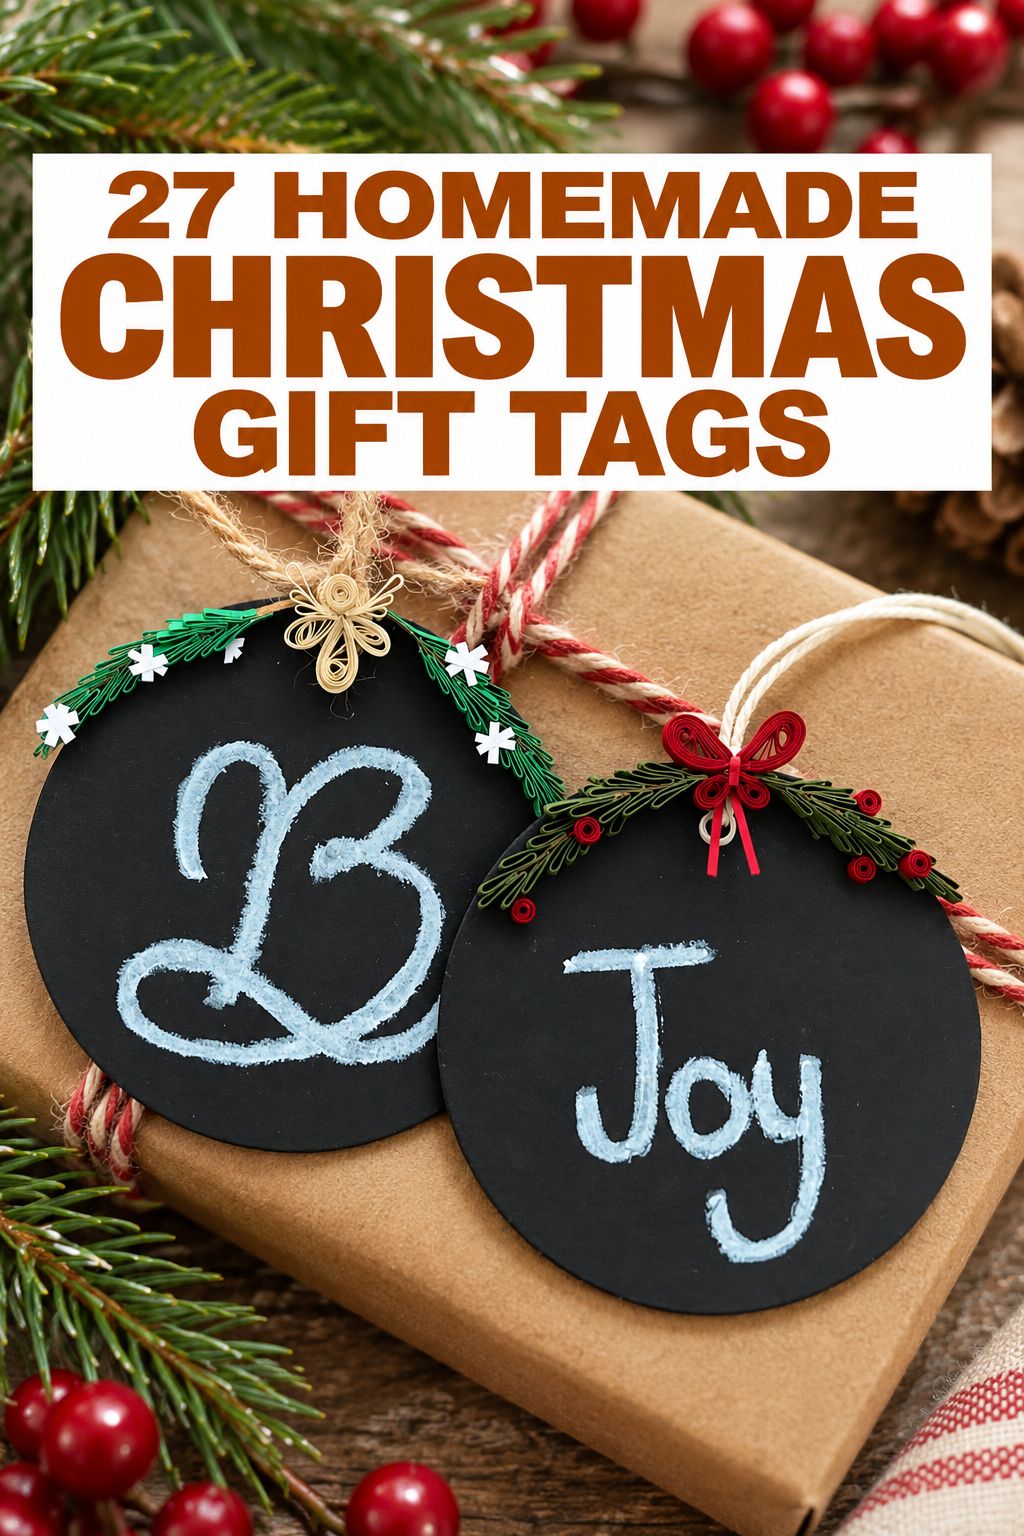
Quilling means rolling thin paper strips into coils and shapes. Here the rolled strips edge Dollar Tree chalkboard tags in holiday colors. It’s fiddly, so pick it if you like tiny, repetitive work, and try a holly cluster with berries for a more traditional look.
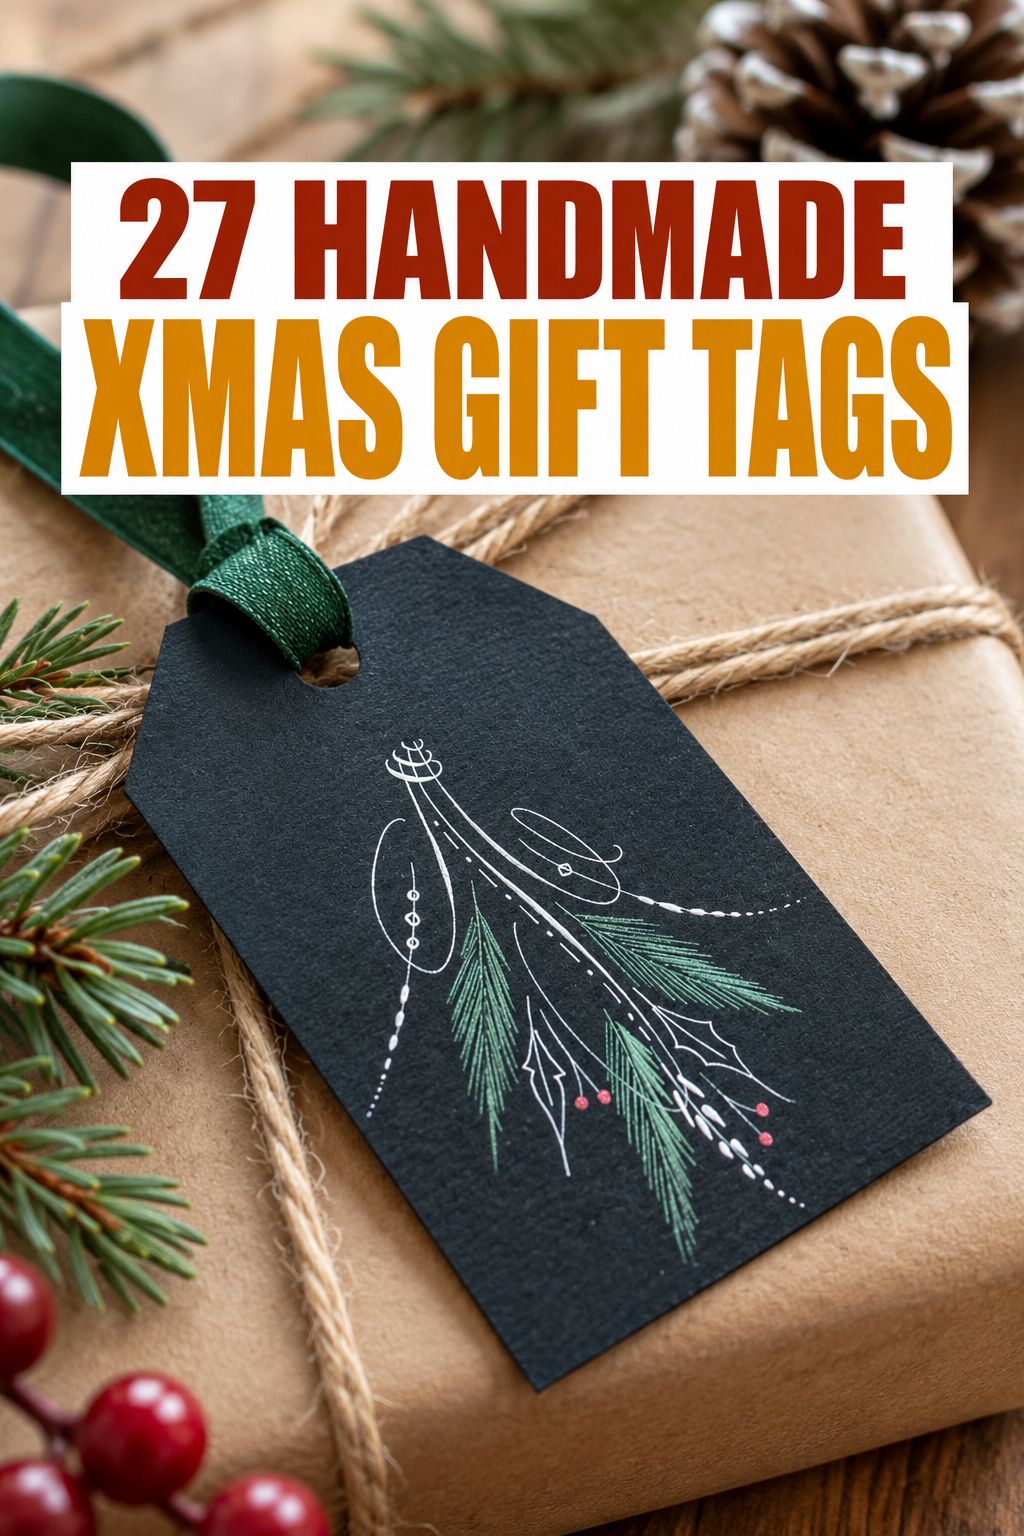
Calligraphy Tags
Watercolor-paper tags are lettered in metallic ink with a pointed nib, then finished with holly, pine and berry flourishes. Best if you already letter and feel at home with a nib and ink.
Tags With a Little Extra Texture
These tags add a raised or natural detail to a plain tag: buttons, a glittery seal or a dried orange slice. My favorite here is the button snowman, because it’s just three white buttons, hot glue and glitter glue.
Patience is the catch with the wax seal tags. The seals need to cool fully before you move them, so skip the wax seal tags if you’re wrapping at the last minute.
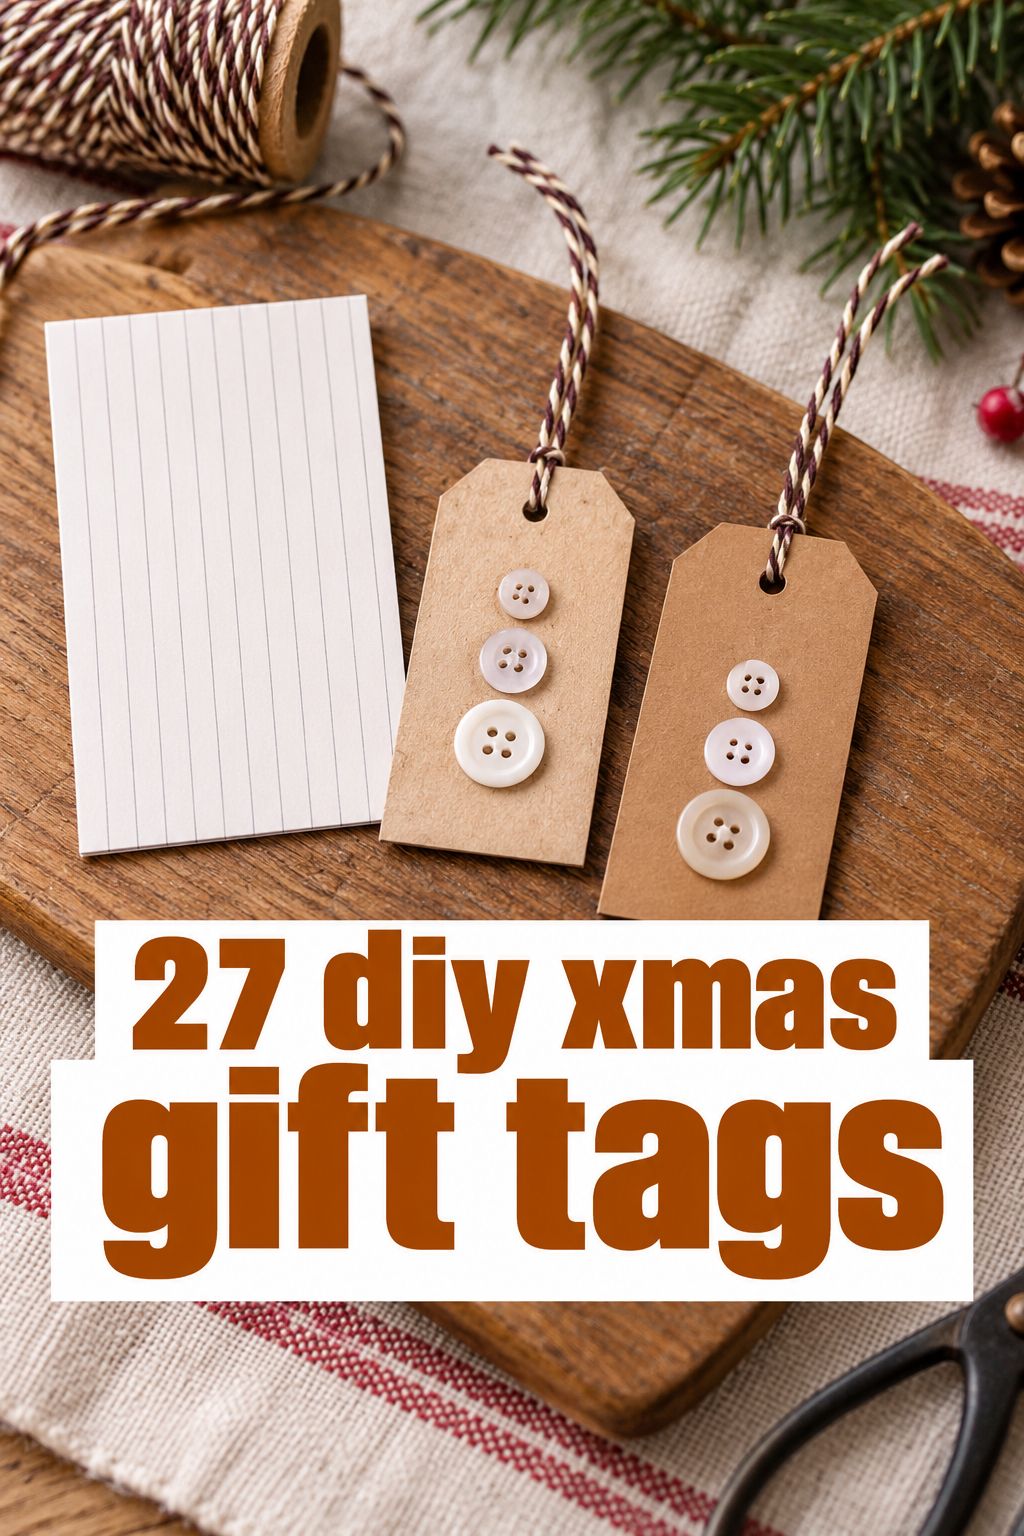
Button Snowman Tags
Paper or wooden Dollar Tree tags get three white buttons hot-glued into a stacked snowman, plus glitter glue details. Simple, and cute on small parcels.
Wax Seal Tags
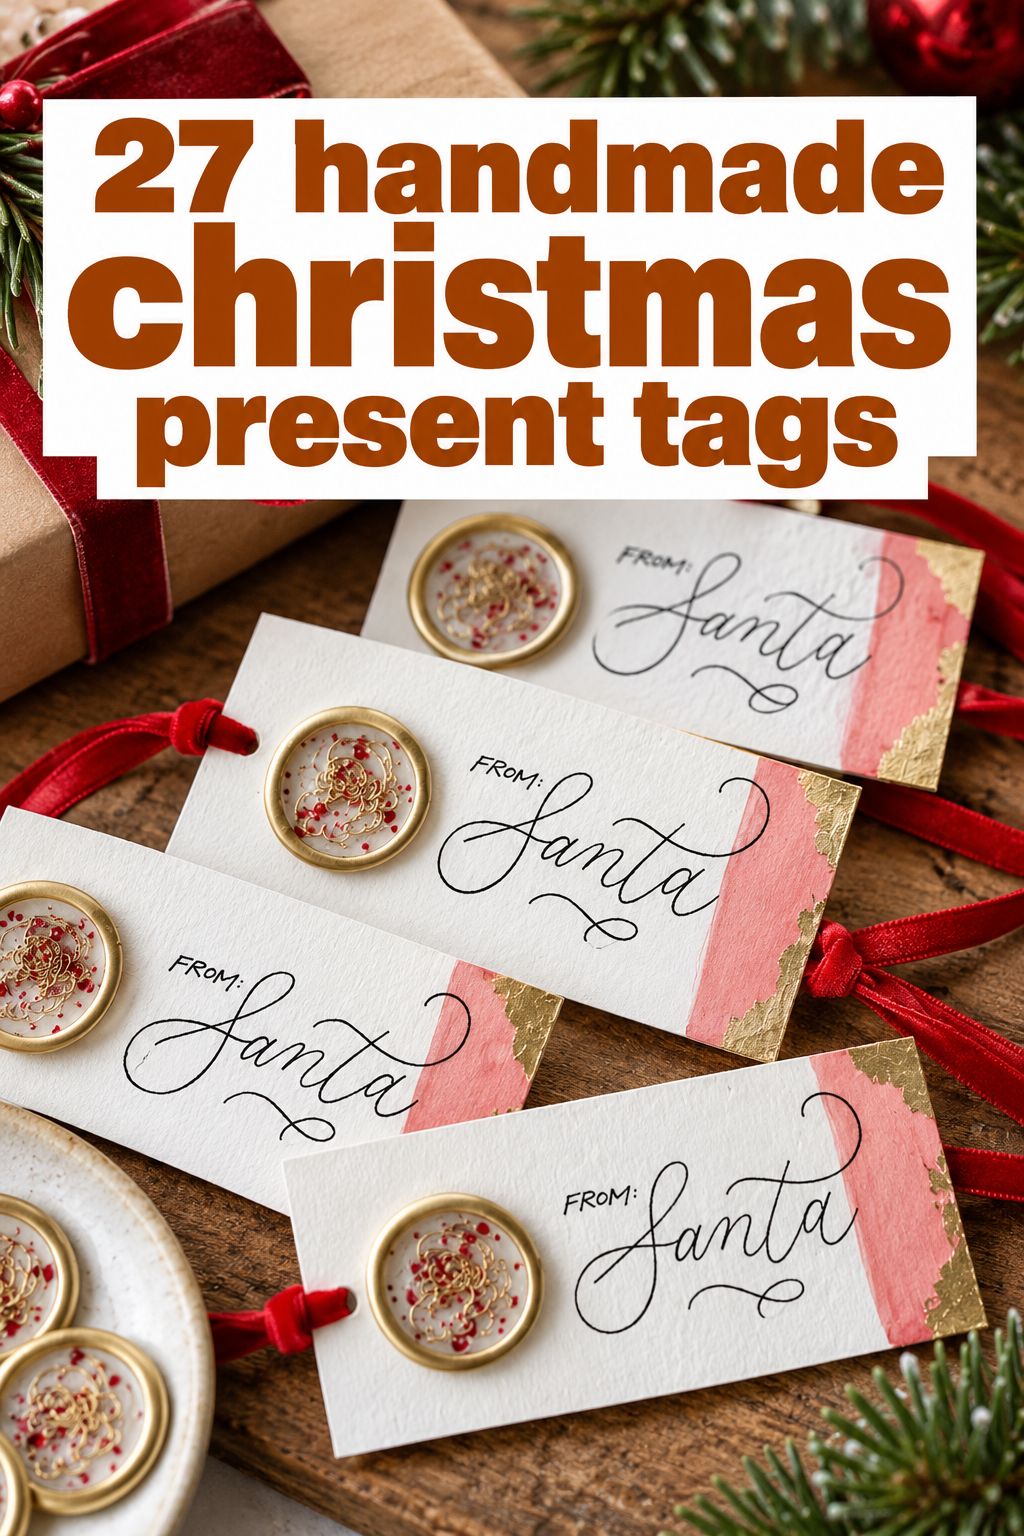
Glitter is sprinkled under crystal-clear hot glue and pressed with a Santa seal stamp kept cold on an ice pack, on a watercolor-paper tag with gold leafing pen details. Let the seals cool fully before you peel or attach them, or they can warp. Test the gold pen on a spare seal first.
Dried Orange Slice Tags
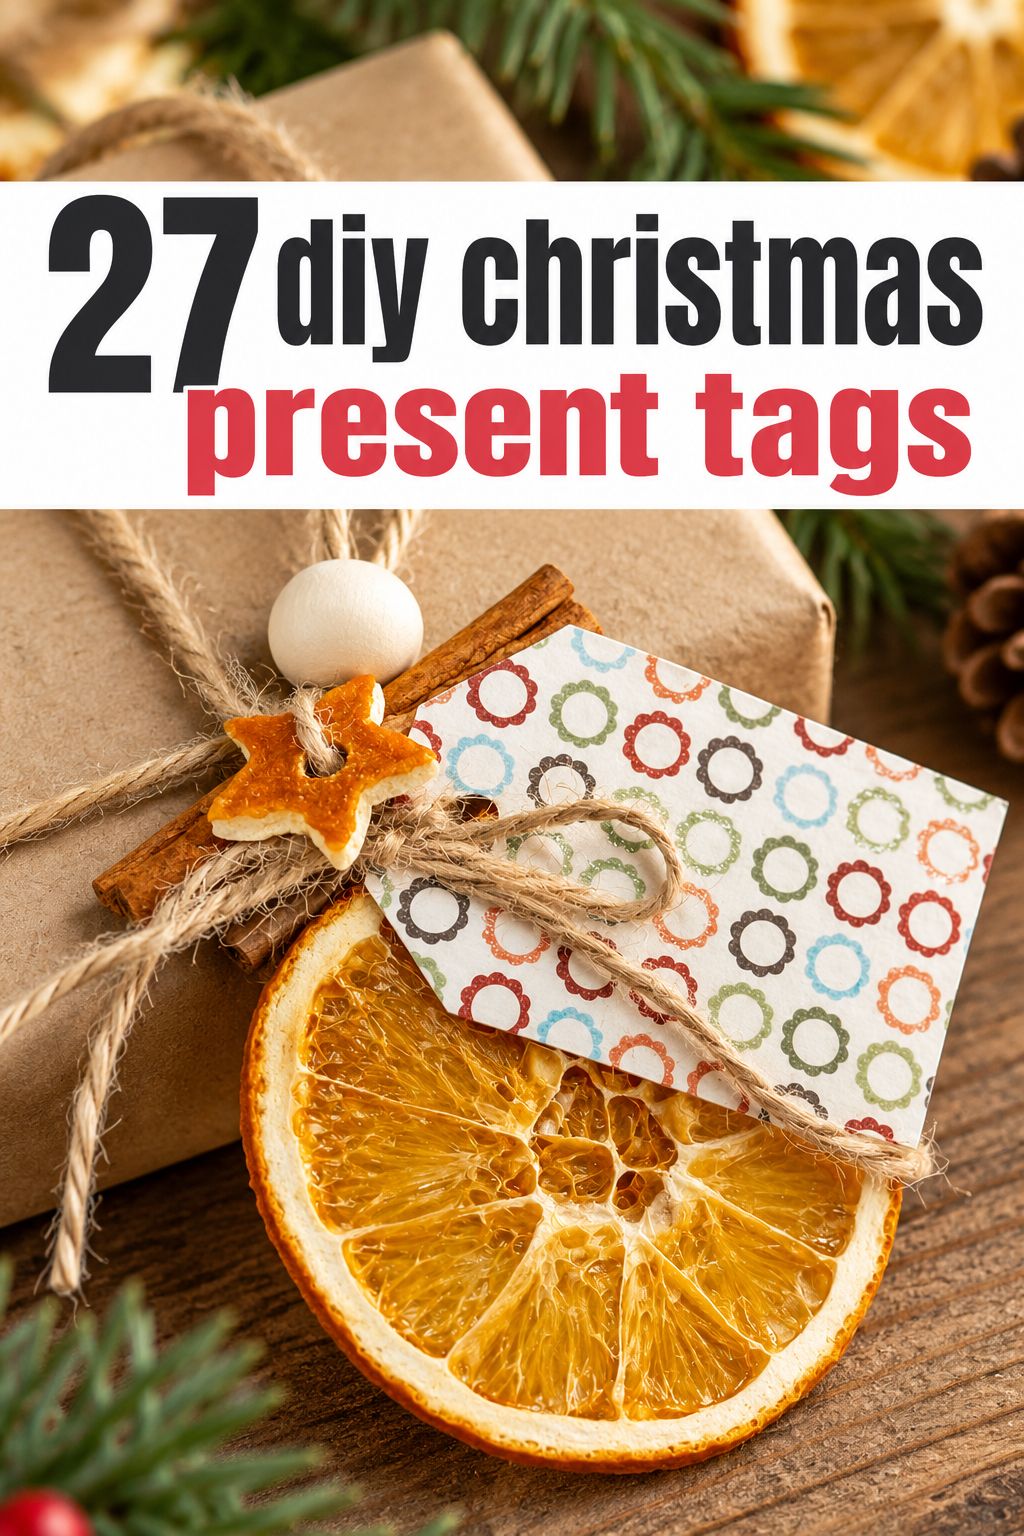
Dried orange slices and cinnamon sticks are tied onto a small handmade name tag on kraft-paper gifts. Keep the tag itself simple so the orange slice stays the focus. The whole bundle looks natural on plain brown wrap.
Stamped Tags for Card Makers
If you already own stamps, dies or a heat gun, this group is yours. (Dies are thin metal shapes that cut cardstock when you run them through a die-cutting machine.) Start with the heat-embossed gingerbread tags: they’re reasonably quick and hang on the tree afterward. Skip the mitten tags unless you have that exact stamp set and its matching dies.
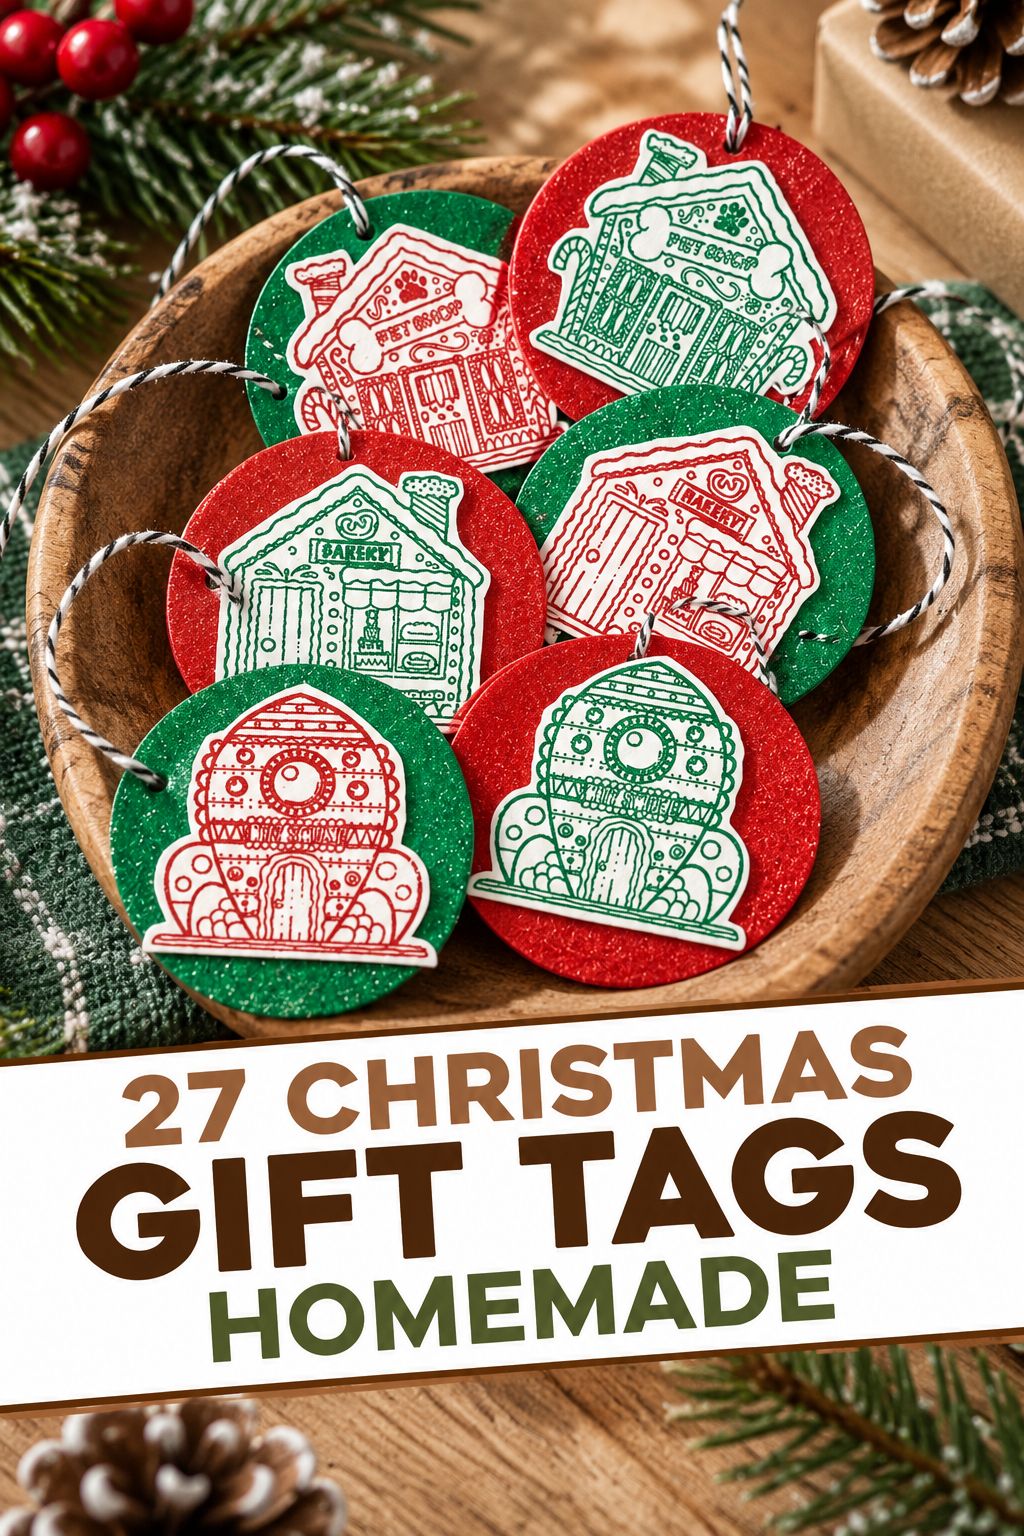
Heat-Embossed Tags
Gingerbread-house stamps are heat embossed with glittery powder for a raised, sparkly finish. Heat embossing means you stamp, sprinkle embossing powder over the wet ink, and melt it with a heat gun. Use them as gift tags, then as ornaments.
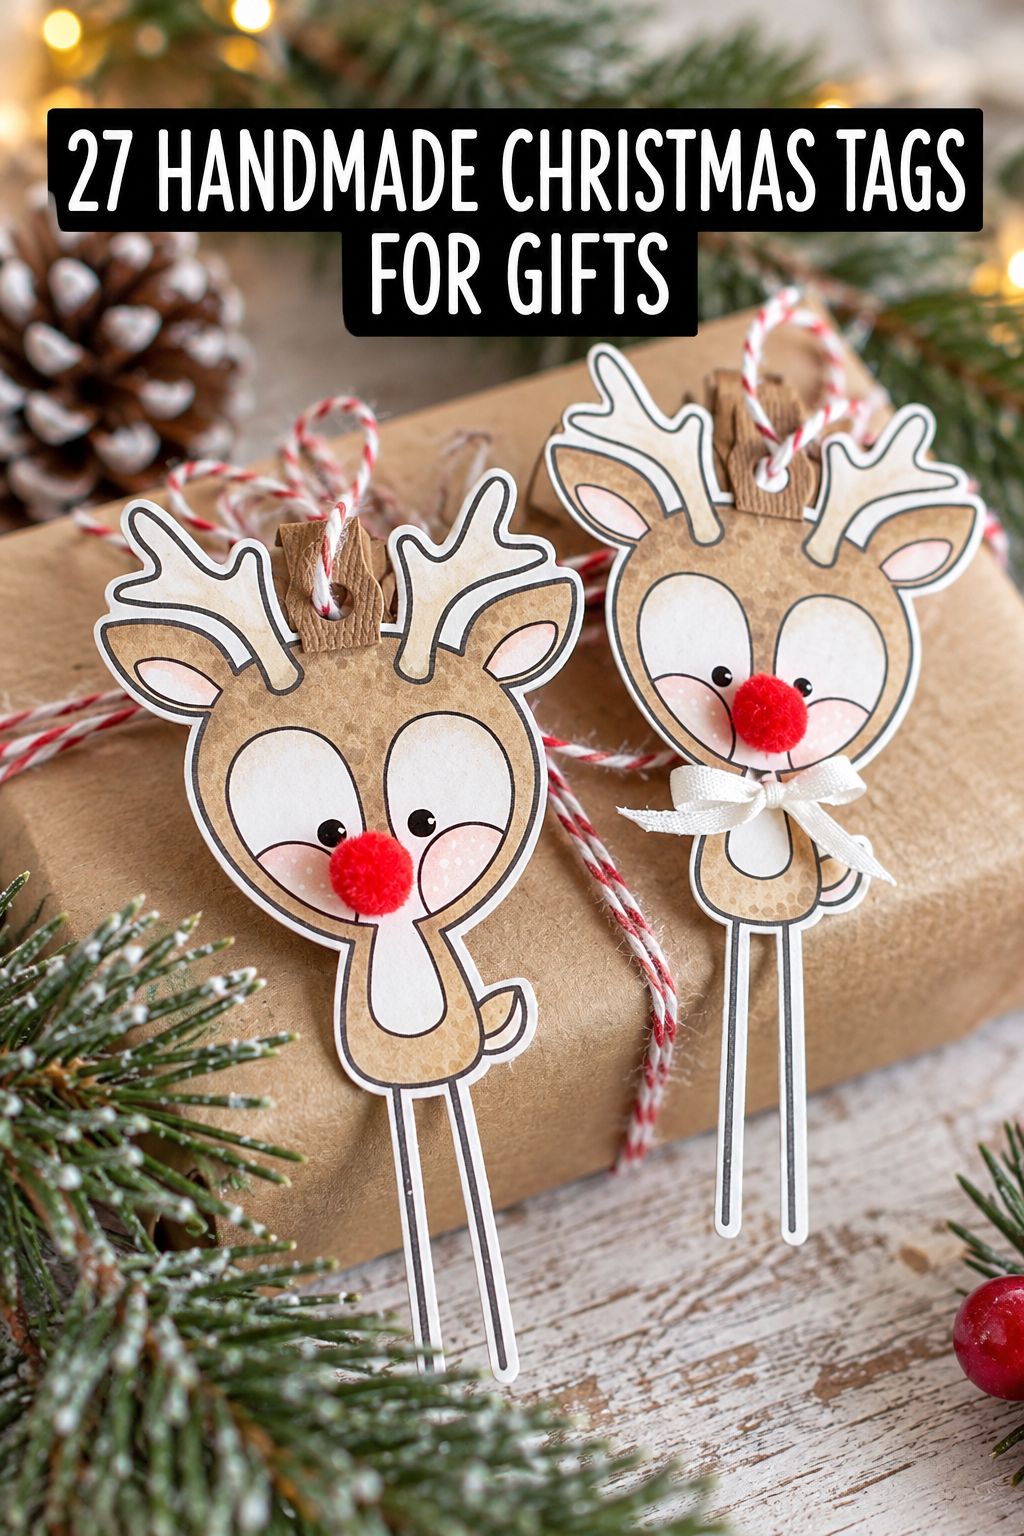
Reindeer Tags
Reindeer are stamped and die-cut from cardstock, then finished with a red pom-pom nose and a ribbon tie. Cut each pom-pom in half and you get noses for twice as many tags. To recolor white ribbon, run an alcohol marker over it, and both sides color at once. Needs dies.
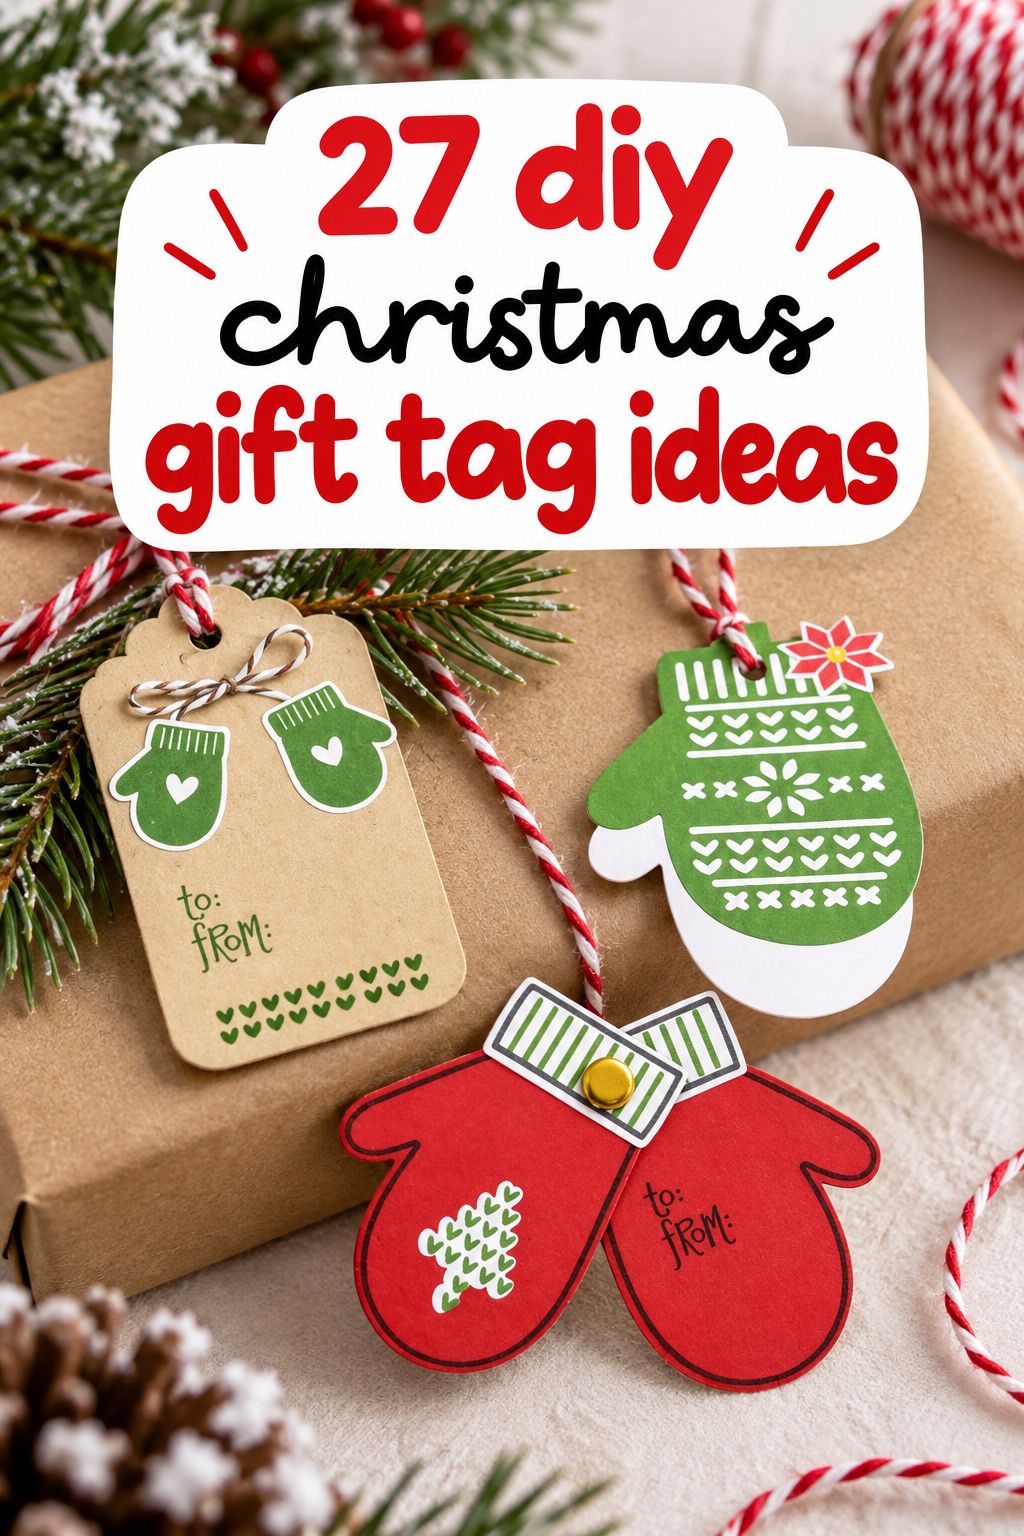
Stamped Mitten Tags
Three mitten tags are made with a mitten stamp set and its matching dies, layered on punched tags. Best when you already own that set, since the stamps and dies are made to line up.
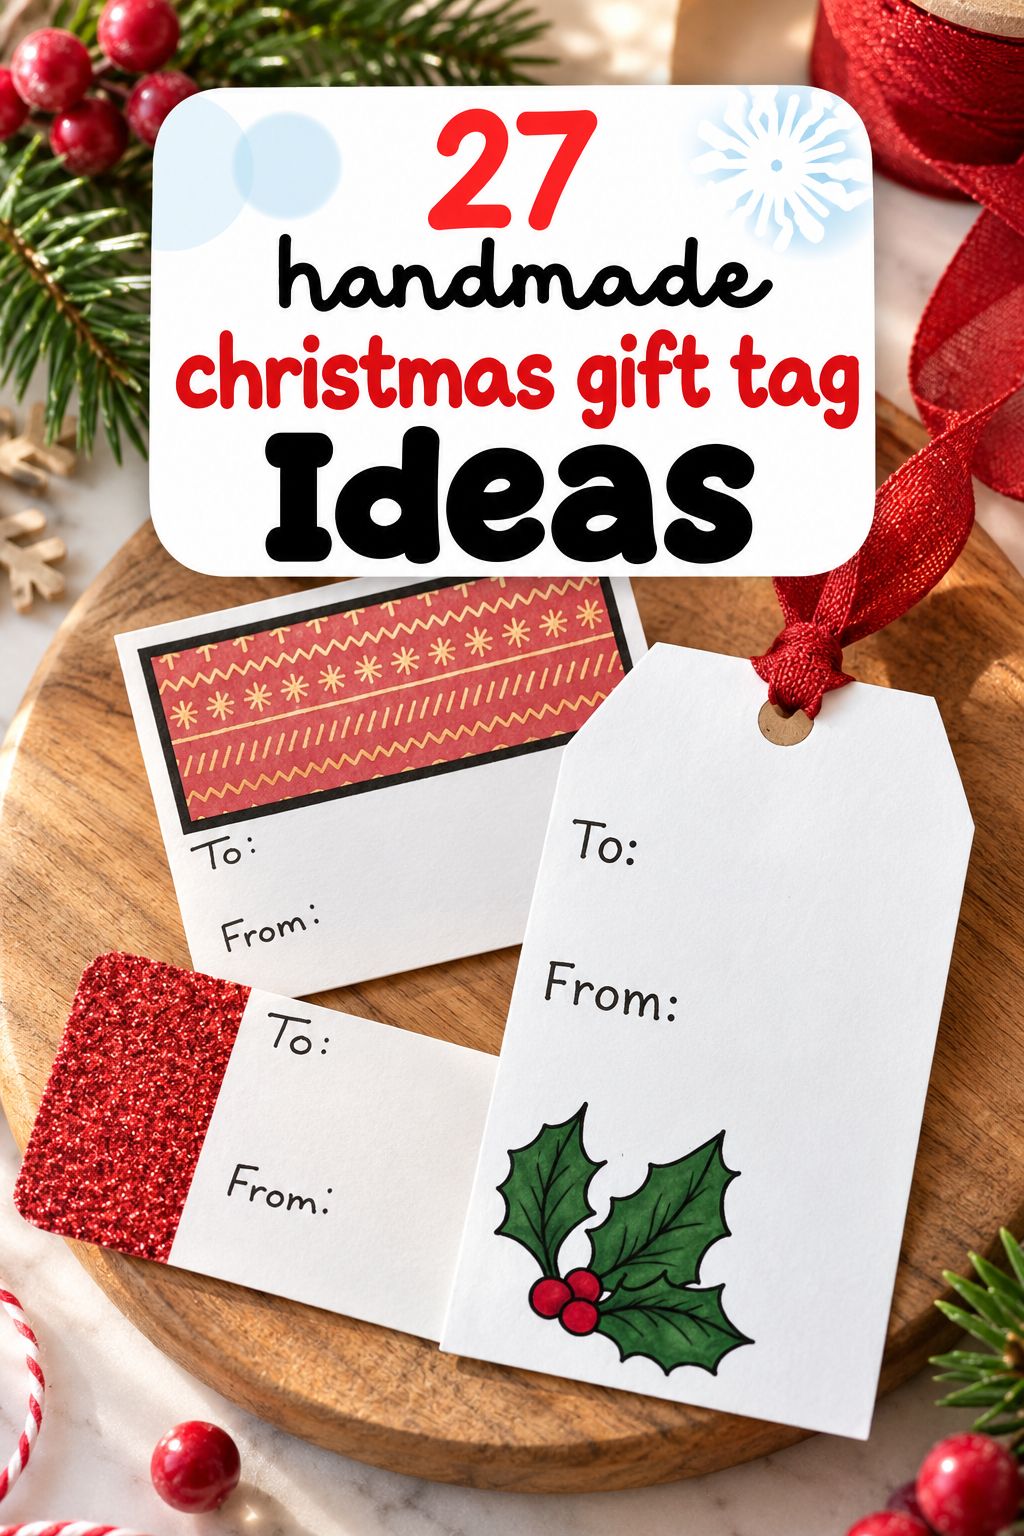
Holly Sprig Tags
A large die-cut tag gets a stamped holly sprig colored in alcohol markers and matching ribbon. A crochet hook helps pull ribbon through small tag holes. Needs dies and markers.
How to Choose Your Tag
Start with your tools, then your time. These tags need something beyond scissors, glue and a hole punch:
- Oven: salt dough, polymer clay and shrink plastic tags.
- Iron: perler bead tags.
- Heat gun: heat-embossed tags.
- Drill: wood block tags.
- Sewing machine: fabric scrap tags.
- Dies: reindeer, mitten and holly sprig tags.
- Resin and molds: resin keepsake tags, a big project if you’re new to resin.
If you have ten minutes tonight, make the faux fur gnome tags (about 10 minutes for the maker) or a sheet of watercolor tags (16 tags in under 10 minutes). If you want nearly free, cut up last year’s Christmas cards and glue a blank backing where the names go.
If you want a keepsake, pick a tag that becomes an ornament: salt dough, wood slices, painted wooden tags, wood blocks or heat-embossed gingerbread.
If I were behind on wrapping, I’d make watercolor tags for the kids and cousins and recycled card tags for the neighbors, then one keepsake tag for the person who will actually notice it.
FAQ
Which Pen to Use on Each Tag
There’s no one pen for every tag, so match the pen to the surface. On paper and manila, an archival ink pen gives a crisp line that’s less likely to smudge, but some inks bleed on manila, so test a scrap first. Regular markers work on wood slices, a Sharpie works on the back of painted wooden tags, and water-based paint pens write well on leather. On clay, kraft or heavily painted surfaces, test on a spare piece first.
Where to Write Names on Decorated Tags
Keep the decorated side clean and use the back. A cardstock or file-folder backing gives you a writing surface and hides stitching, and sticky label paper does the same while covering thread ends. On recycled cards, glue a blank piece of card over the printed text. For resin, write a small paper tag and set it inside. A separate tag also keeps reusable wrapping paper name-free, so you can fold and save it.
Keep the Tags After Christmas
Tuck the keepers in with the ornaments and bring them out again next year. Some edges will be a little wobbly, and the hand-drawn lines won’t be perfect.
That’s fine. A wobbly edge is how people know you made it.
Pick one idea, press play, and let the tag be part of the gift instead of the last thing you rush through.
Don’t forget to pin this to your Christmas Gifts Board for later!